Overview
This week our lab focused on wool. We have been studying shepherds throughout the world across time, and in order to understand wool working at a more in-depth level, we learned how to spin. Professor Morton brought in two professional, local shepherds to teach us and share their experiences.
Titled “Wool,” our lab was broken down into three key stages: spinning, carding/combing, and weaving. As the Data Recorder for my lab group for the week, I took a copious amount of notes. I will note that this lab was much more experiential than experimental, so the data I collected is similar. I aimed to record as much experimental data as possible, but most of my work is about how my group felt while completing each of the three stages.
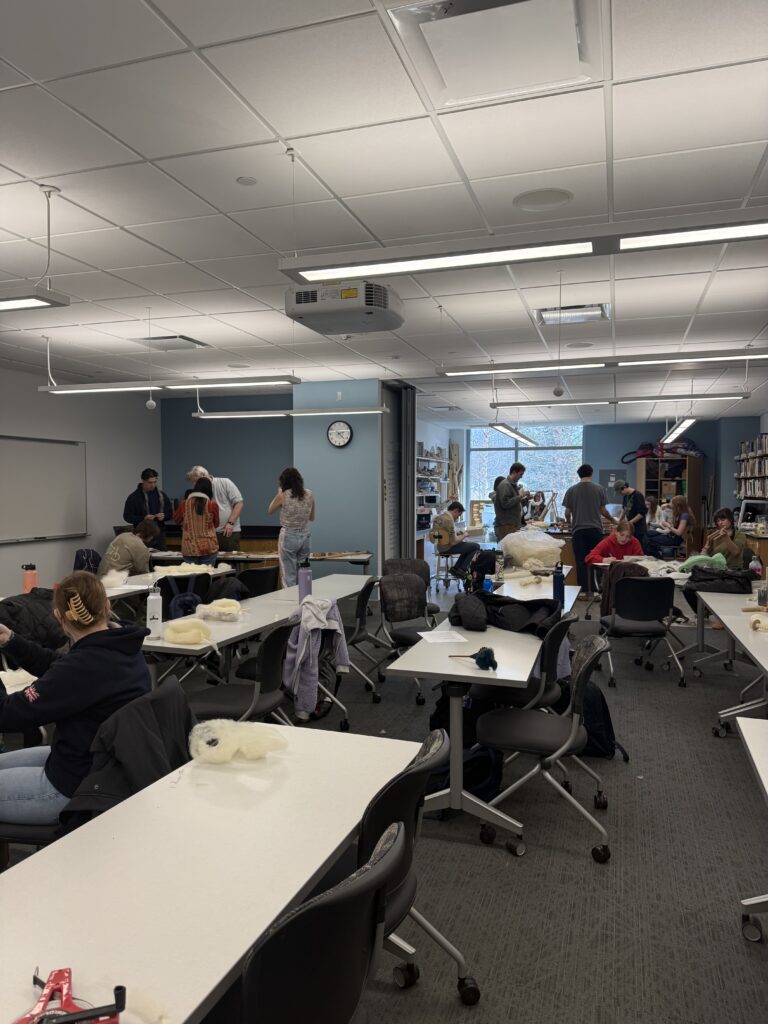
Students participating in wool lab!
Carding/Combing
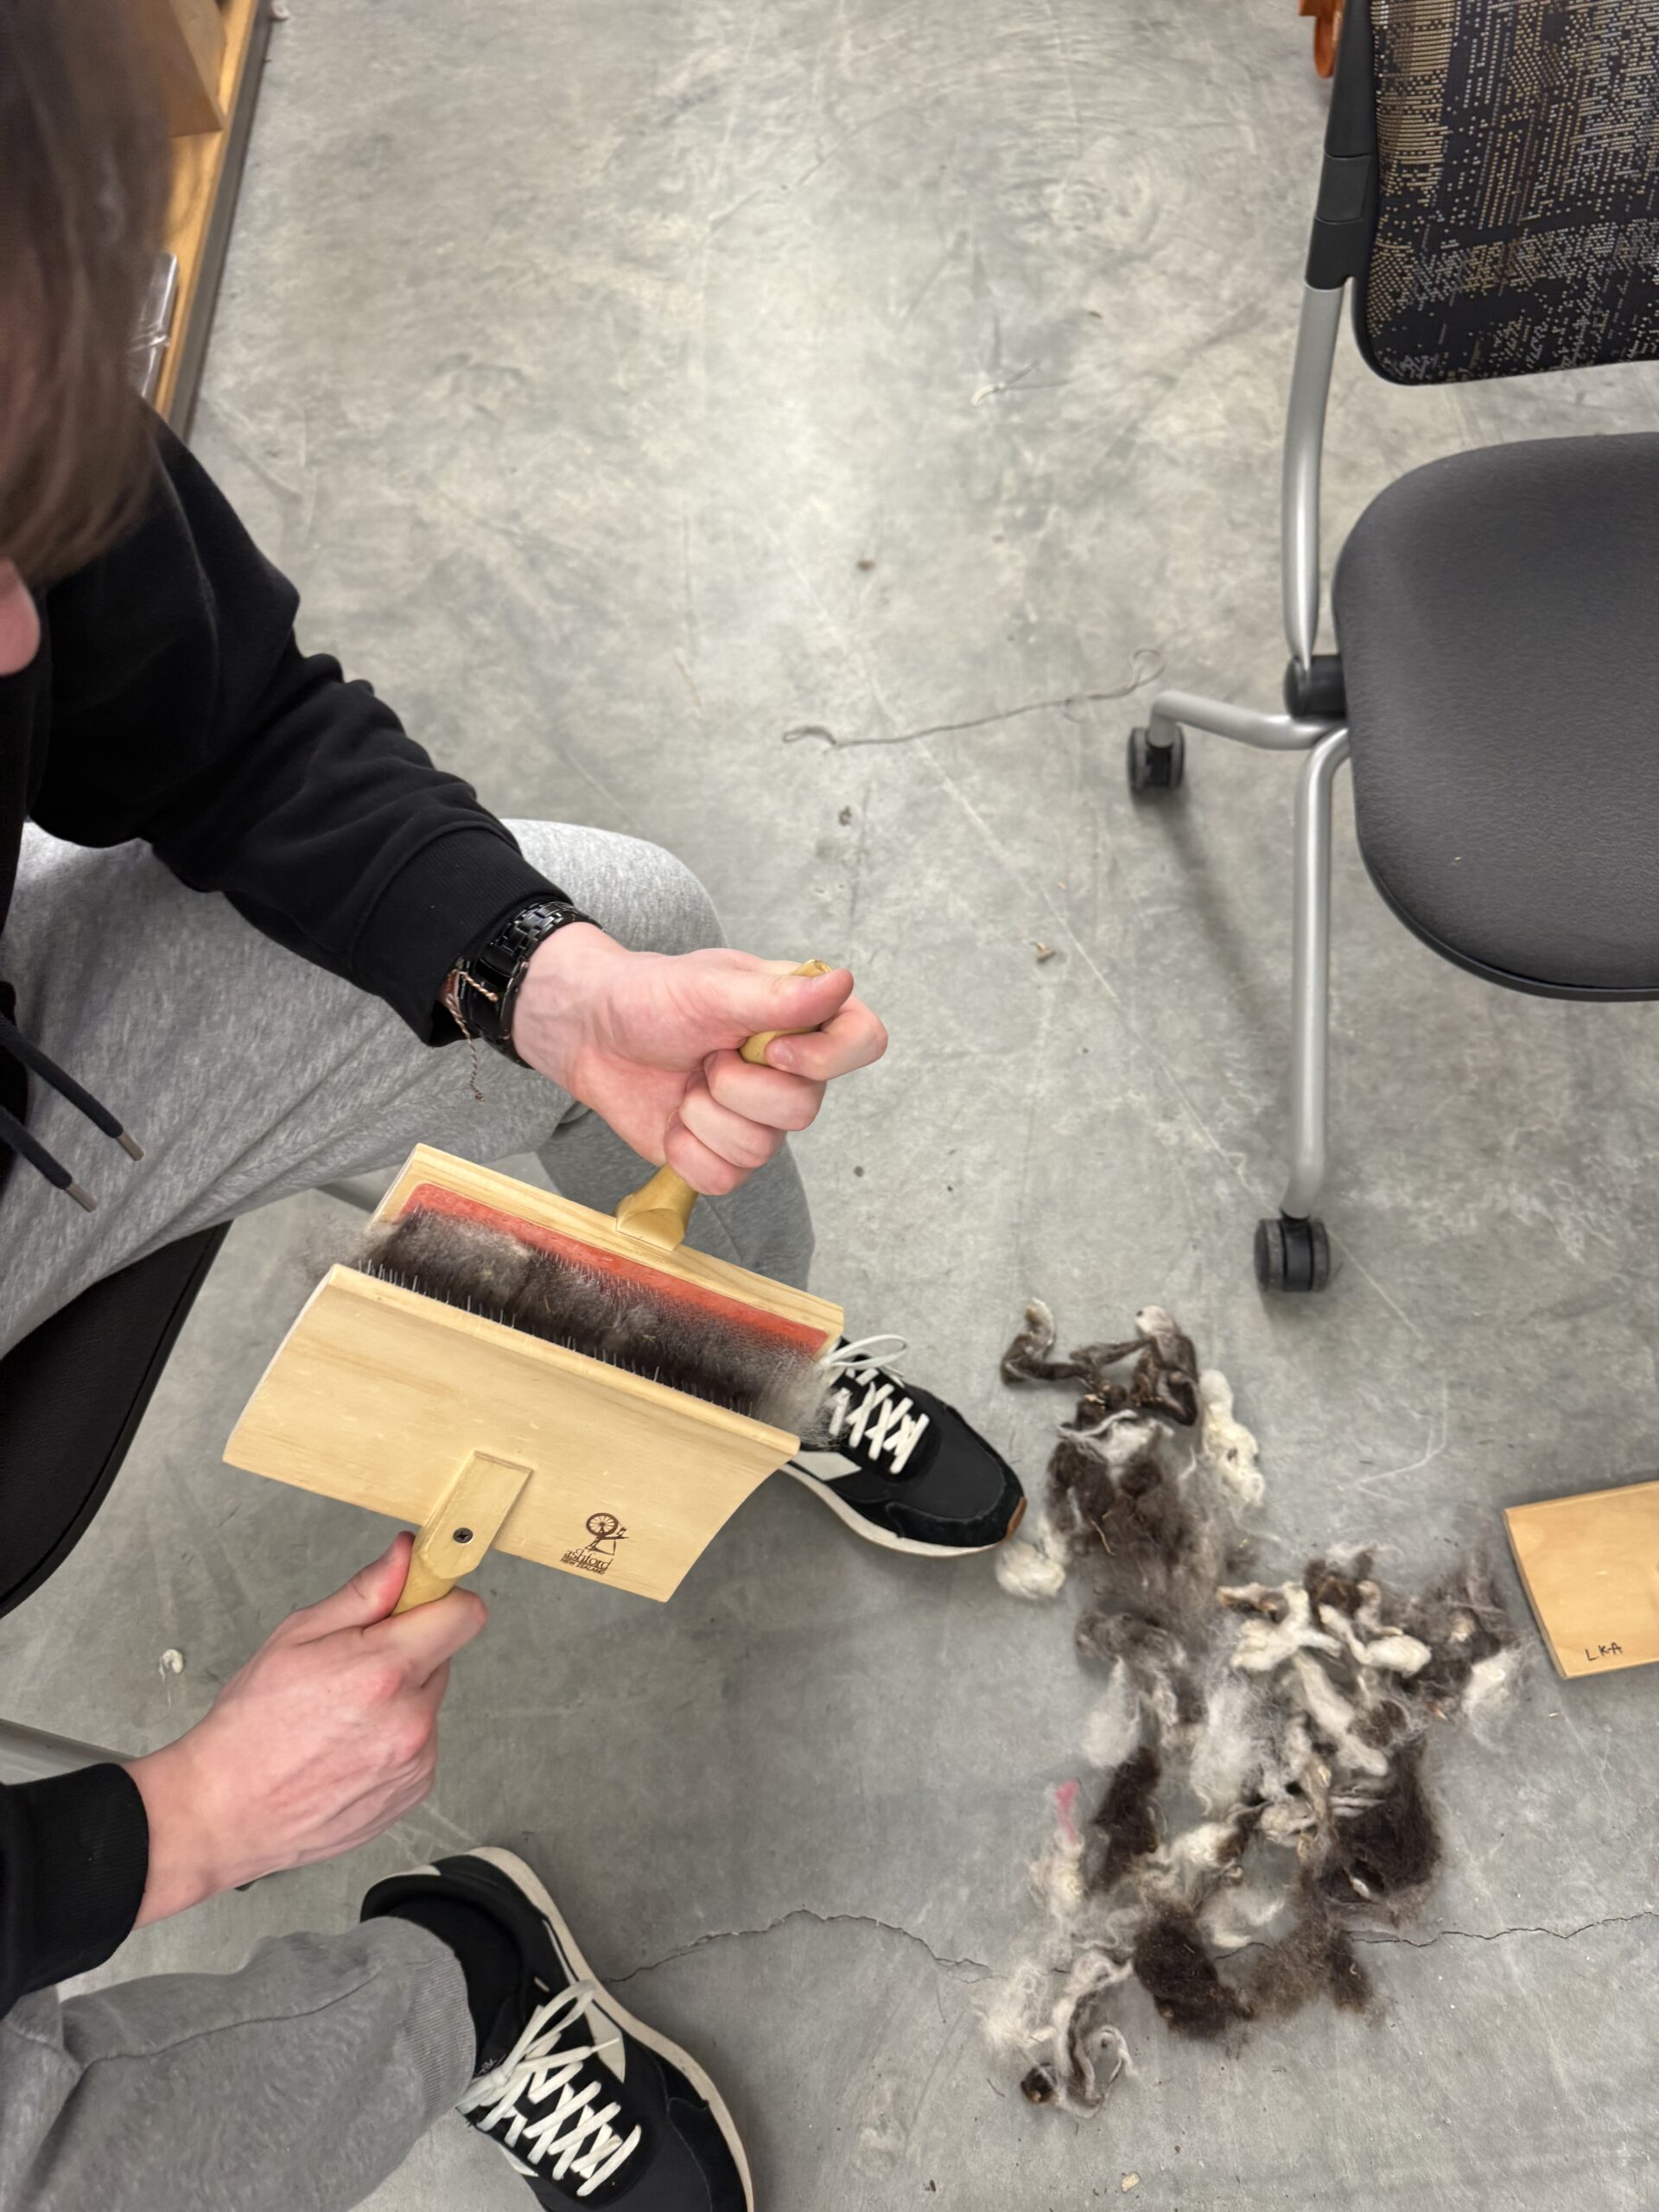
The carding and combing station was split up into two parts. I carded first. At the carding station, we used Jacob fleece with a goal to make the wool “airer” and have it be well suited for spinning. When you card, you take the two brushes (that look like big cat brushes) and drag the wool across it to detangle it. The goal is to create a “log” that you then can spin with. It took me about 5 minutes to create one log. It was also very difficult! My arms started to hurt because you needed a great amount of force to be able to get the wool to cooperate. I ended up being able to make two logs before I switched to combing.
At the combing station, we took two very spiky combs to detangle the wool. I found this to be much more difficult than carding. It took a greater amount of force, and the wool often tangled on itself. There were several different types of wool in bags at the station, and it was really interesting to see how the wool behaved. There was wool that was kind of curly, resembling human hair! I found that the curly wool felt like wire and was less soft than the other options available. I tried this “curly” wool and need to use a hair detangler to get the wool to cooperate. The goal with the combing was to make “nests.” It was also easier to comb with much smaller sections, making it tedious. It took me 10 minutes to create one nest. I found that with combing the wool was able to feel “airer” than it did with carding.
Spinning
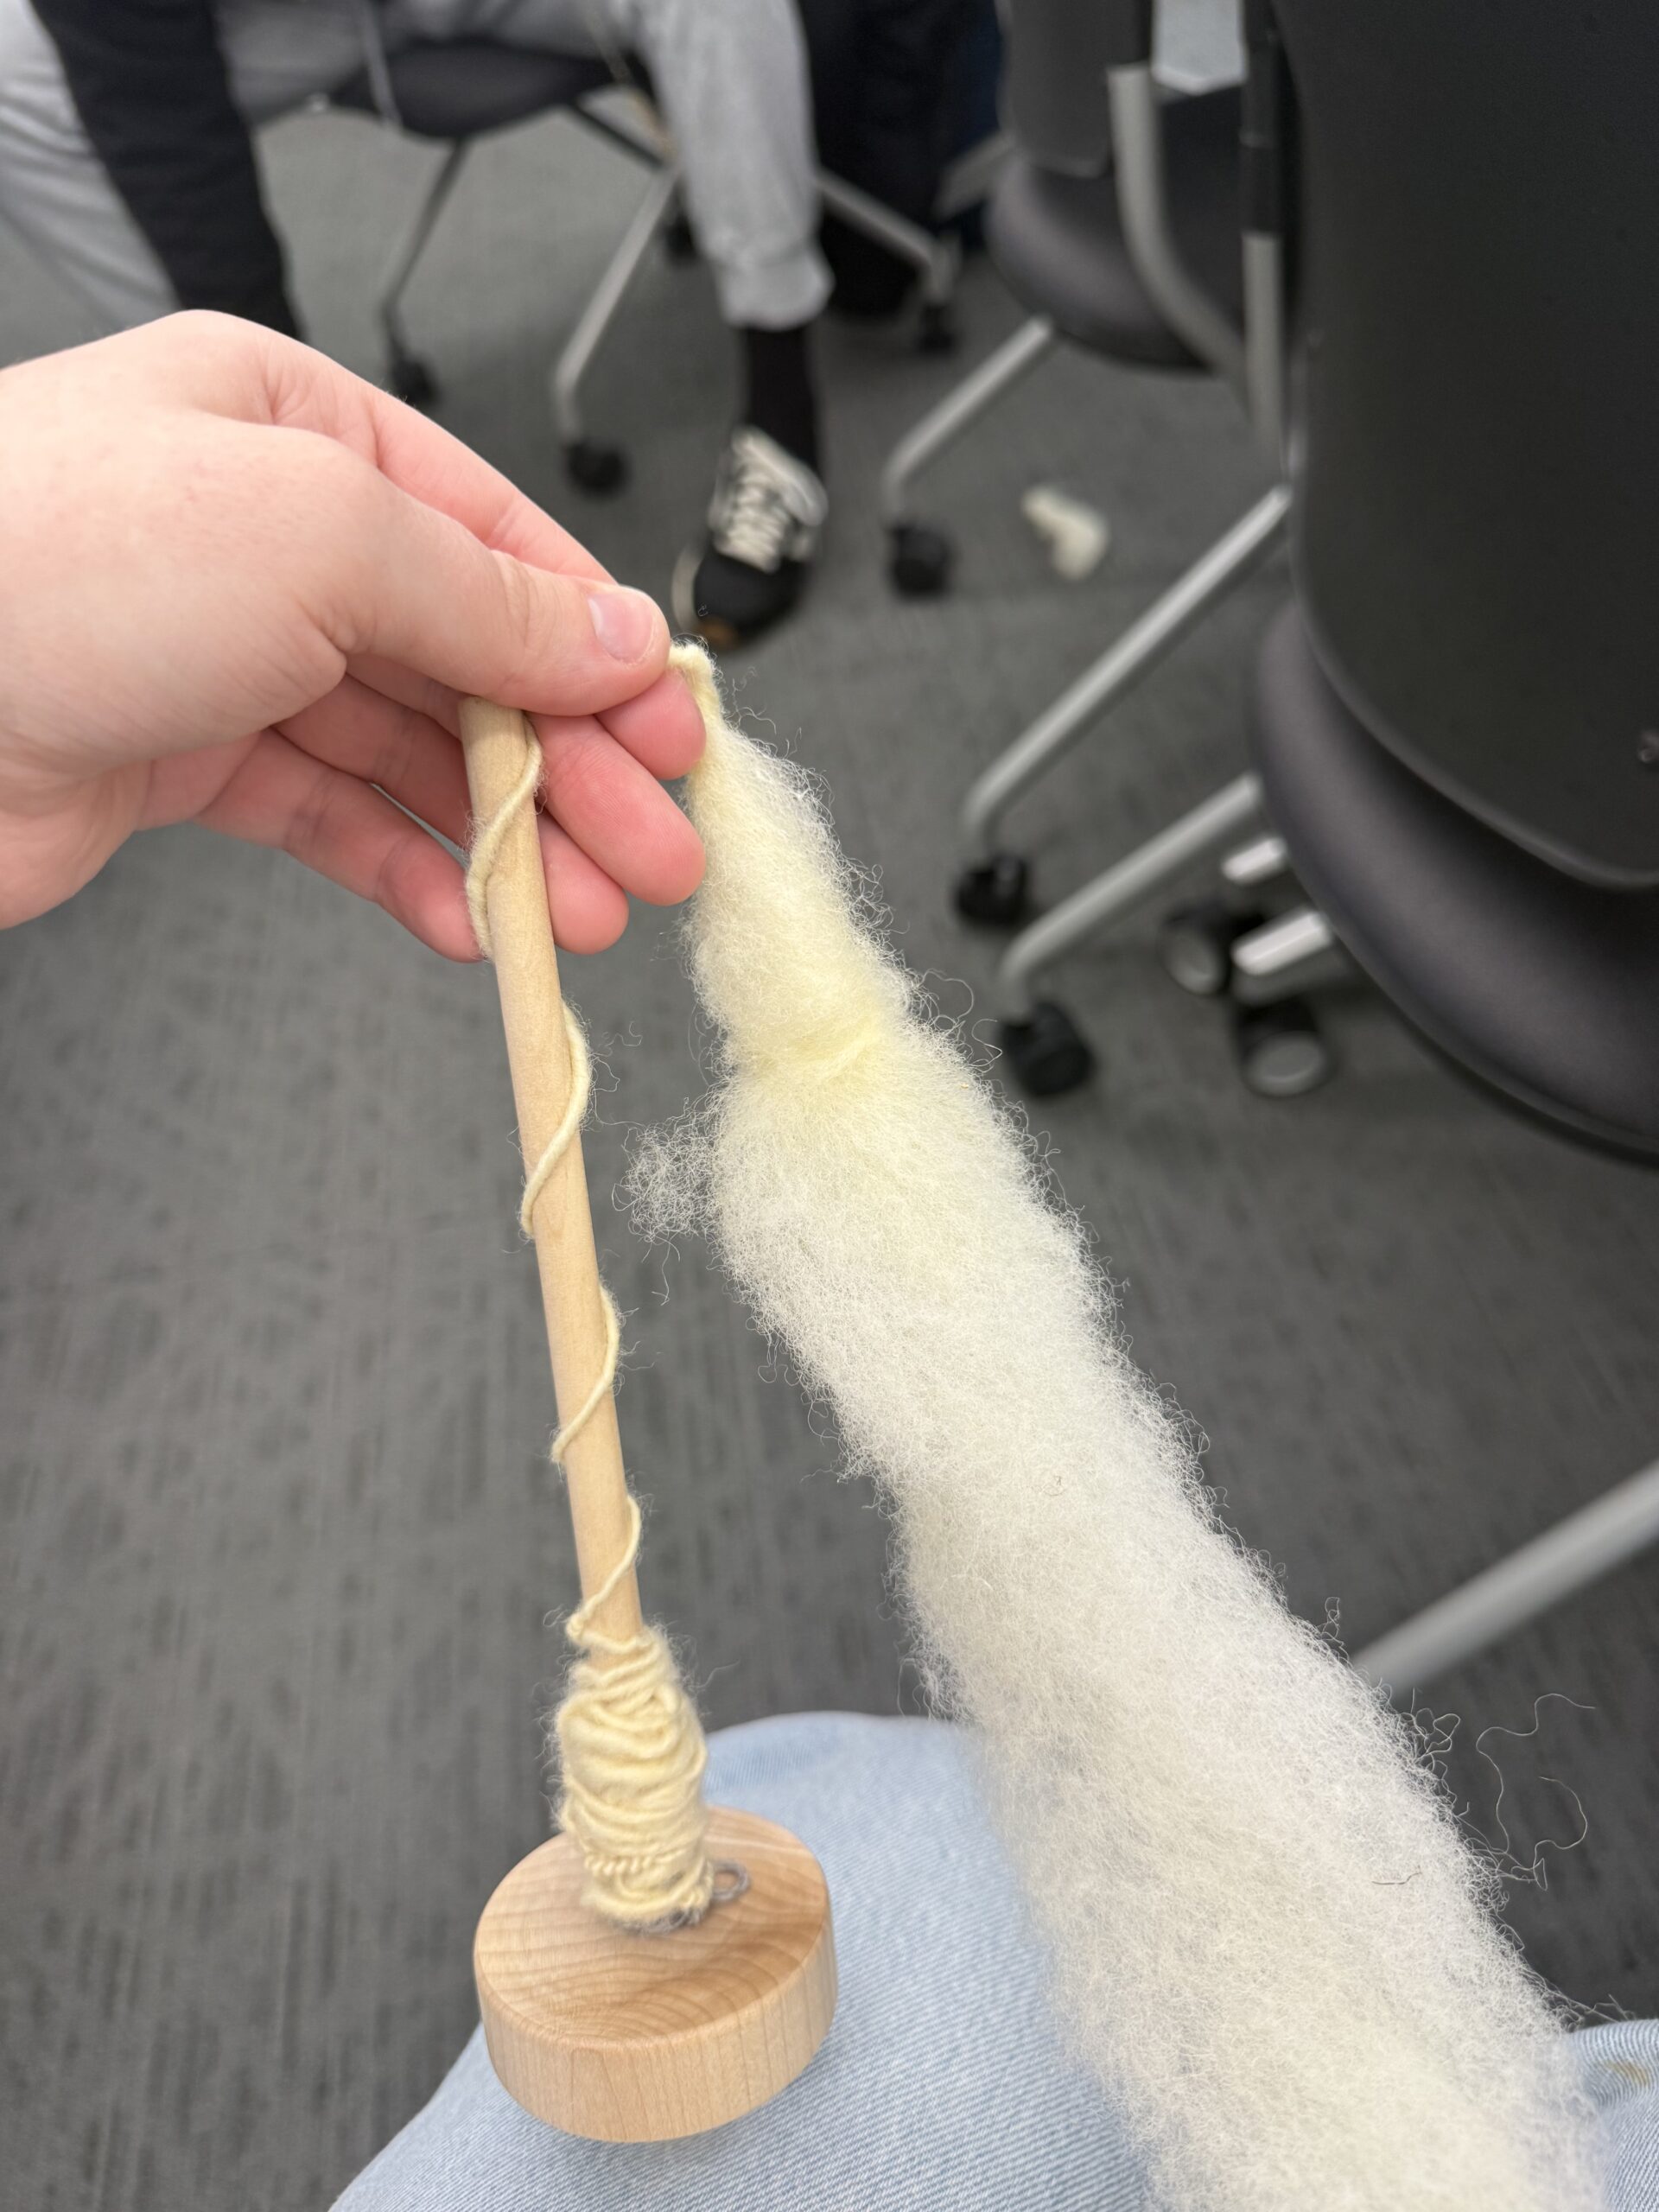
Spinning was the first thing that we learned how to do. We all were given wooden spindles at the beginning of the lab and a “lead.” In order to attach the lead, you would wrap it around the bottom of the spindle about 3 times, then “barber pole” it up to the top and wrap it around the hook at the very top of the spindle. Then, we tied it into a loop and fed the wool through. In order to spin, you spin the bottom of the spindle counterclockwise with your fingers and create tension on the wool that is under where your other hand is pinching. Once that tension is created, you can feed more of the wool down and use the tension to spin. The process is then repeated multiple times until all the wool you want to spin is spun! The tutorial ended at 1:15pm and by 2:00pm most people had the hang of it.
Some factors that influence spinning: Tension; the thickness of the wool; the kinkiness of the wool; speed by which you move
How much wool can be spun in 1 minute?
| Zoe | 2 feet 9 inches |
| Losh | 9.5 inches |
| Caleb | Wool broke immediately |
Feelings while spinning
I found that in my group, there were many different moods about spinning. After the tutorial ended at about 2:00pm, our first station was spinning. Meaning that after we had just spun for 45 minutes, we spun again for an hour. There were feelings of frustration and boredom, and also a large appreciation for the women that have done this their entire lives.
Grams of spun wool 1st try
| Caleb | 2 hours | 31g |
| Losh | 1.5 hours | 19g |
| Madeleine | 1.5 hours | 8g |
Grams of spun wool 2nd try
| Losh | 45 minutes | 12g |
| Madeleine | 45 minutes | 8g |
We got faster!
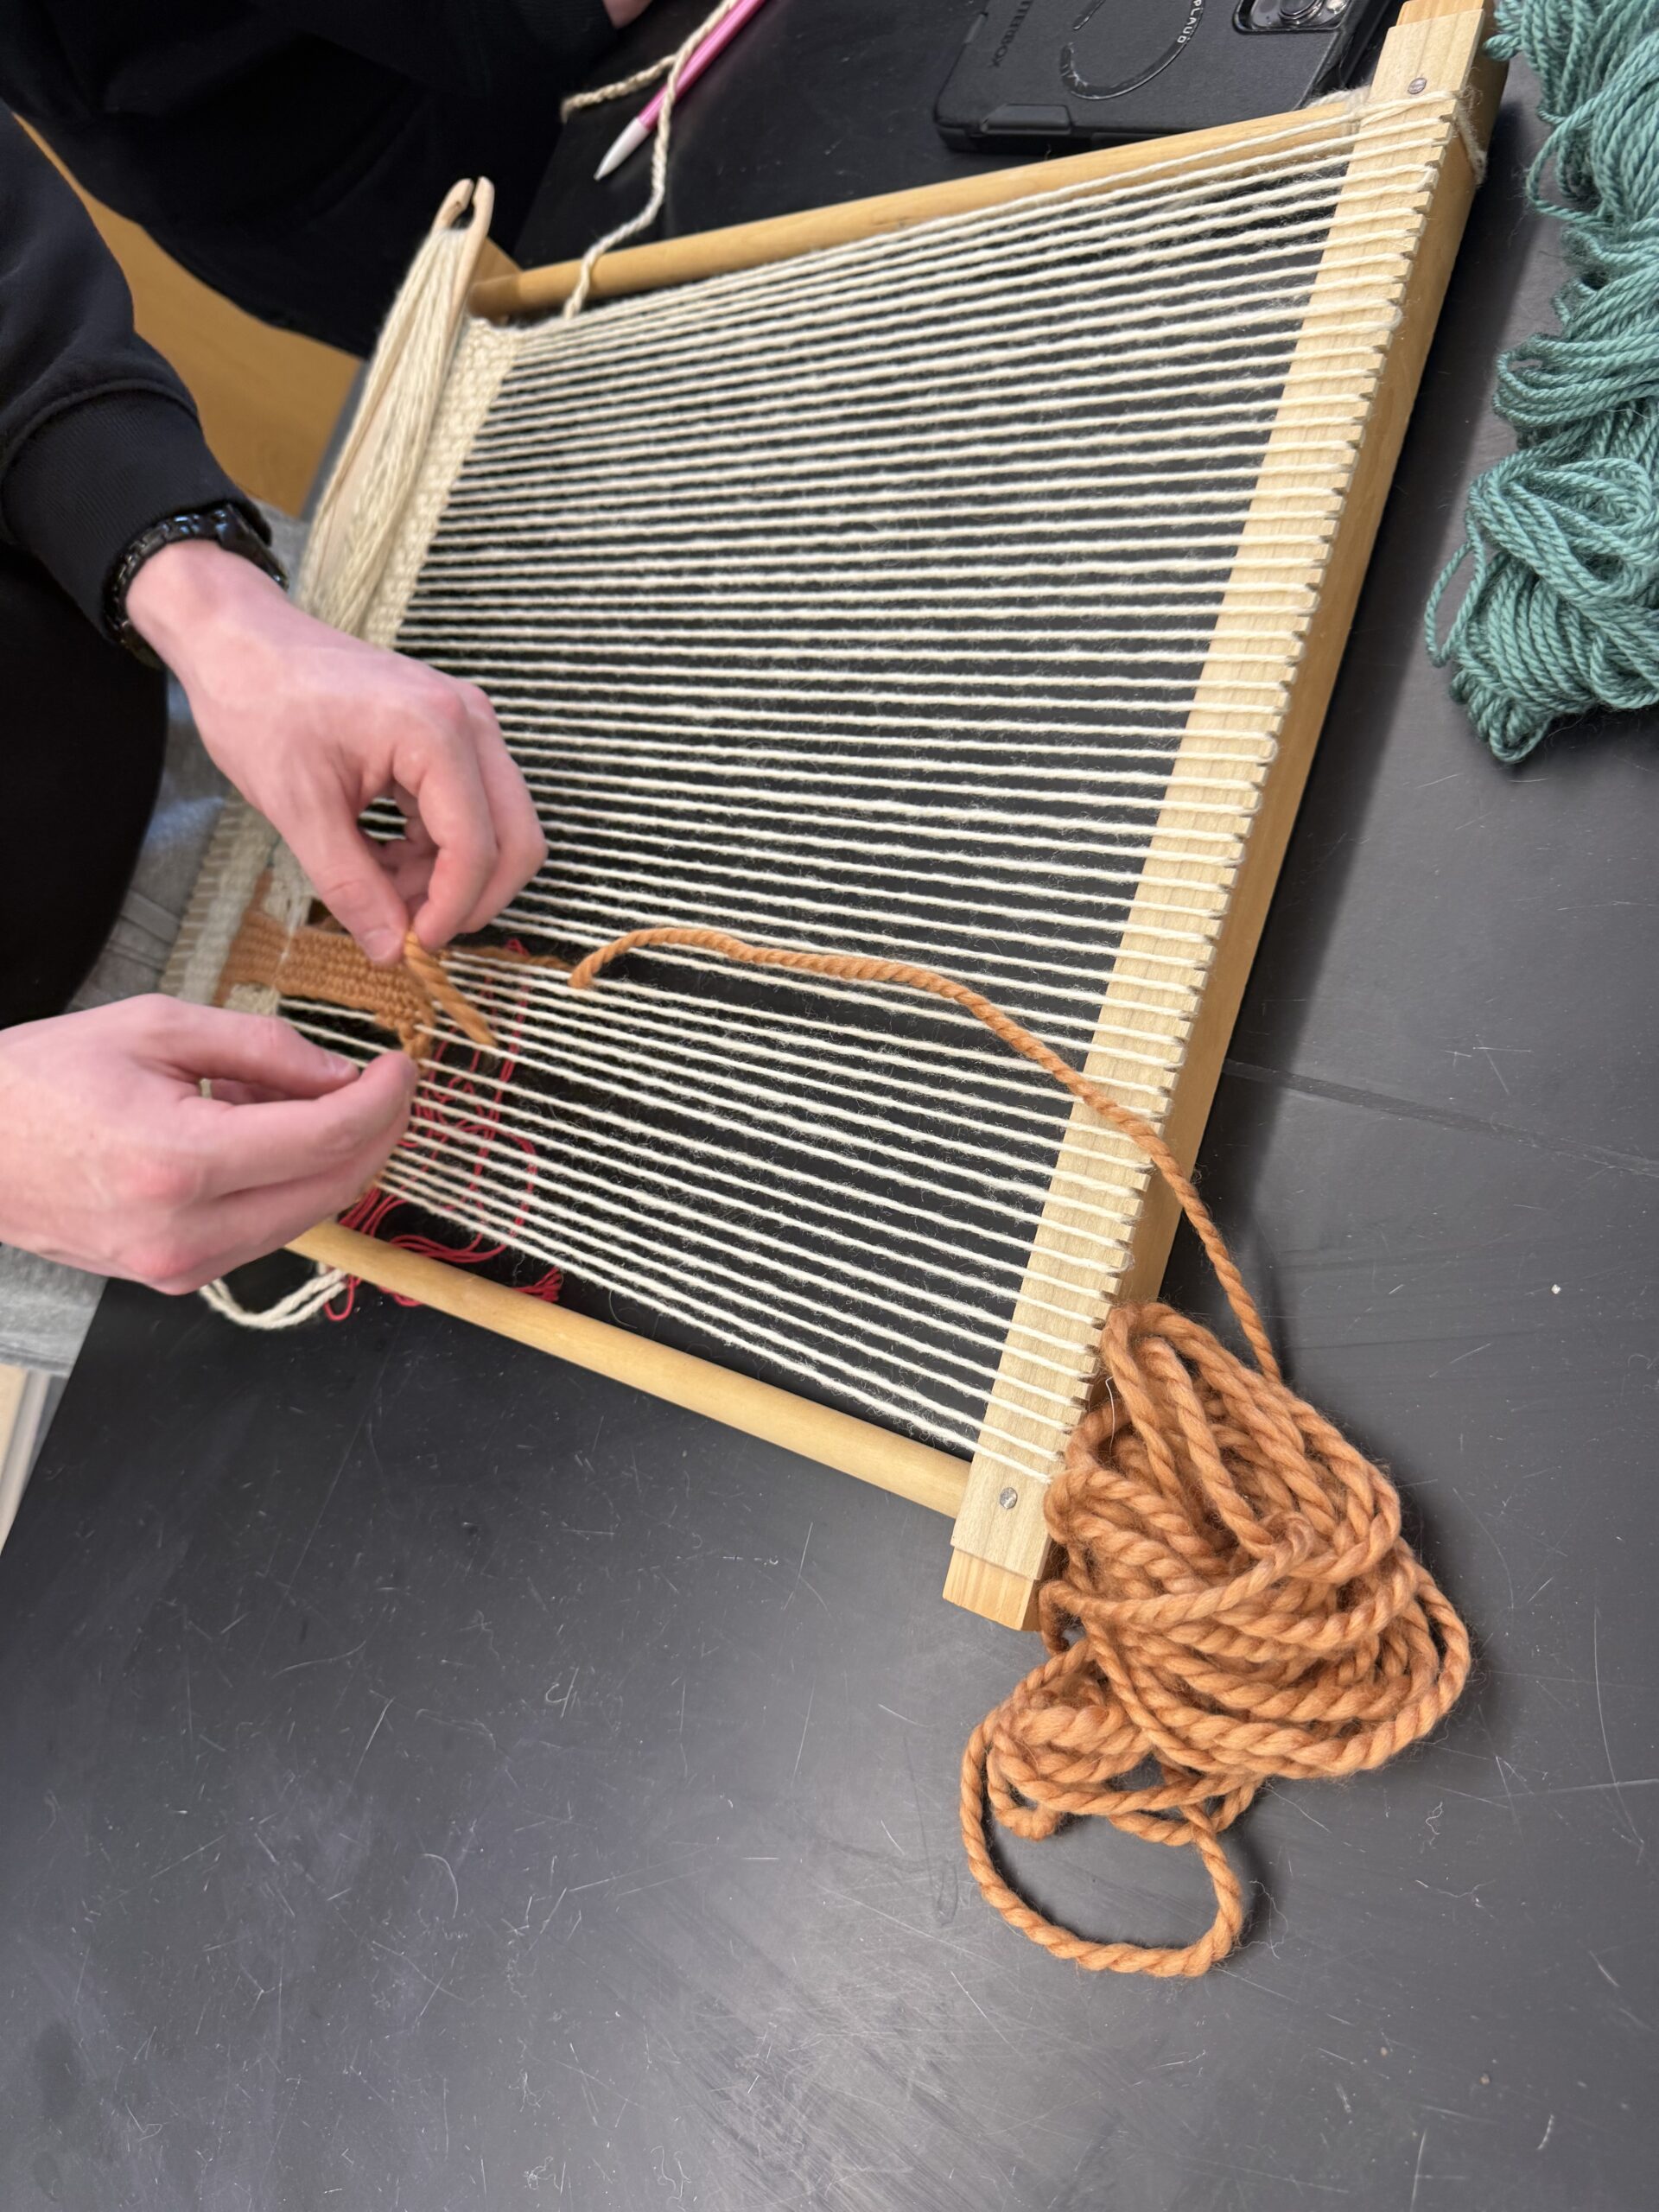
Weaving
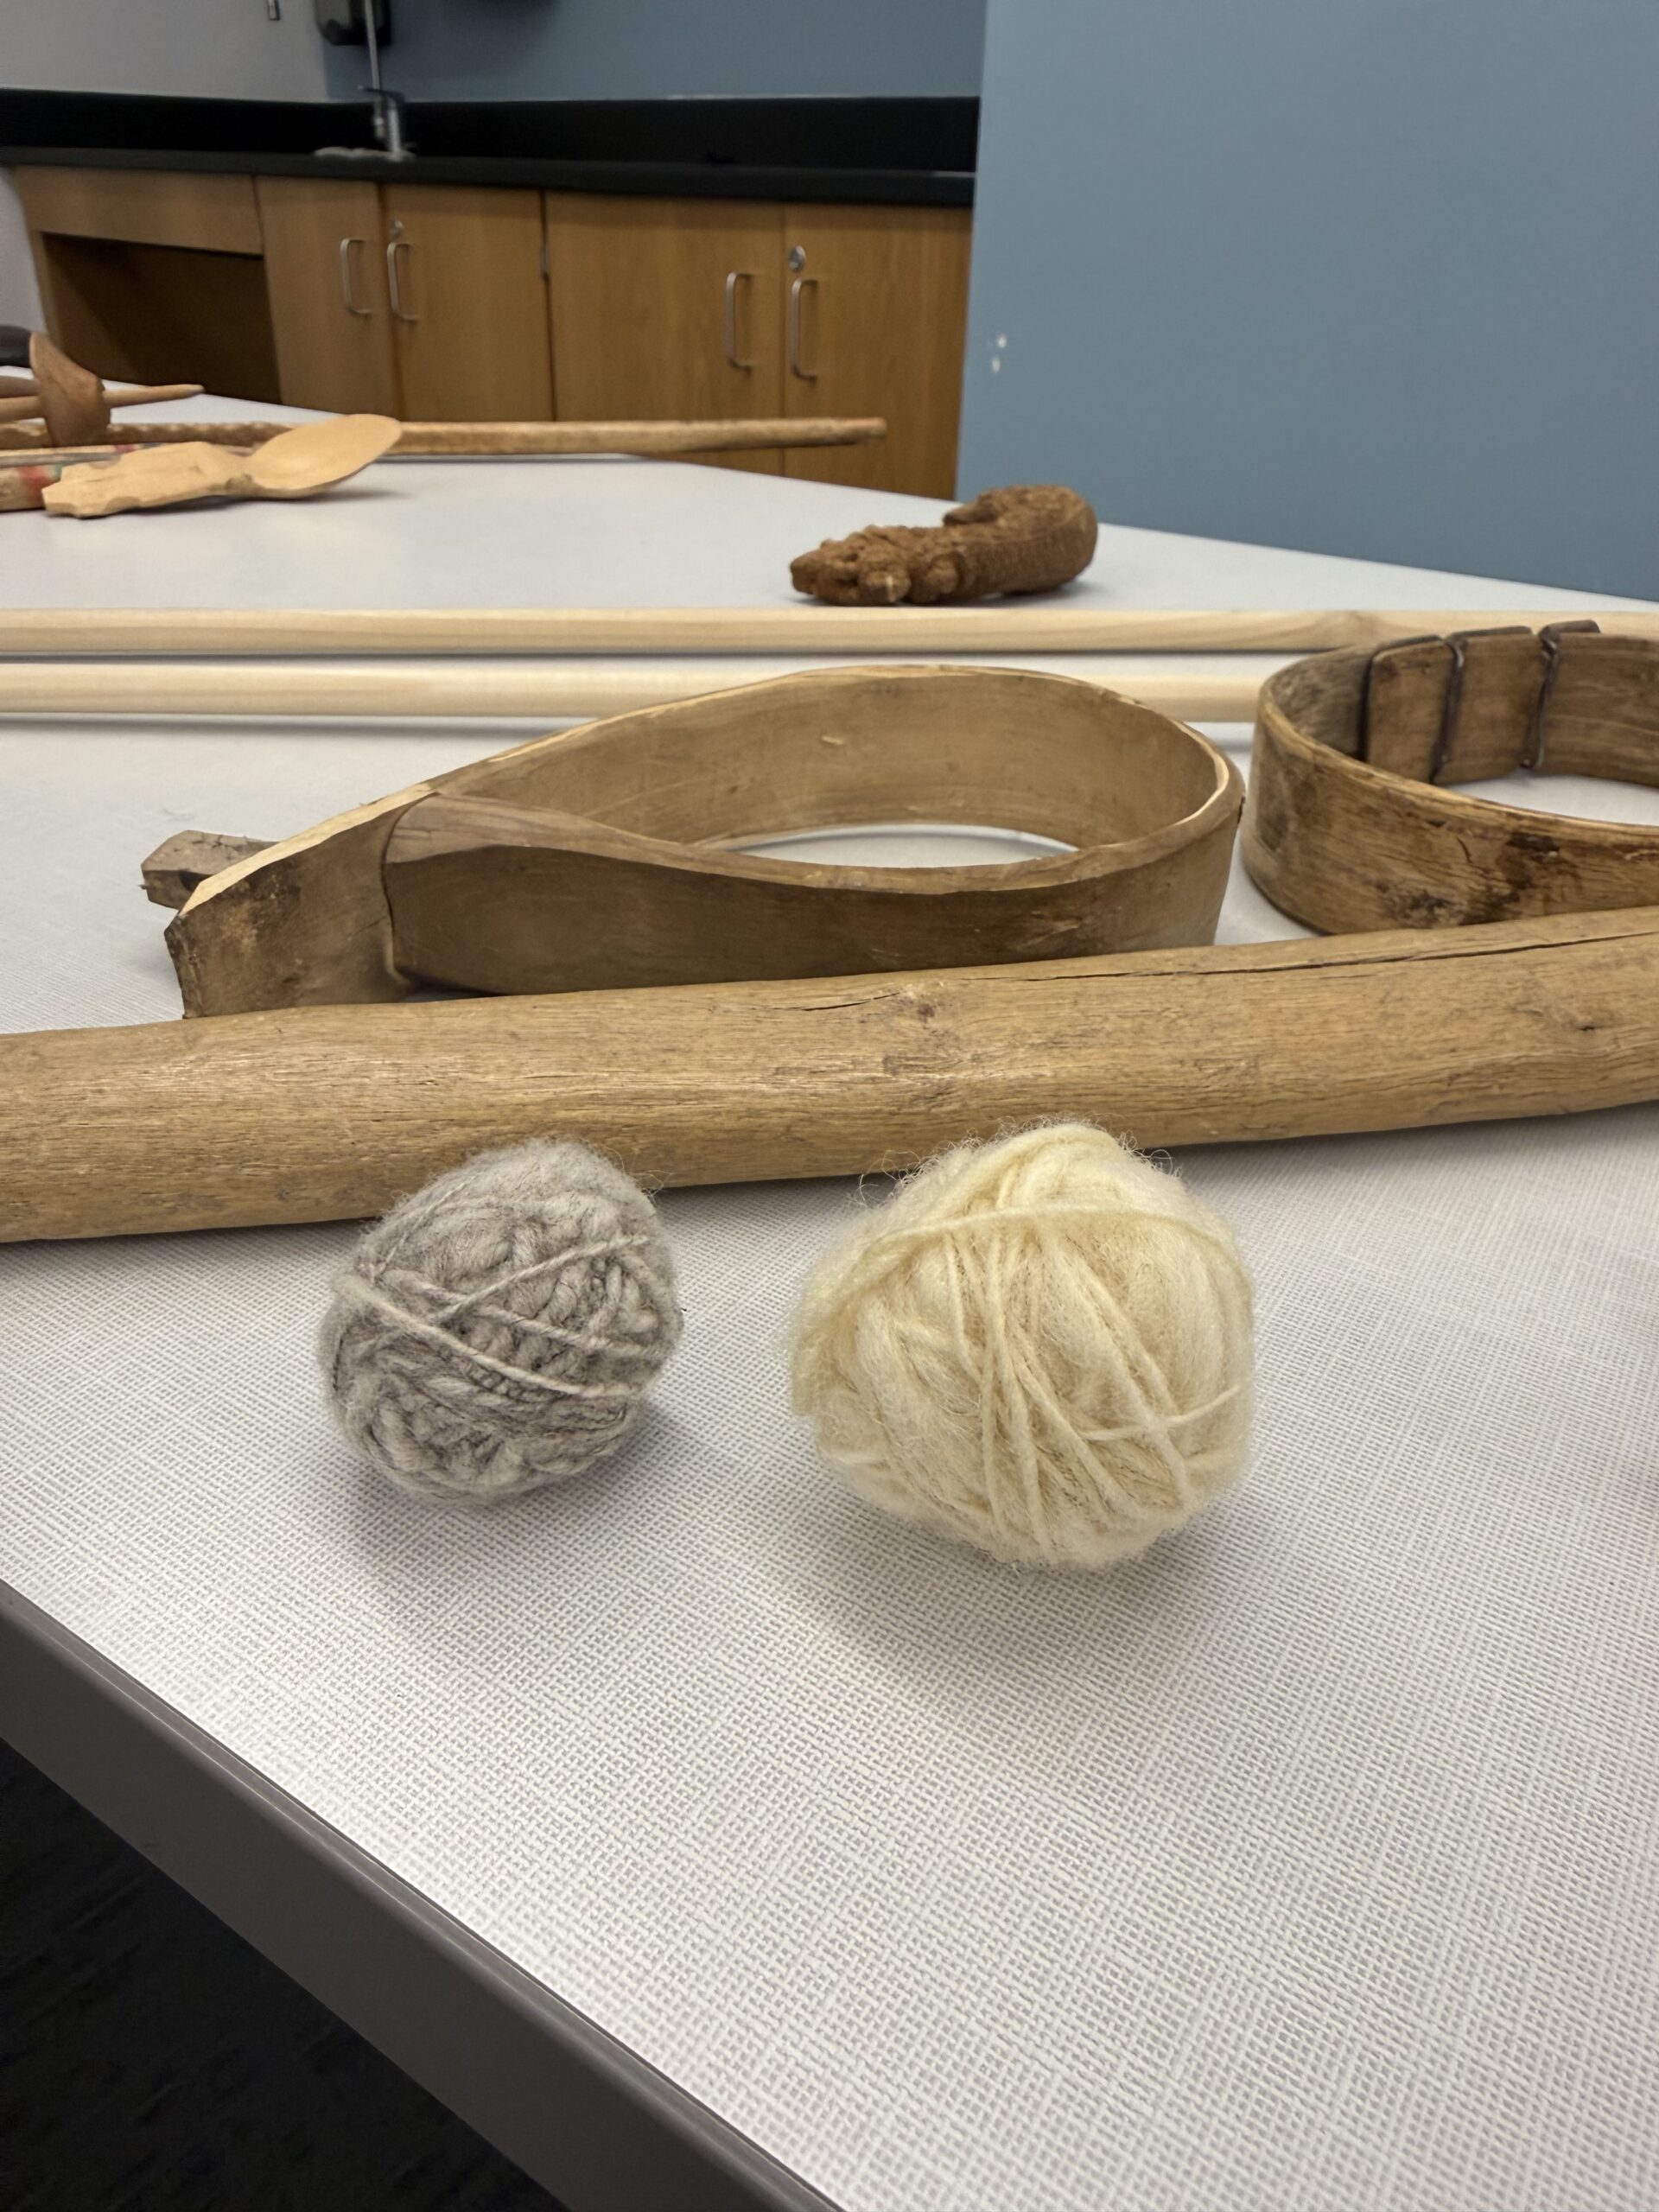
The weaving station was broken up into three parts. There was a tapestry loom with thick thread, a tapestry loom with thin thread, and one rigid heddle loom. There were many different thoughts about the different types of looms. Collectively, the rigid heddle loom was the easiest one to use because it was the easiest one to learn how to use. We were weaving cloth towels and made a ton of progress in the short amount of time that we were at the station. My lab group mate Zoe said that the rigid heddle loom made her “very happy.” One of my other lab group mates, Losh, said that in comparison to the two other looms, he “liked the rigid heddle loom more.” On one of the tapestry looms (the one with the thicker yarn) our group helped add to a tree design that was being created. It was neat to see an art form come to life. Finally, the tapestry loom with the thin yarn was very difficult to use. No one in my group liked using it. Overall, weaving was a cool thing to learn in addition to carding/combing and spinning because it was fun to see how you can use the thread that you have spun.
Overall
Overall, my lab group enjoyed this lab. I will say that some of us started to get hungry and will make sure to pack snacks for next time. Also, as we got better at spinning, our moods about it started to become more positive. It was a cool experience to be able to be so hands-on with our learning!
0 thoughts on “Week 2 Lab Data Group 4: Wool”