
By Gisele Nelson and Nicholas Spezia-Shwiff
Introduction:
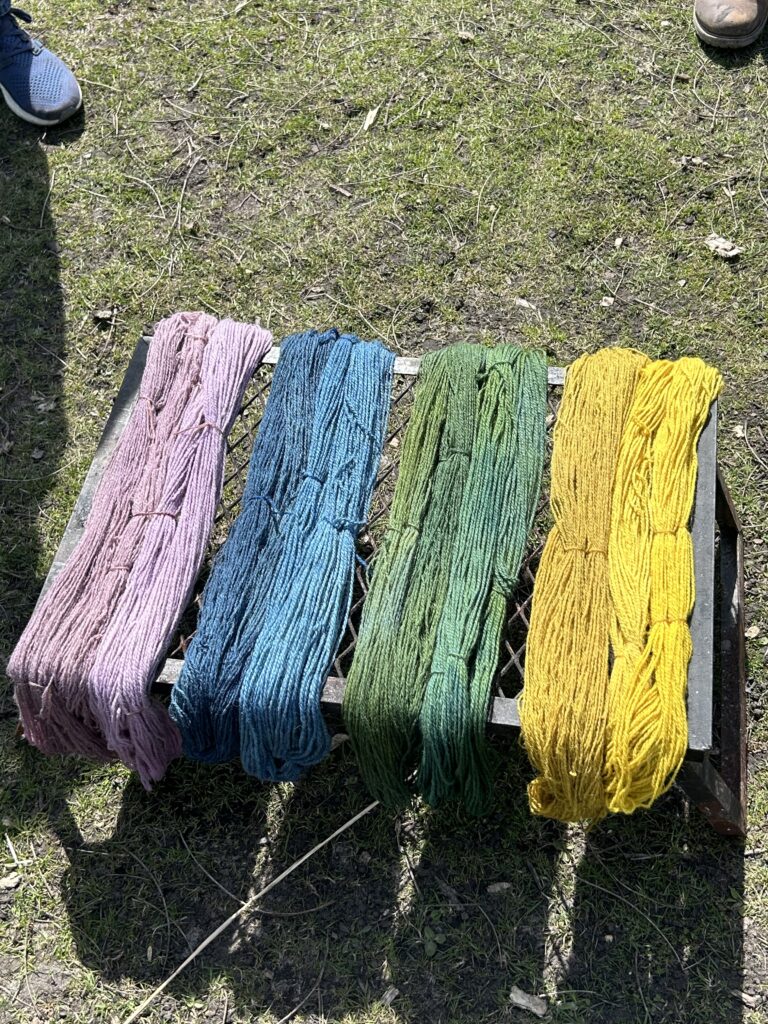
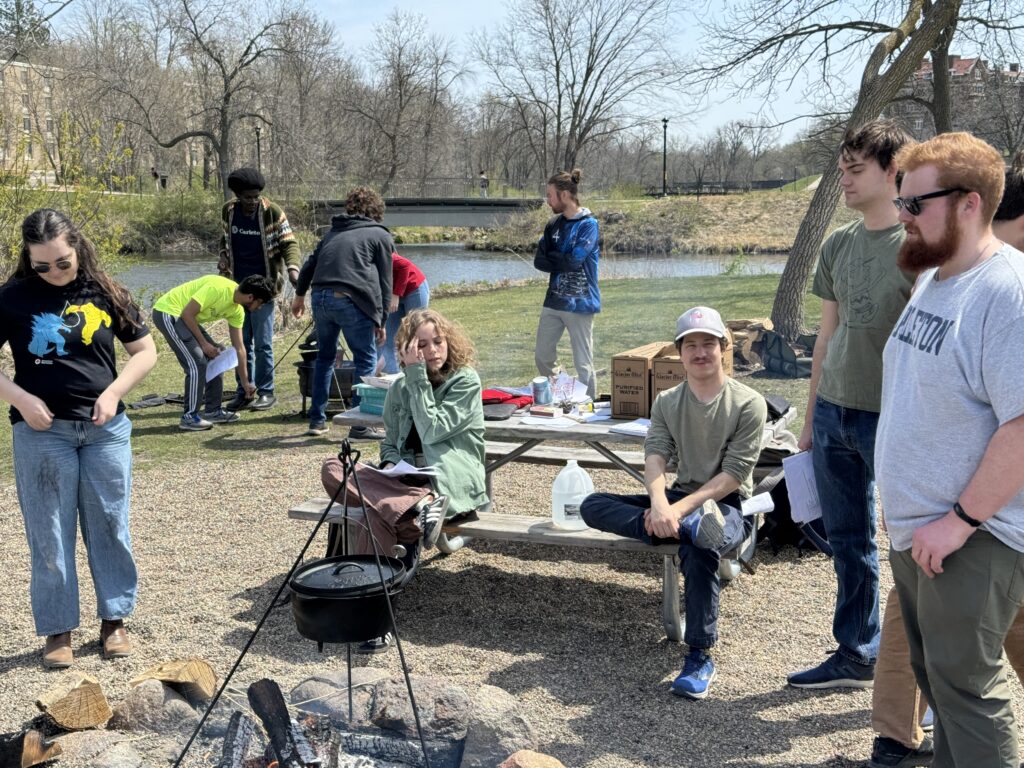
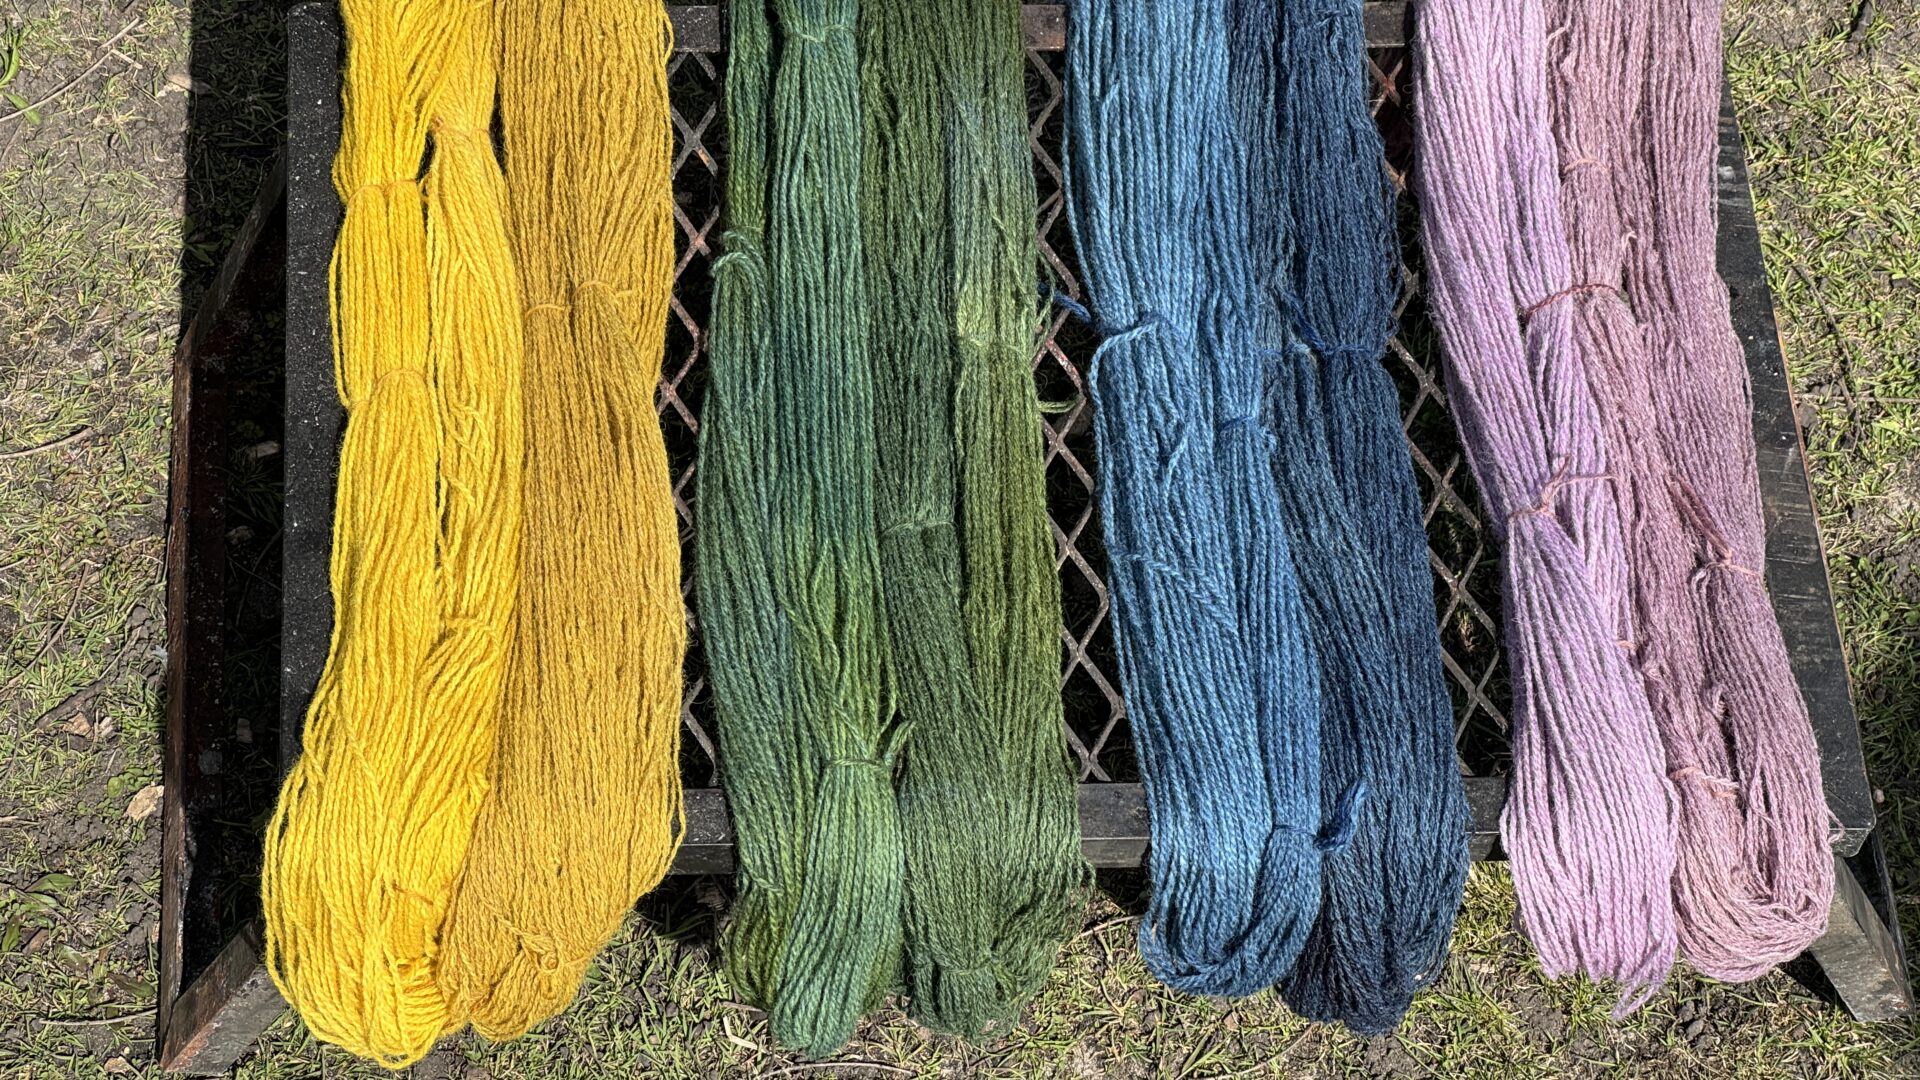
For our fourth lab, we experienced making different colors of dyes with help from wool expert and friend of the class Alejandra Sanchez, who also assisted us last week in our carding, spinning, and weaving lab. As a class, we made four colors (yellow, green, blue, and purple) using natural materials that came from marigold, logwood, and indigo plants. We then used this to dye yarn made from Alejandra’s own sheep.
Given that we generally knew the sorts of colors we would be producing, this lab was more experiential than experimental. Our preparation for this lab was focused on learning about natural dyes in Mesoamerica before Spanish colonization and in the ancient Aegean by looking at the Minoan civilization in Crete. Through readings on these topics as well as a video that showed us how people work with natural dyes, we aimed to get a sense for the process of creating dyes as well as the social significance and importance behind dyed clothing. With these questions in mind, during the lab we tried to take account of both quantitative data and qualitative data in order to best understand how natural dyeing would have been done and what the experience would have been like for the people involved. We asked many qualitative questions, but a few that this post will discuss were 1. How social was the process? 2. How easy or difficult was it to do? and 3. What were our feelings about/during the process?
Making the Dyes:
In order to make each of the dyes, we each split up into three larger groups. Groups A & B made yellow dye from marigold flowers, Groups E & F made green dye using a combination of yellow and blue dyes, and Groups C & D made purple dye from logwood. Before that, however, Alejandra showed the class at large how to make indigo dye.
Indigo (Blue)
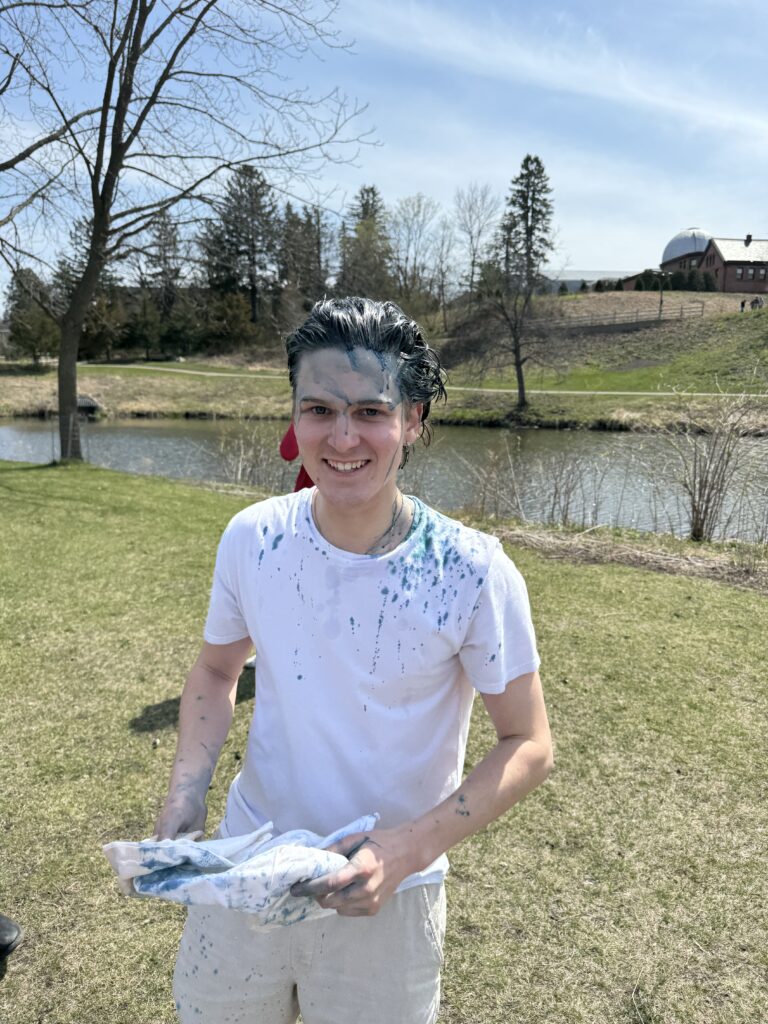
For the indigo dye, Alejandra mixed together dried indigo and other chemicals (sodium hydrosulfite and sodium carbonate) in a bucket of 5 gallons of water to produce a beautiful, deep blue colored dye. Part of this involved making sure the right proportion of plant to chemicals was being followed and that each of the chemicals and the pH of the dye were at the proper levels (Alejandra did much of this before we arrived, given that it requires a lot of time to set up). We had to let the indigo dye sit for an hour or so while covered in order to let it diffuse and be able to stick to fabrics. When we came back, the dye was ready to use. First, we dipped our uncolored yarn into the bucket and it worked very effectively. After this, we started to experiment and things got quite crazy. Students started dipping shirts and other pieces of fabric in the dye, and when we realized how well this worked, a couple of students wanted to try dyeing their hair: Experimental Archaeology at its finest! Surprisingly, dyeing hair with indigo actually worked. The indigo did a good job of sticking onto pretty much everything we experimented with, and everybody seemed really satisfied with the results. The next day, however, most of the dye in people’s hair had either faded a lot or been completely washed out in the shower.


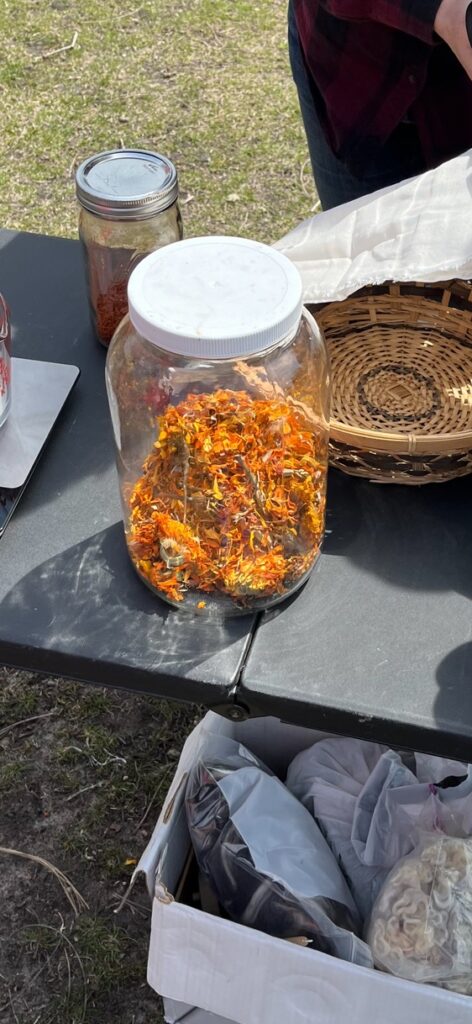
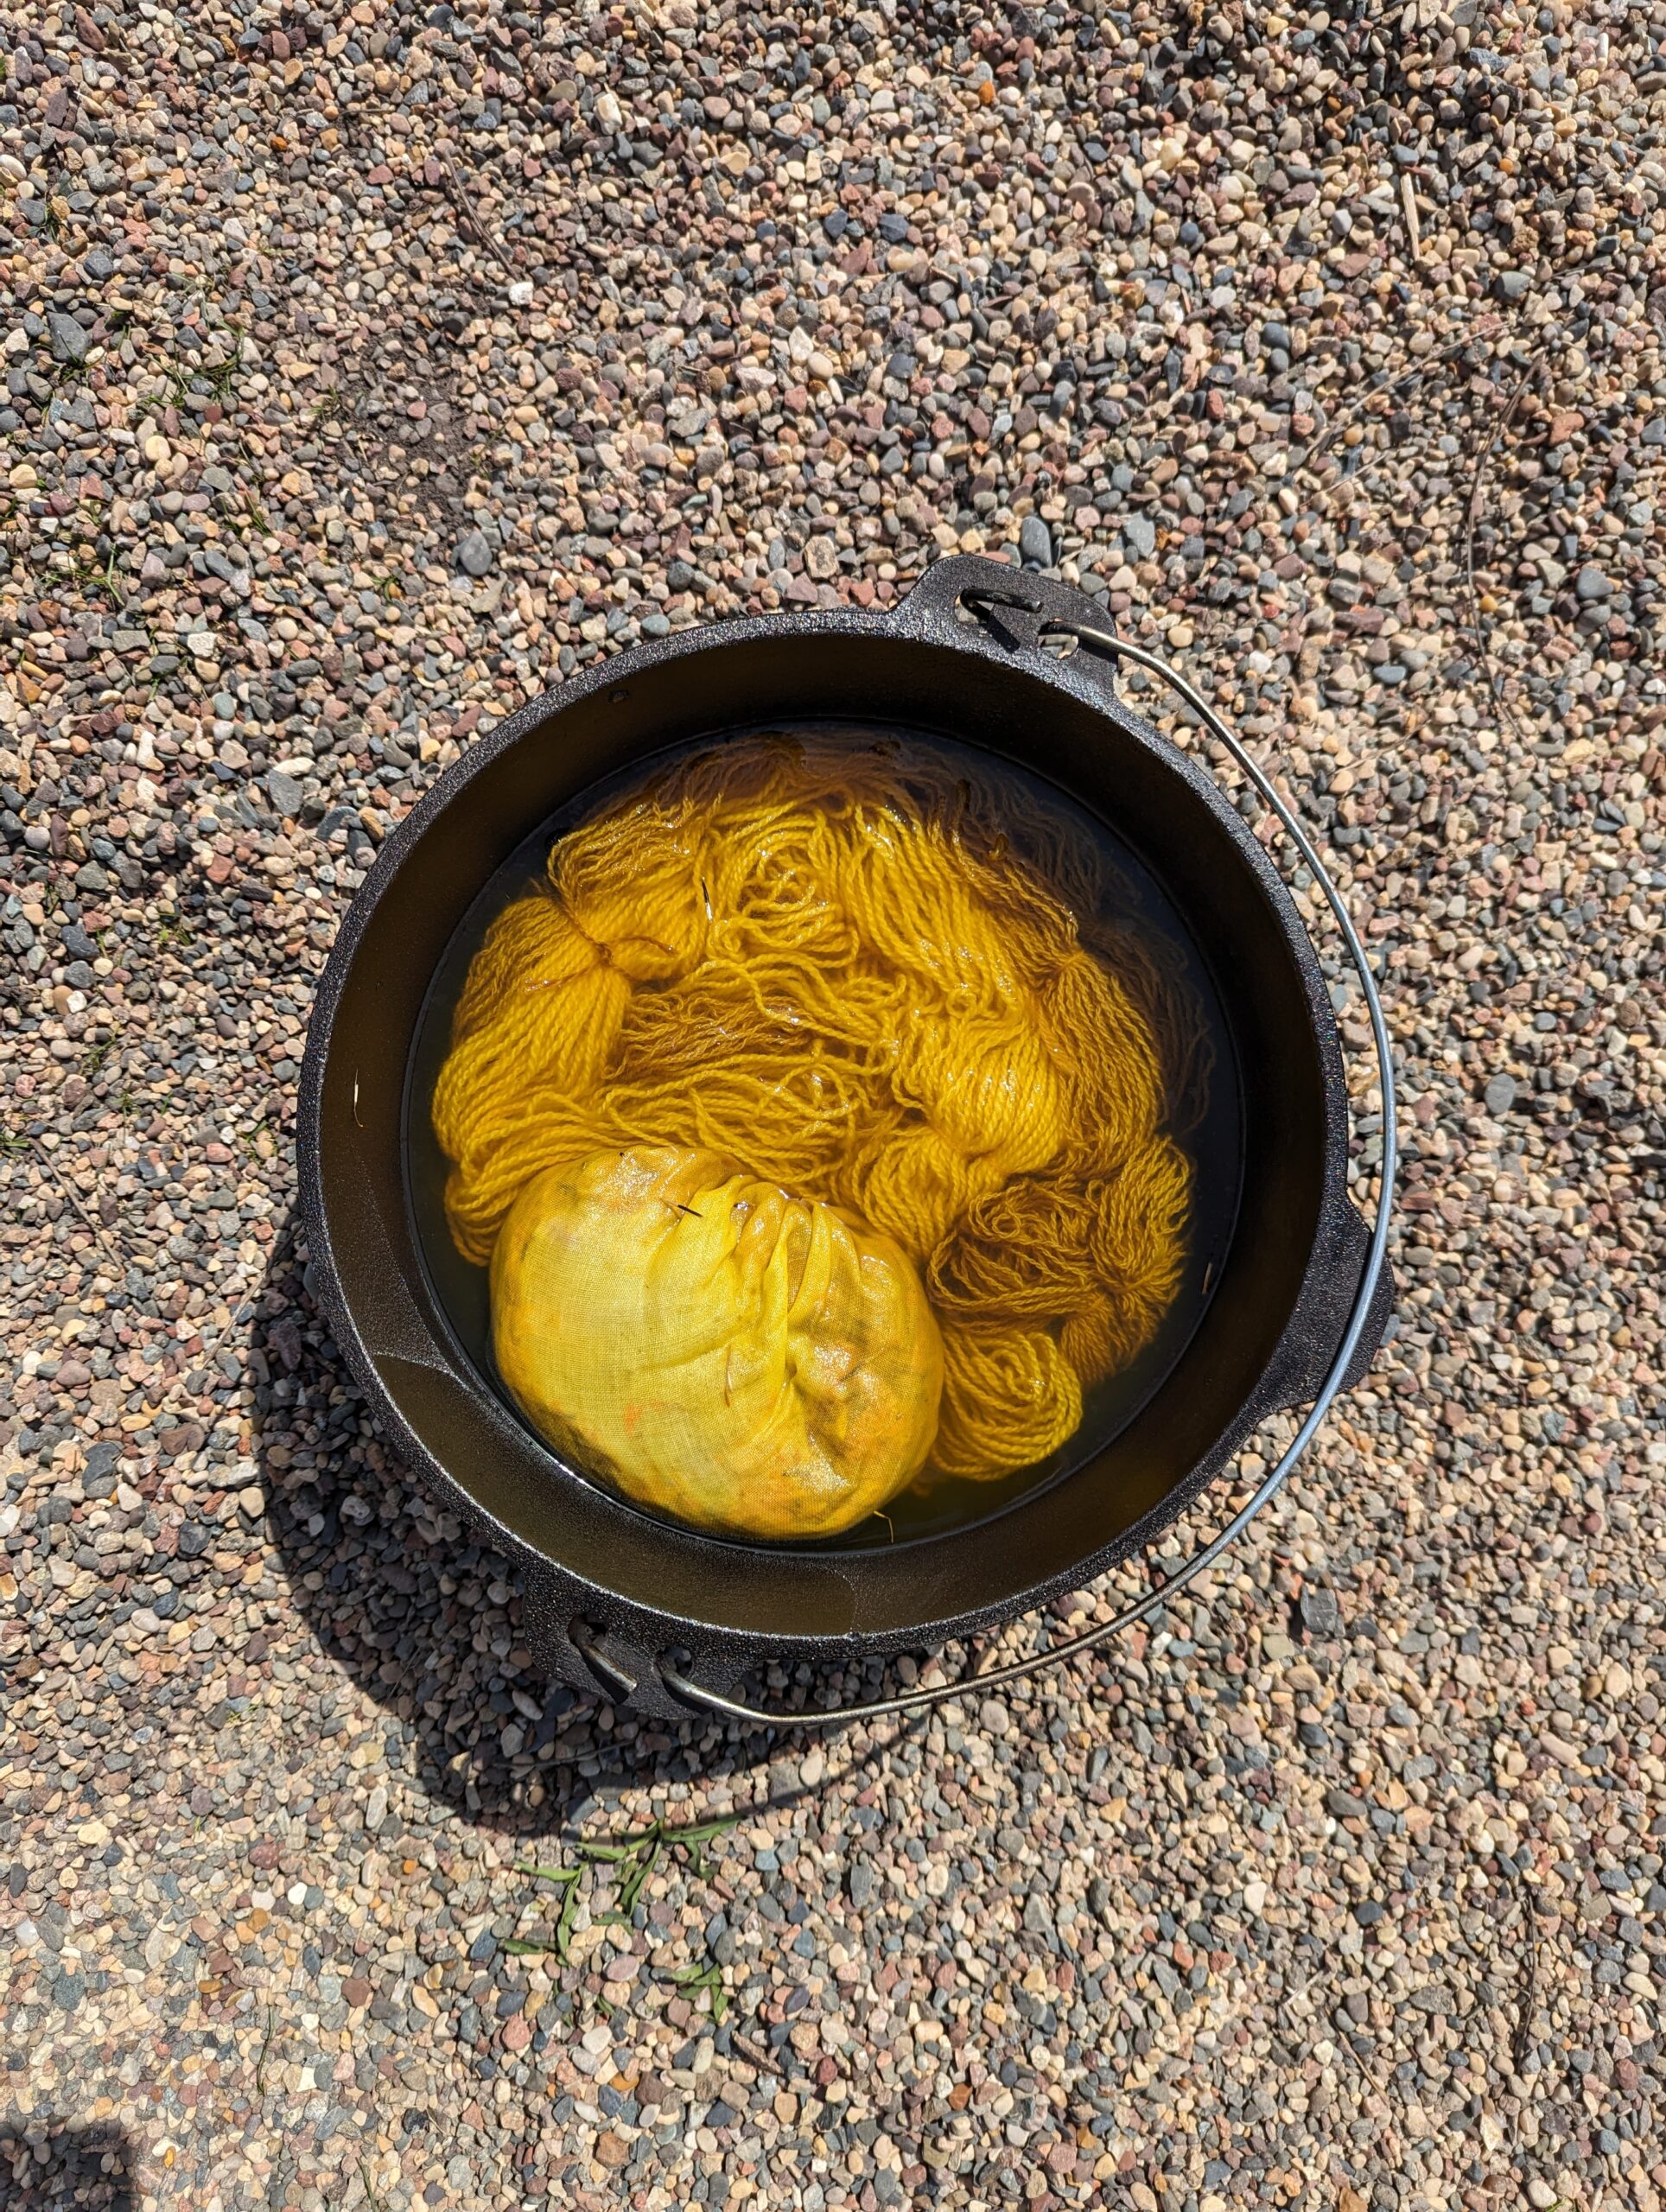
Marigold (Yellow)
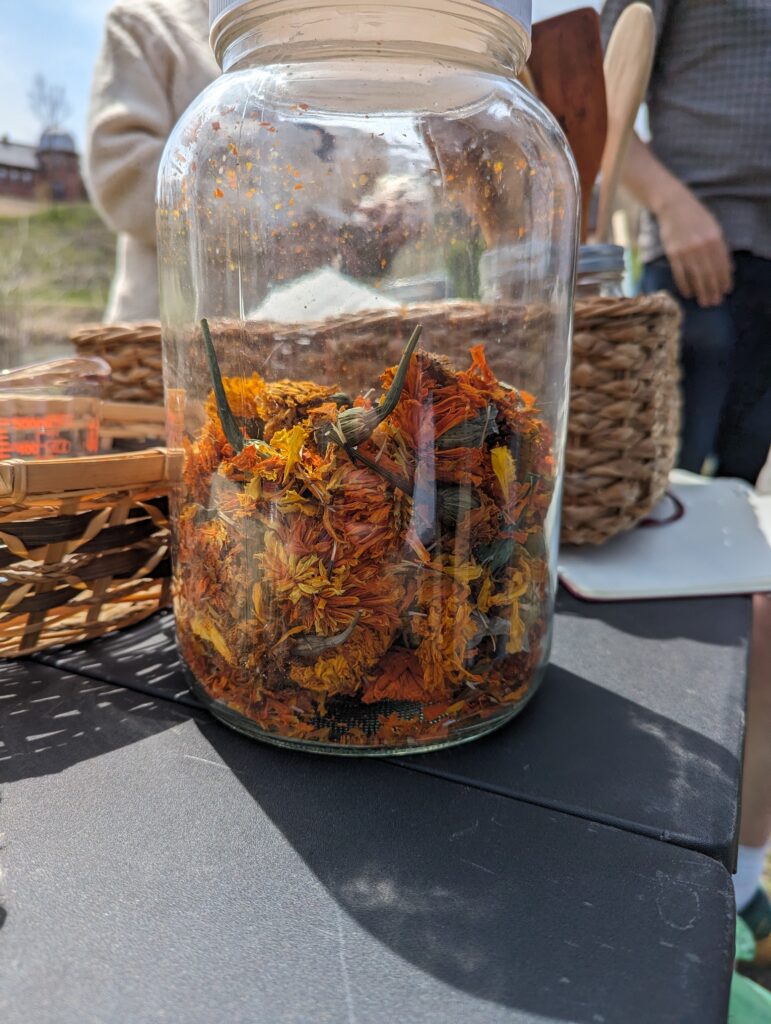
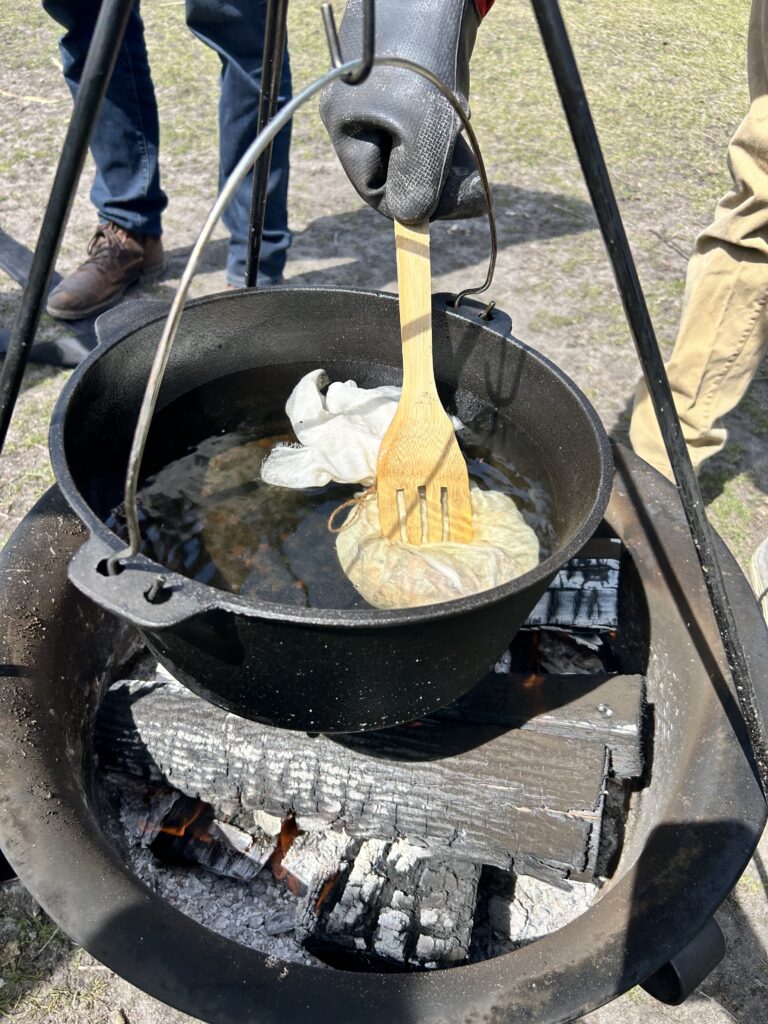
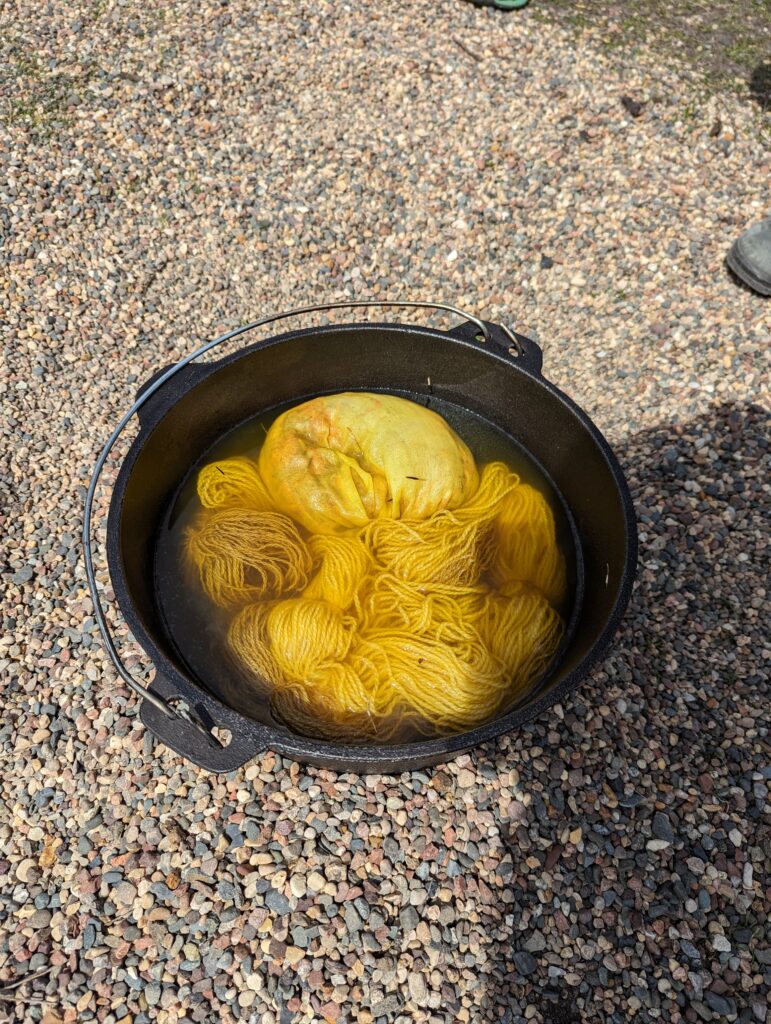
Groups A & B were assigned to make yellow dye using marigold. This process was quite different from the instant, almost magical transformation that happened when something was dipped in the indigo and that eventually led to dyeing everything the class could get its hands on. The yellow dye was a much slower, calmer experience that involved a lot of standing around and waiting. The groups heated one gallon of water on the fire until it reached around 34 degrees Celsius, and then removed it. They weighed out 50g of marigold flowers into a cloth, which was then tied to form a bag that could be submerged in the water without danger of the flowers coming out. After 10 minutes of the dye bag being submerged in the water, the groups saw that the water was “distinctly yellow” and judged that enough dye had seeped into the water to be ready for the next step: adding the yarn. The group added 100g of wool yarn, meaning that it was easy to divide the weight of the marigold by the weight of the fiber and calculate that the dye we were putting in was 50% WOG (weight of goods). An important detail as well was that 50g of gray wool and 50g of white wool were used; this allowed for a comparison at the end of how the dye turned out differently in the two types of wool and theorizing on why sheep with white wool might be favored. After an hour, the group removed their yarn from the dye and left it to dry. Both types of yarn came out very well, and the groups were quite satisfied with the vibrant color.
Marigold + Indigo (Green)
Groups E & F were the first to choose which dye they wanted to make, and they decided on green. Although it might seem that green is everywhere in nature and that leaves or other plant material would be used to make green dye, the group actually used a combination of the yellow and blue to dye their wool green. The group followed all the same steps as the above group for making marigold dye, with the only difference being that maintaining the temperature was not noted as being as much of a difficulty. After leaving the yarn to soak in the hot liquid for around an hour, the group took their yarn out, wrung it out as well as they could, and then slowly lowered it into the indigo. The group worried about the dark, instantaneously-dyeing blue overpowering the yellow that had taken an hour to soak in, but the colors blended perfectly into an unmistakable green colored yarn. Just as with the previous group, this group dyed 50g of white wool and 50g of gray wool so as to be able to compare how well the color took in each one.


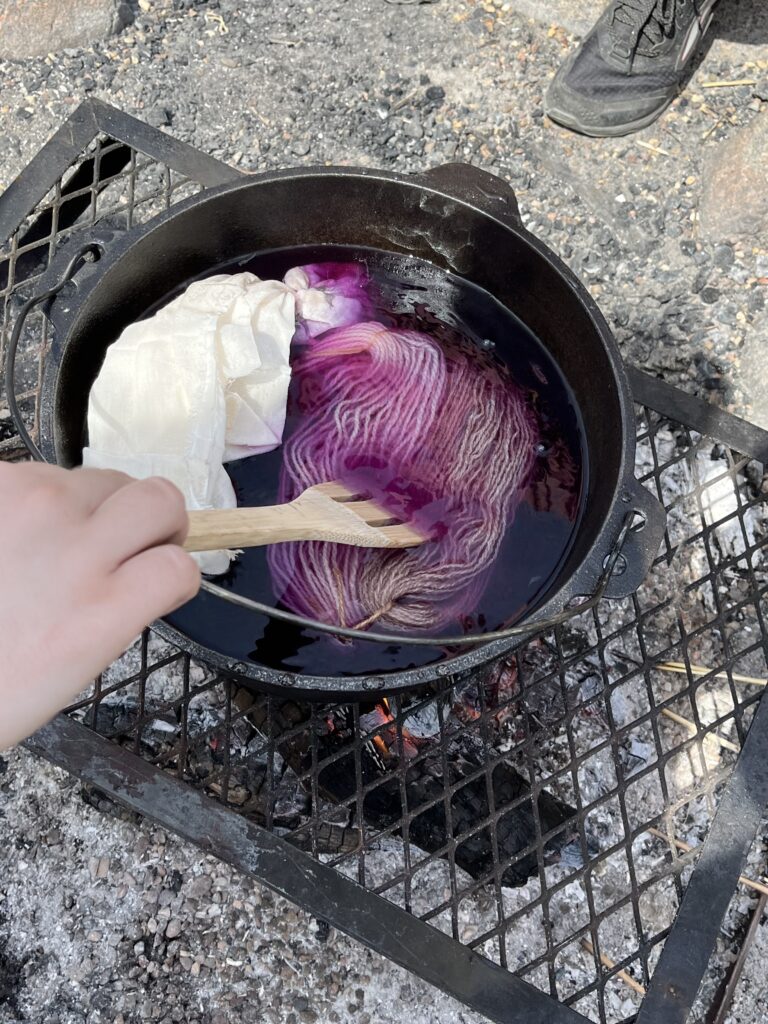
Logwood (Purple)
Groups C & D used dried logwood to make a very nice purple dye. First, the students poured 1 ⅓ gallons of water into an iron pot above a fire. Then, the water was heated to around 100 degrees Fahrenheit, with constant checks on the temperature to make sure the water did not get too hot. While there was no exact temperature the water had to be, somewhere around the 100 degrees mark was the ideal temperature at this stage in the process. Following this, they measured out and added 10 grams of logwood in a cheesecloth into the pot. They closed the lid for 5 minutes to let the dye settle and start to mix in before then adding the yarn. After the yarn was added, the group had to wait 45 minutes. While this was going on, they did various temperature checks to try to keep the temperature between 110 degrees and 120 degrees Fahrenheit. When the temperature would get too hot, they would take the pot off of the fire, and when it would begin to cool they put it back on the fire, repeating these steps over the span of 45 minutes. After 45 minutes had elapsed, the yarn had dyed and was a gorgeous sight to behold.

Data/Analysis:
Although most groups agreed that this lab was simpler and required less skill than some of the previous ones – especially the wool lab from last week that involved skills people spend a whole lifetime learning – temperature control was one thing that a few groups struggled with. The yellow group commented on the “constant monitoring” involved in maintaining a regular temperature close to body temperature before putting in the dye at the beginning, as well as throughout the whole process. This can be seen in the graph below, where the temperature for both groups often drops because of air temperature and then rises again as the group puts their pot back on the fire. The general goal was something close to body temperature (around 37 degrees Celsius).

The graphic below shows the materials involved in each of the four dyes (the green dye didn’t require any unique ingredients because it was a combination of the process for the yellow and blue dyes). We were impressed by how few ingredients were needed to make natural dye. Although the indigo was slightly more involved because we had to limit how much oxygen got into the mixture, it still wouldn’t be too hard to gather the necessary materials and attempt to recreate the experiment ourselves.

The experience did leave us with some remaining questions that would be interesting to test if given the chance to do this lab again. One group commented on the “lavender color as opposed to a deep purple” of their yarn, and we wondered if we could intensify the color by leaving the yarn in the water for longer or by increasing the temperature. We had more experience with heating water over a fire at this point in the trimester, but we still might wonder if the results would have been any different if we had a more reliable way of maintaining the temperature.
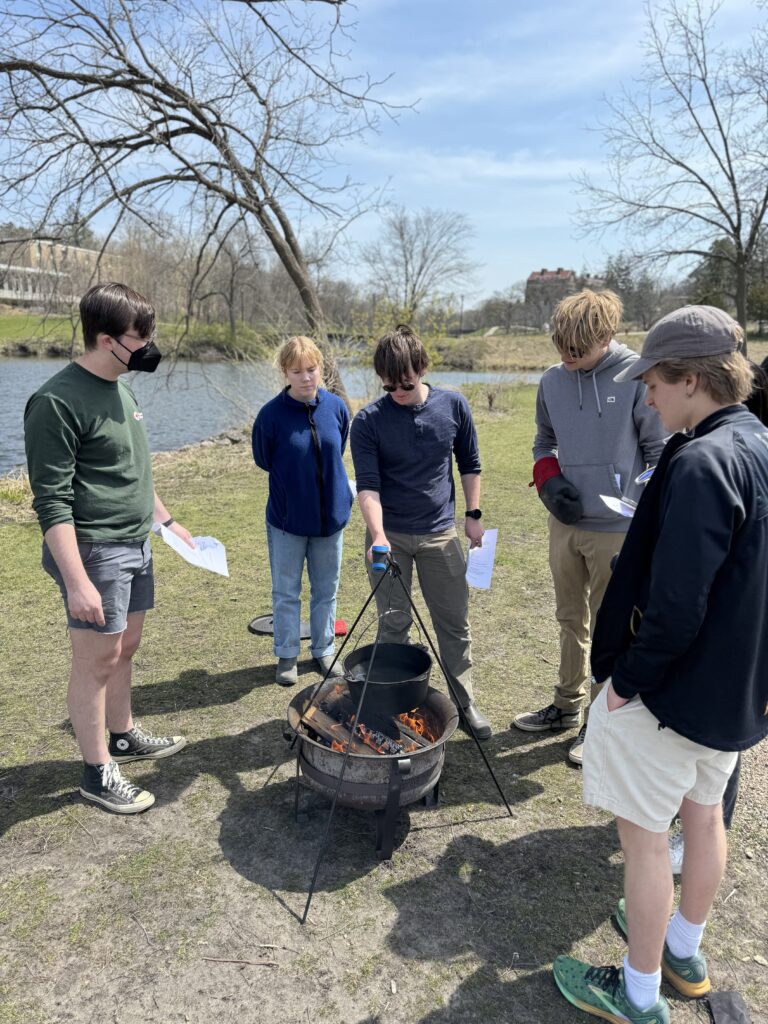
One thing we noticed with the yellow, green, and purple dyes was how much time was spent standing and waiting after we had set things up, and how this both led to opportunities for socialization and potentially decreased morale. The purple group noted an initial average emotional excitement of 6.5, but an hour later, this number had dropped to 5.67 (outliers made this number appear higher than it was). “Excitement” may have gone down, but many people were still having a good time standing around talking, and this time spent waiting was also a good chance to have fun dipping things in the indigo dye. One student even had time to go home to get a shirt to dye! We could imagine ancient people sitting around spinning or maybe even weaving while waiting for things to be dyed, or potentially staggering many dye lots at once and working on one until the others were ready.
What We Learned:
The lab taught us a great deal about how to dye using natural products. In addition to learning about the actual steps of dyeing, we also got a sense of what it would have been like and how it would have felt to dye in the past. Referring back to the questions posed at the beginning of this post, we were quite surprised just how easy and relatively simple the process of dyeing was. Other than measuring out the ingredients and keeping the temperatures within a general range, there was nothing too intensive involved in any of the three dyes the groups made. The indigo dye did take more precision, and without Alejandra we would have struggled far more, but it ultimately seems like the harvesting of the plants and producing the yarn would have been far more difficult than the actual dyeing process.
It was a surprisingly social process due to how much time we had to wait around, and we all had the opportunity to chat and walk around to other stations to see how other dyes were coming along. One student wrote that it was “good for the community” while another remarked that the experience made them understand the role of collaboration in historical societies better, which is something that cannot easily be learned from simply reading a textbook. A common feeling that all of the students seemed to echo was that actually making the dyes gave us a greater appreciation for dyers who worked and continue to work with natural products, and we are all grateful to have had this opportunity.


0 thoughts on “Lab Summary Week 5: Dyeing”