By Jacob Sanders, Parker Johnson
Introduction
Last week, we built the timber frame of our Anglo-Saxon mortuary house. In this week’s lab, we finished construction by adding walls and a roof. Our overall goal was to experimentally reconstruct a four-post mortuary house, based on the outline of post holes discovered around cremation deposits at Apple Down in Sussex. There were several smaller goals, as well, which related to wood processing and exploring the transfer of skills between weaving and wattle architecture and joinery. In addition to learning more about the materials we were working with, one of the lab’s primary goals was to observe the emotions and reflections building a mortuary hut might inspire in us as participants.
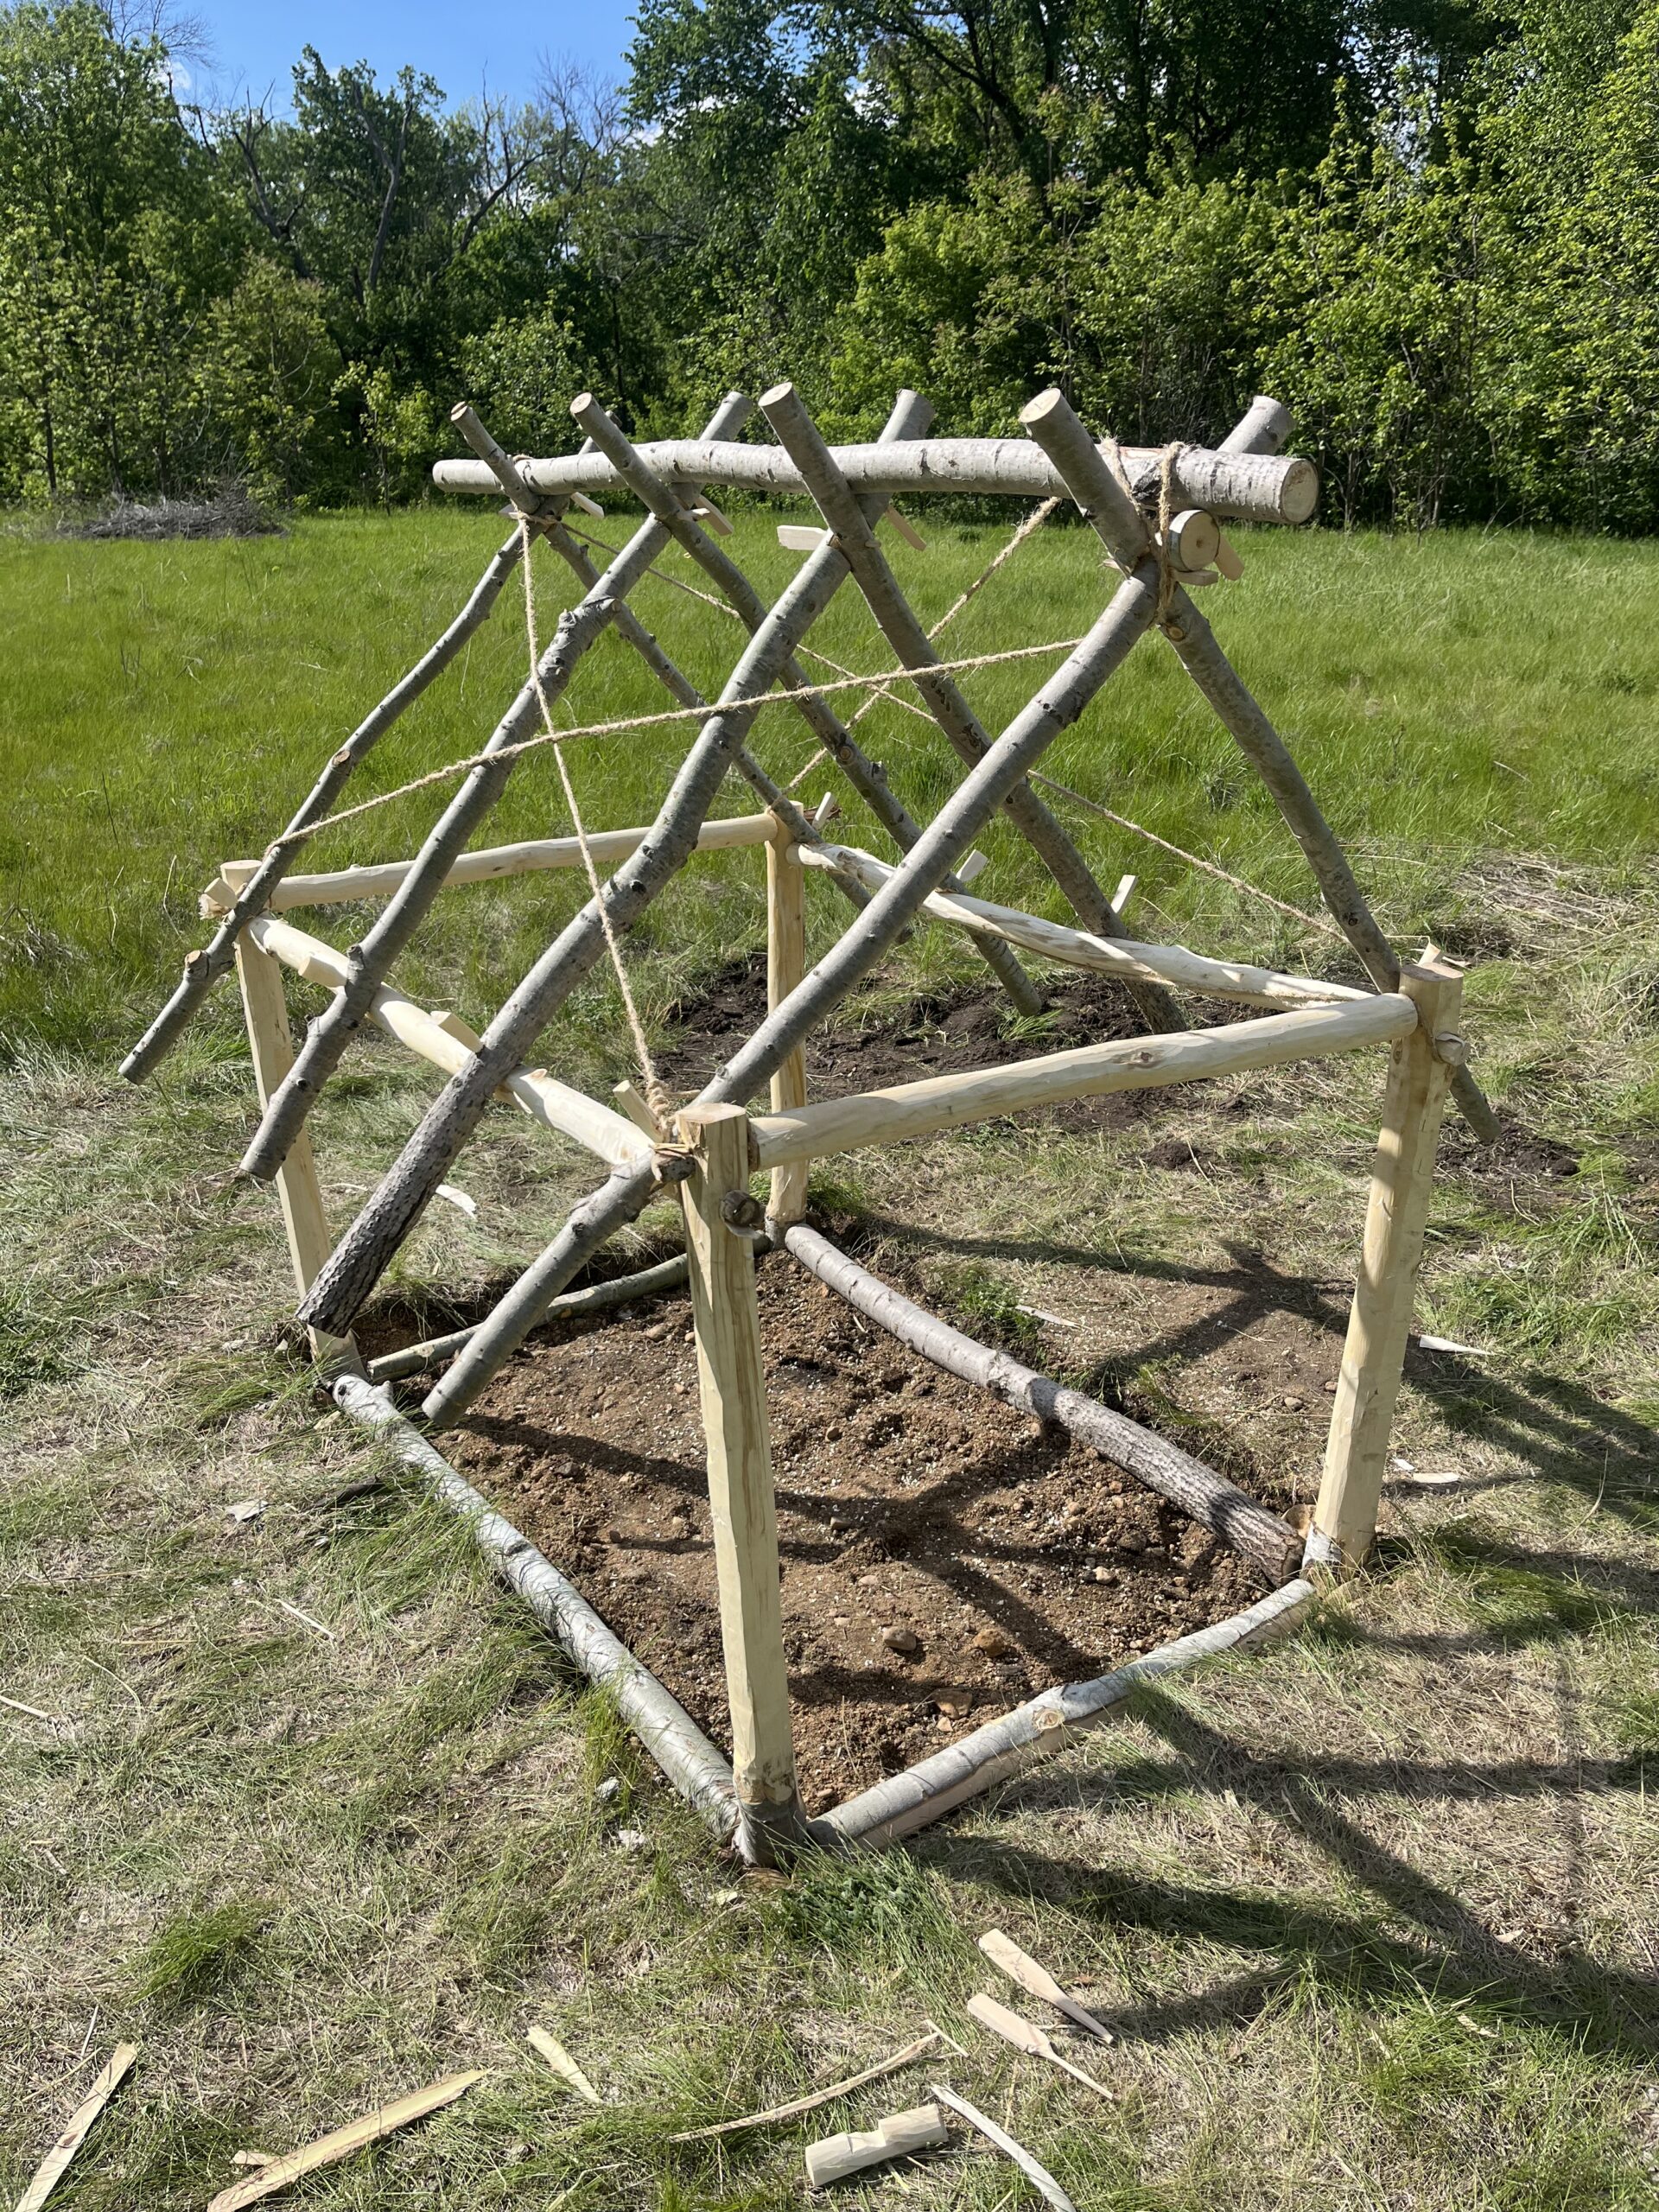
The timber frame of the mortuary house at the end of lab in Week 8.
Methods
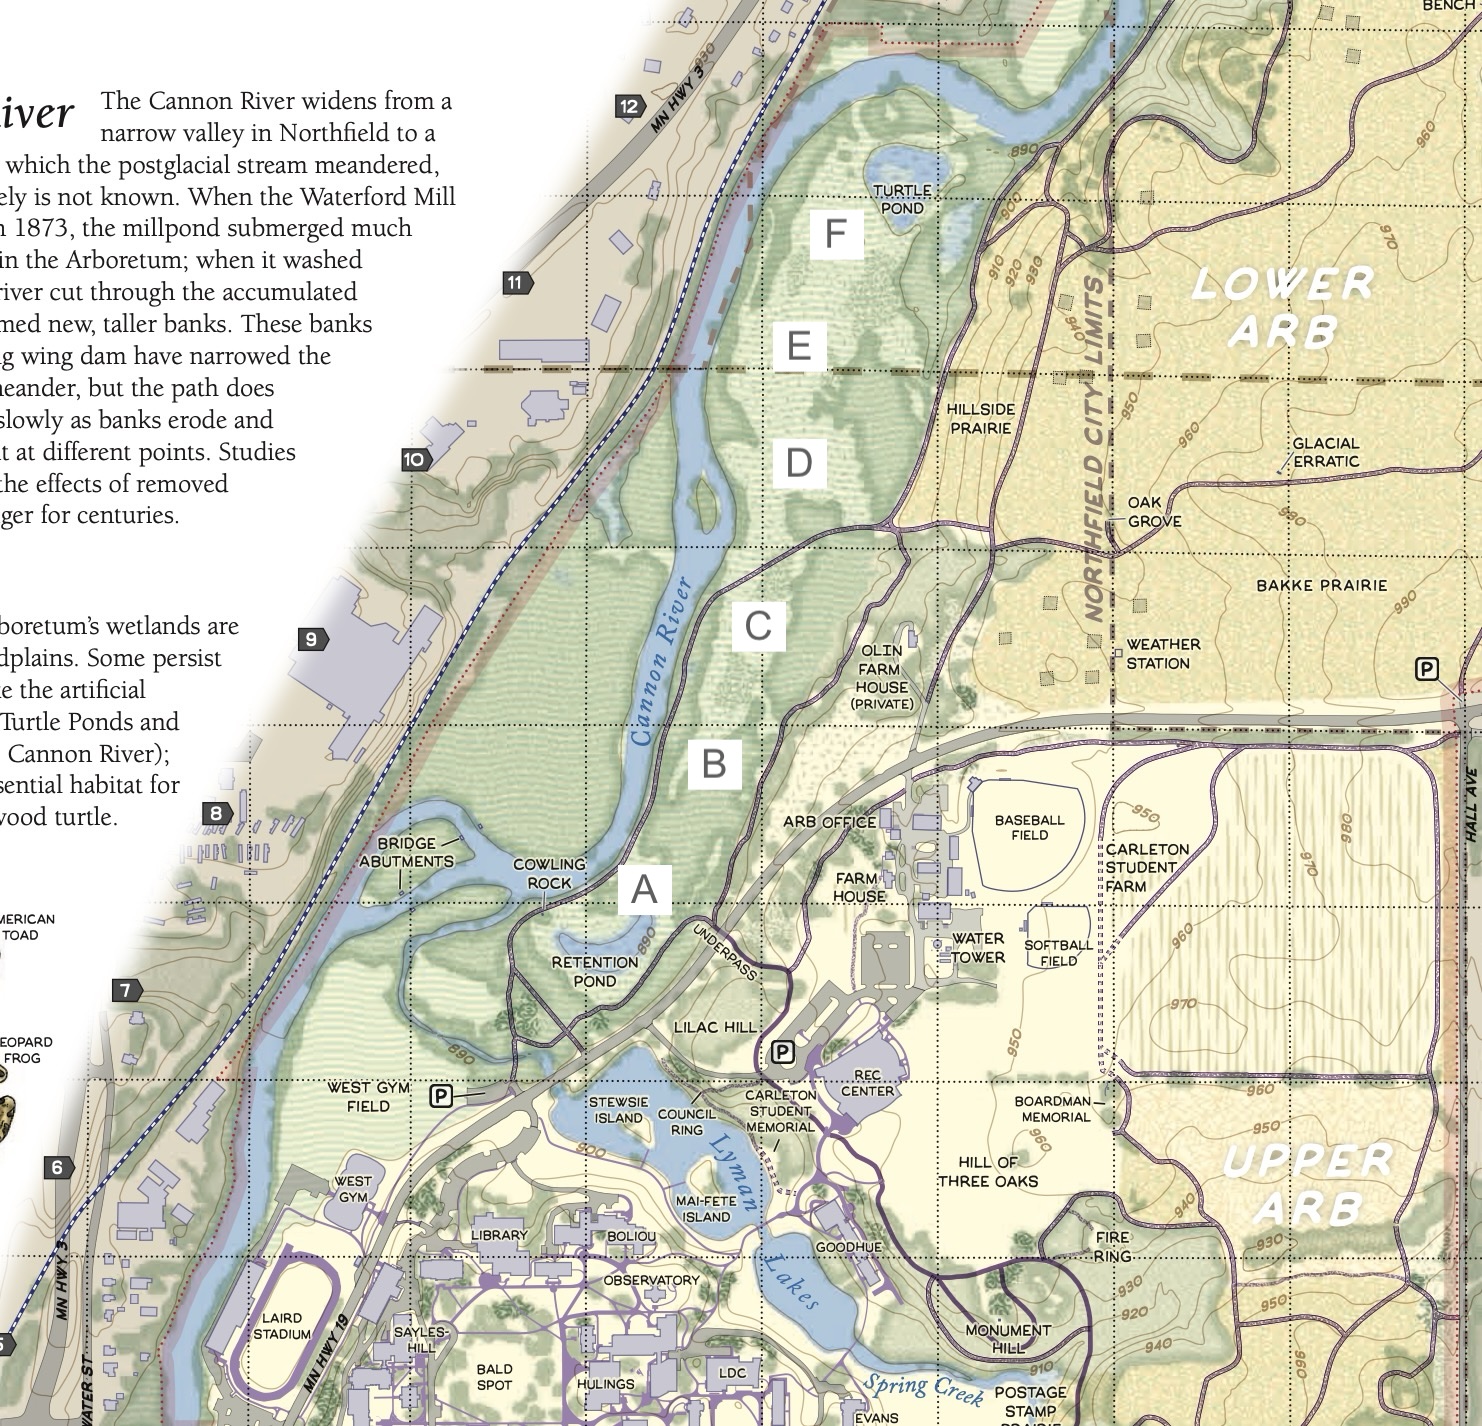
In order to achieve all of our goals for resource gathering and construction within the 4 hours that we had, the class was split into 6 groups labeled A through F. Each group covered a different section of the lower arb to collect willow trees, with each group returning to the field we were working in upon completion. After this point, each group was to process the wood they brought and use it to carry out the construction of their respective element of the hut. For example, group A was to make a short wall (4’w x 3’h) while groups B and C made the longer walls (5’6”w x 3’h). Group F was responsible for the short plank wall, while groups D and E were assigned to the roof.
Map of resource collection area of Lower Arboretum from “Lab Manual: Building (Mortuary House 2)” by Austin Mason.
In addition to dividing up the labor into small units for increased efficiency, this decentralization was used to explore a variety of harvesting and building techniques. These techniques will be explained in more depth later in this summary, but include: coppicing, wattling, daubing, plank walls, roof framing, and roof thatching.
Resource Collection
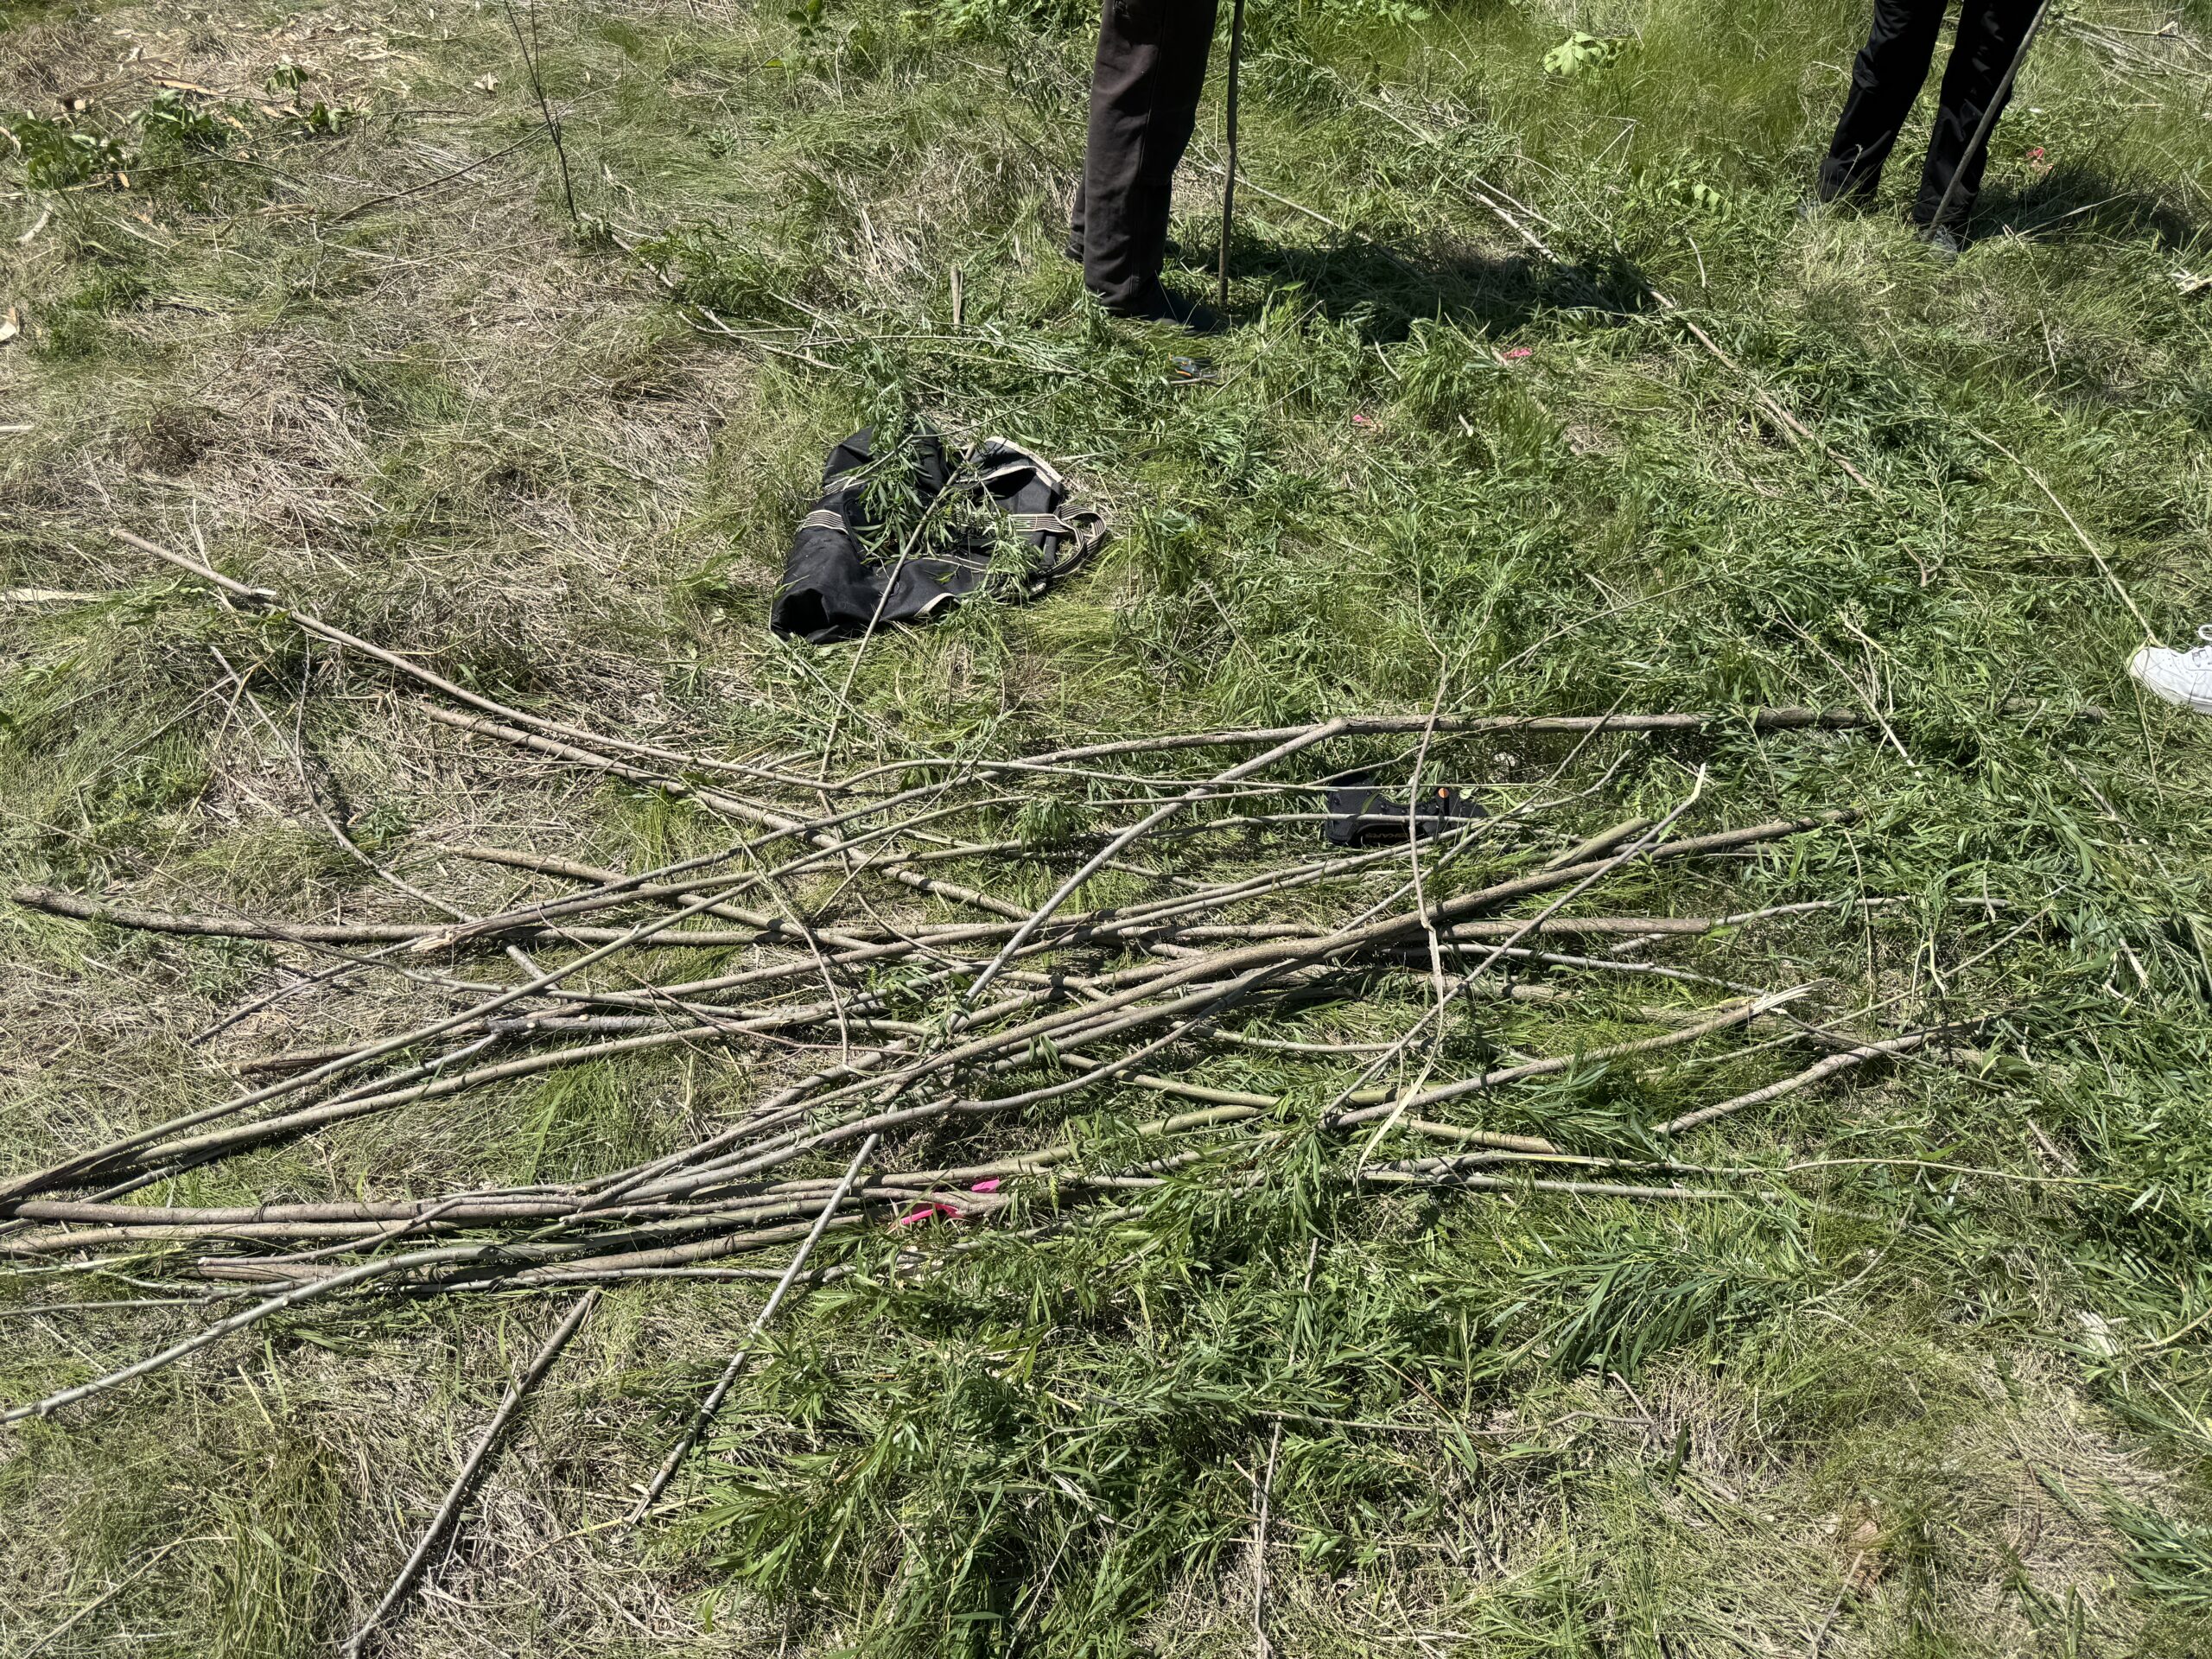
Before the lab started, we moved tools—billhooks, loppers, saws, shears, and buckets—into place near our construction site in the field of the old tennis courts down by West Gym. This lab marked the first time we had to gather resources from their natural state; before, we either started with pre-processed materials, as with the spinning lab, or got raw materials from someone who had collected them for us, like we did for the cheesemaking lab. So the whole class set off down the Lower Arb trail that follows along the Cannon to cut young willows. While many of the groups found stands of willow saplings, some had less luck and improvised, instead taking saplings of aspen and other kinds of flexible trees. Each group cut 36–40 rods, each about a thumb’s width, as well as six thicker poles, each two thumbs wide, using a historically accurate billhook and a historically inaccurate pair of loppers. Any large branches were pruned away, and the saplings were carried or dragged back to the construction site. There we stripped off the leaves and continued with pruning, leaving the fairly straight rods for the next step of the process.
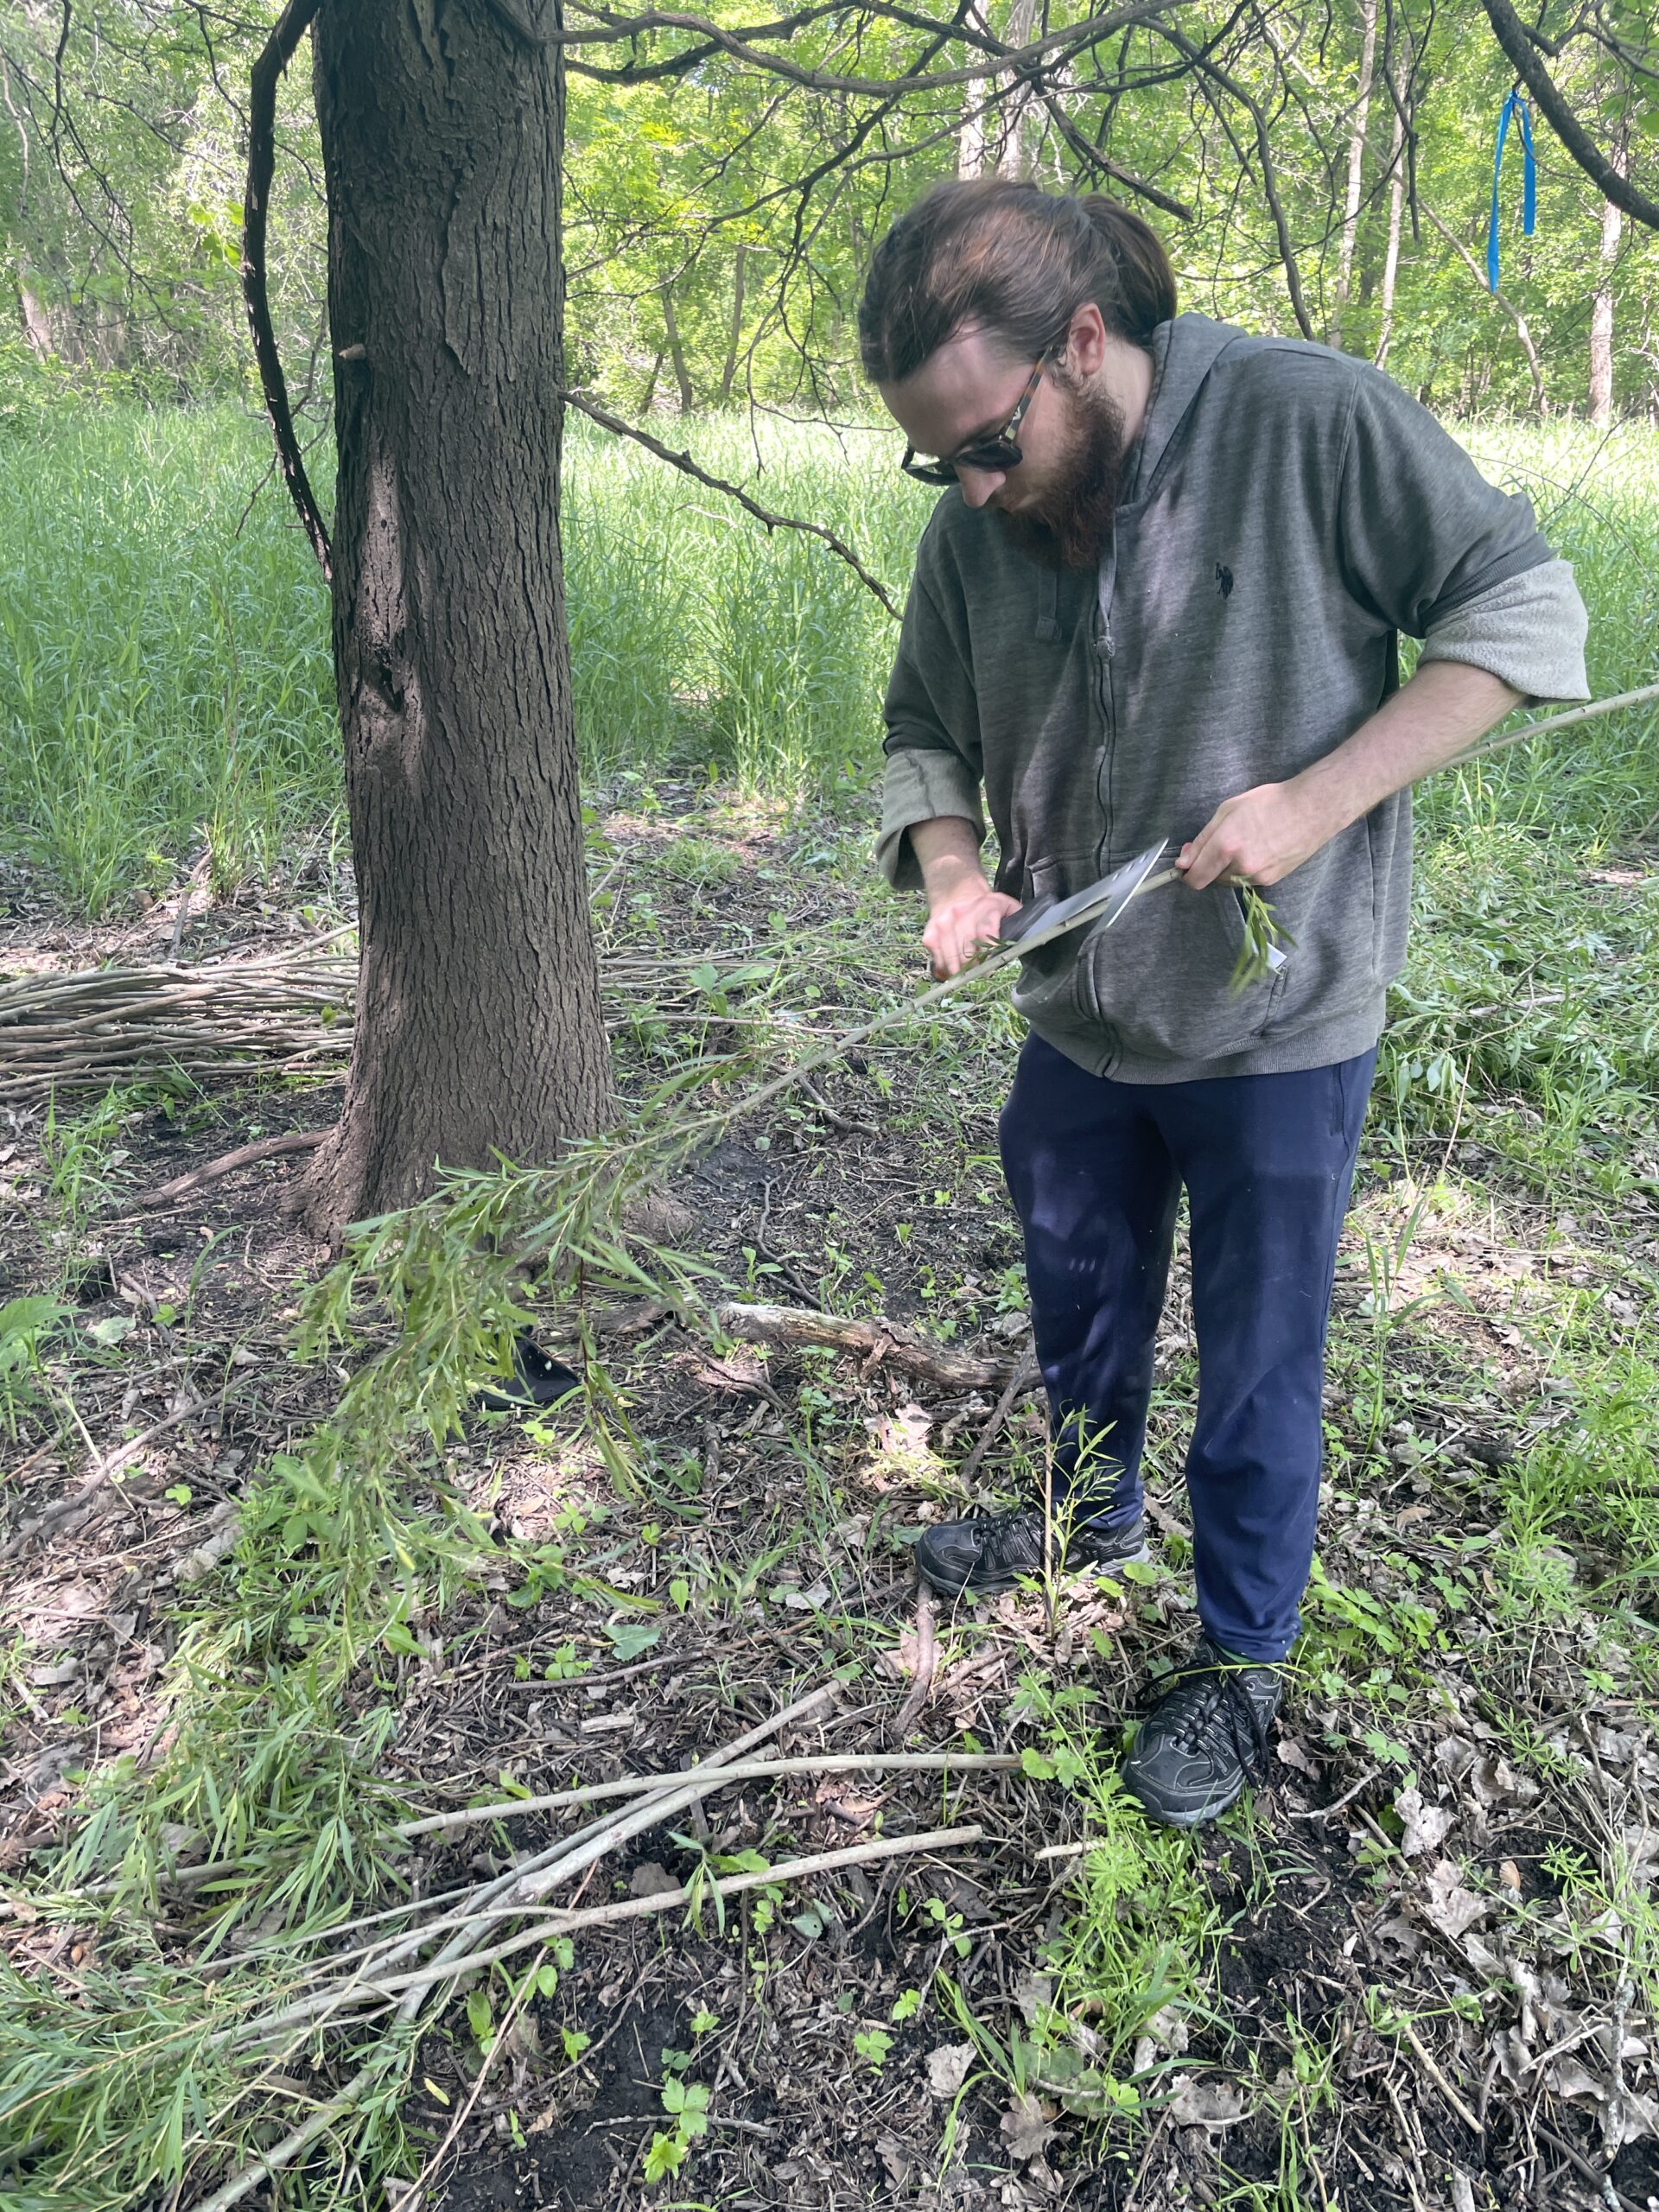
Noah trimming the leaves from a withy using a billhook.
Roof Construction
The roof, until this point, consisted only of four pairs of rafters that we raised the previous week. These had been pegged into the frame, but were unsteady on their own—to keep the rafters in place, we had to lash them all together. Before we could lay on the thatch, we needed to add purlins to which we could fasten the straw. Luckily, we had dozens of withies—the saplings we had just harvested—to weave across the rafters. Each purlin consists of a pair of willow rods; one was woven over the first rafter and under the next, and the other was woven in the opposite direction, under-over. The thinner ends of the withies could be twisted, with a lot of tension, to become rope-like, which we then lashed around the rafters and the withies themselves to create a sturdier framework. In total, we ran seven courses of purlins on each side of the roof, using a total of 28 withies.
The willow purlins woven through the rafters of the mortuary house.

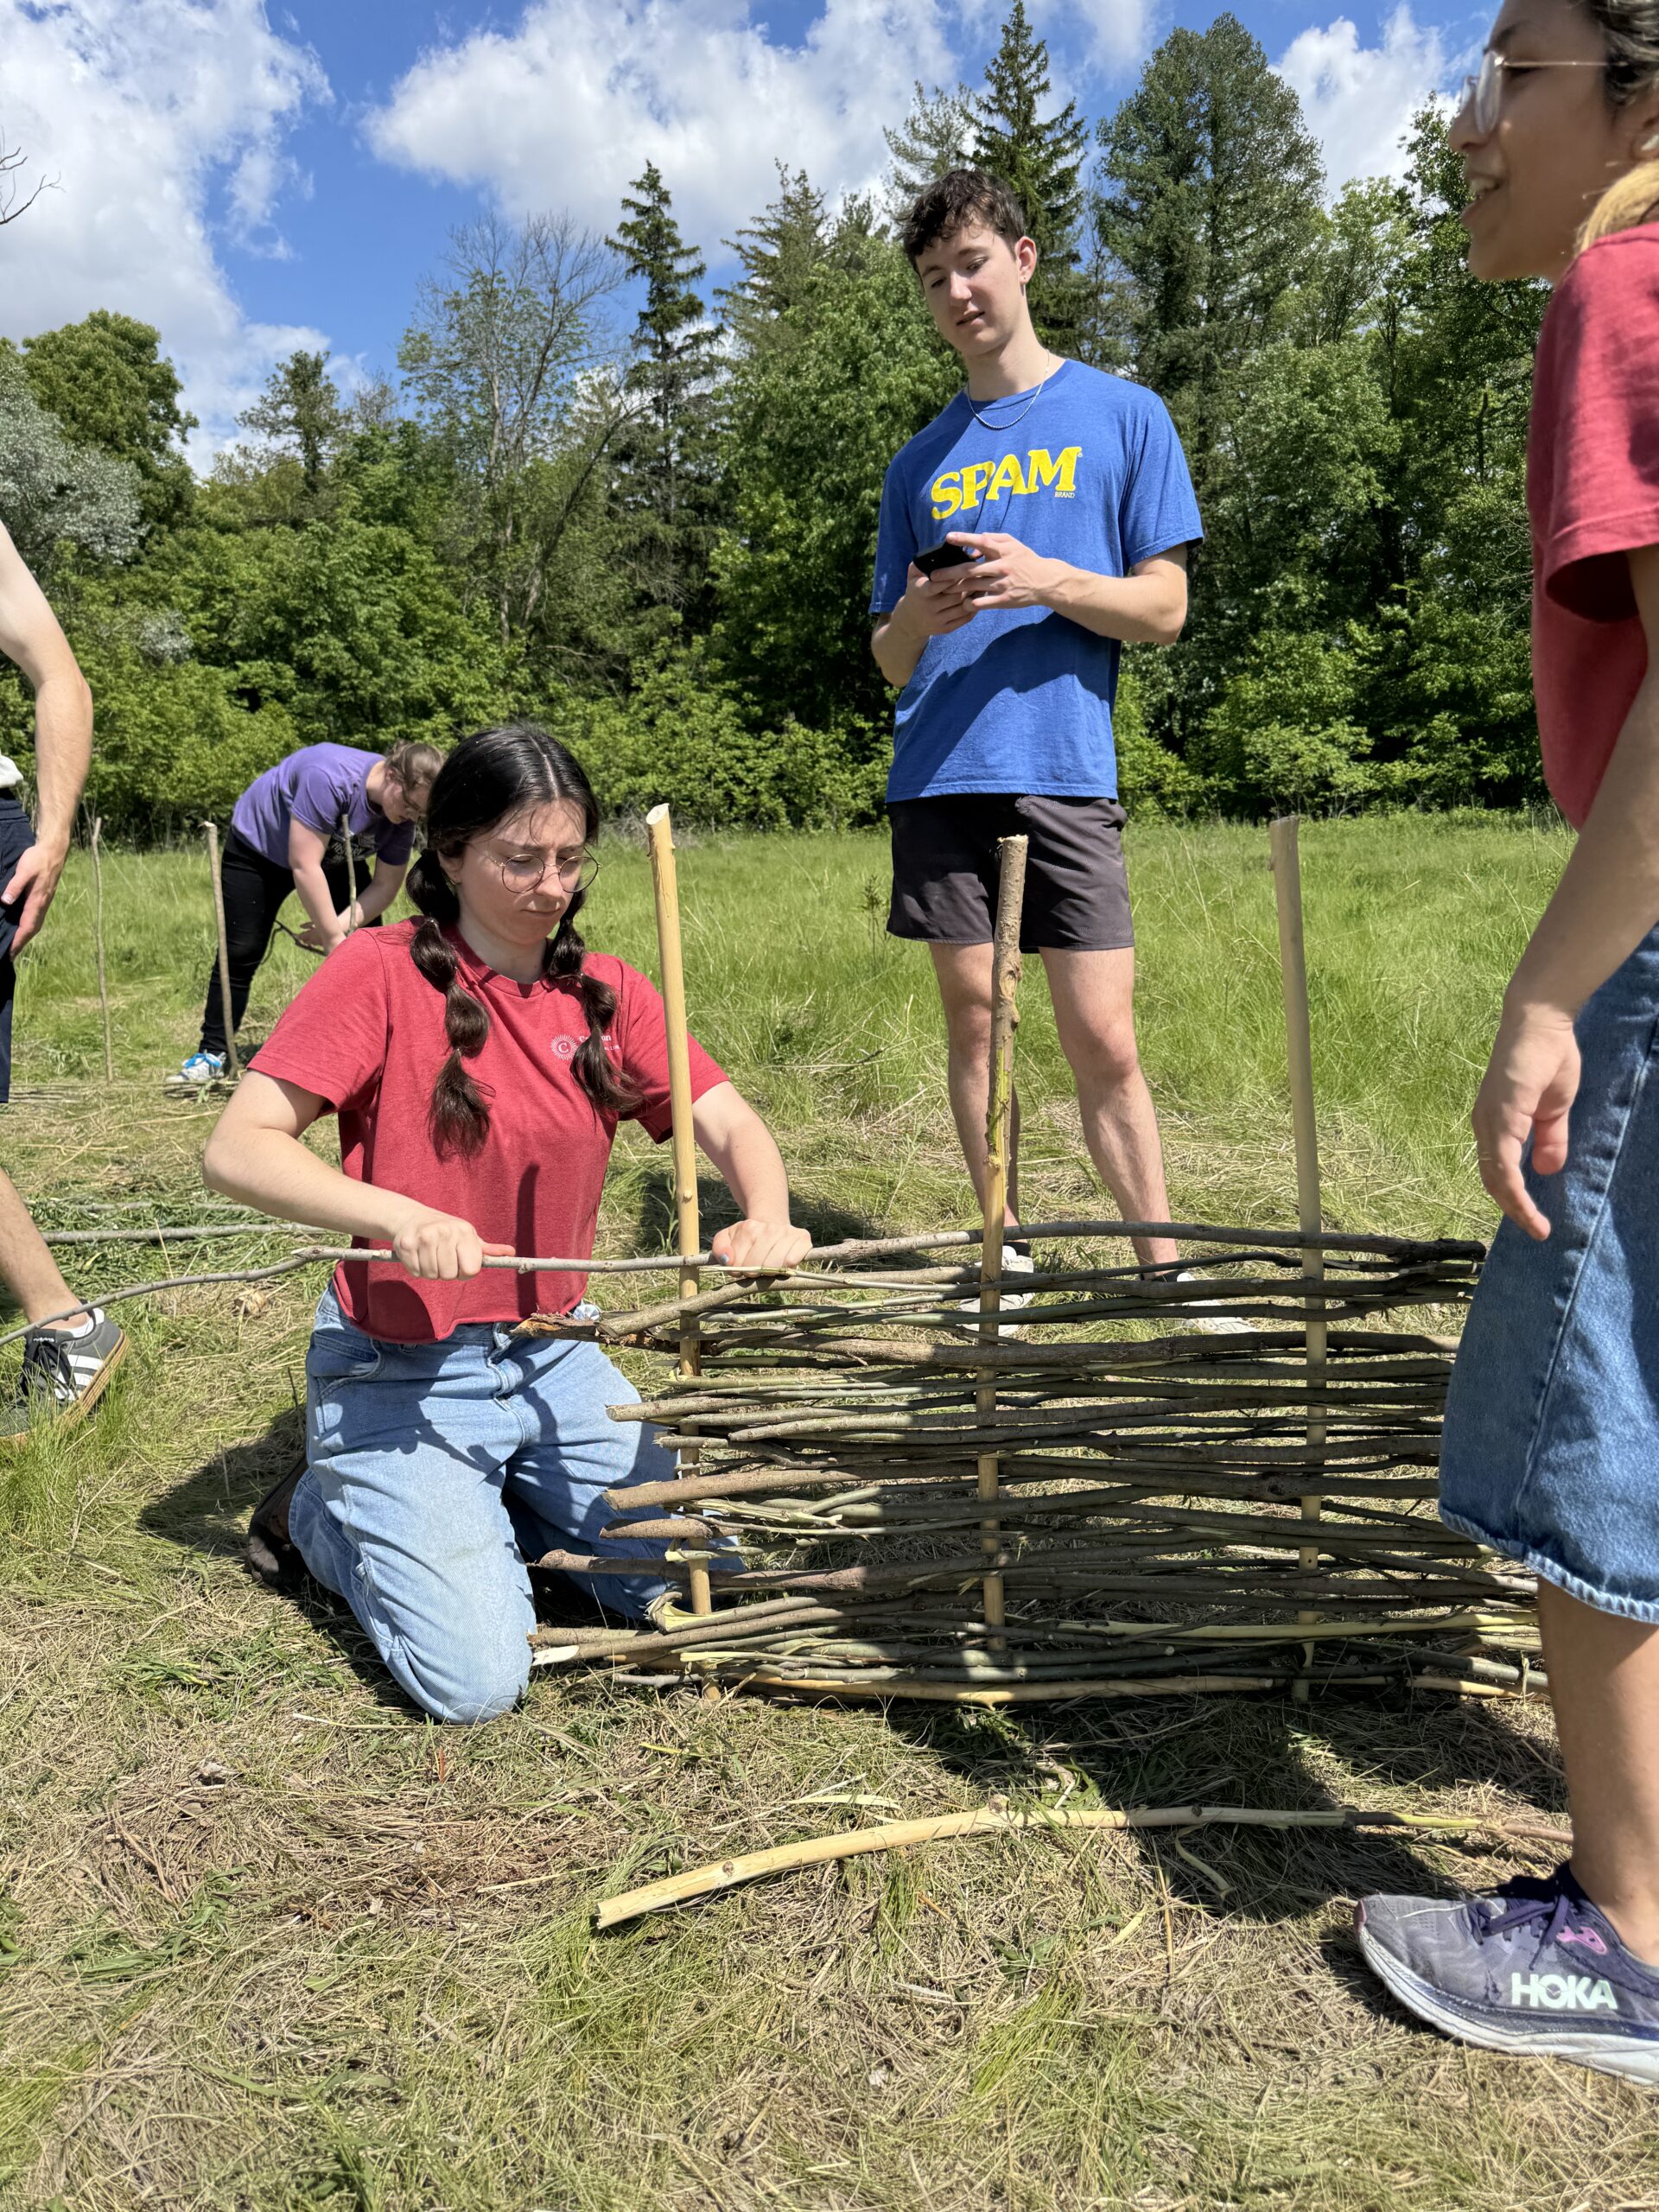
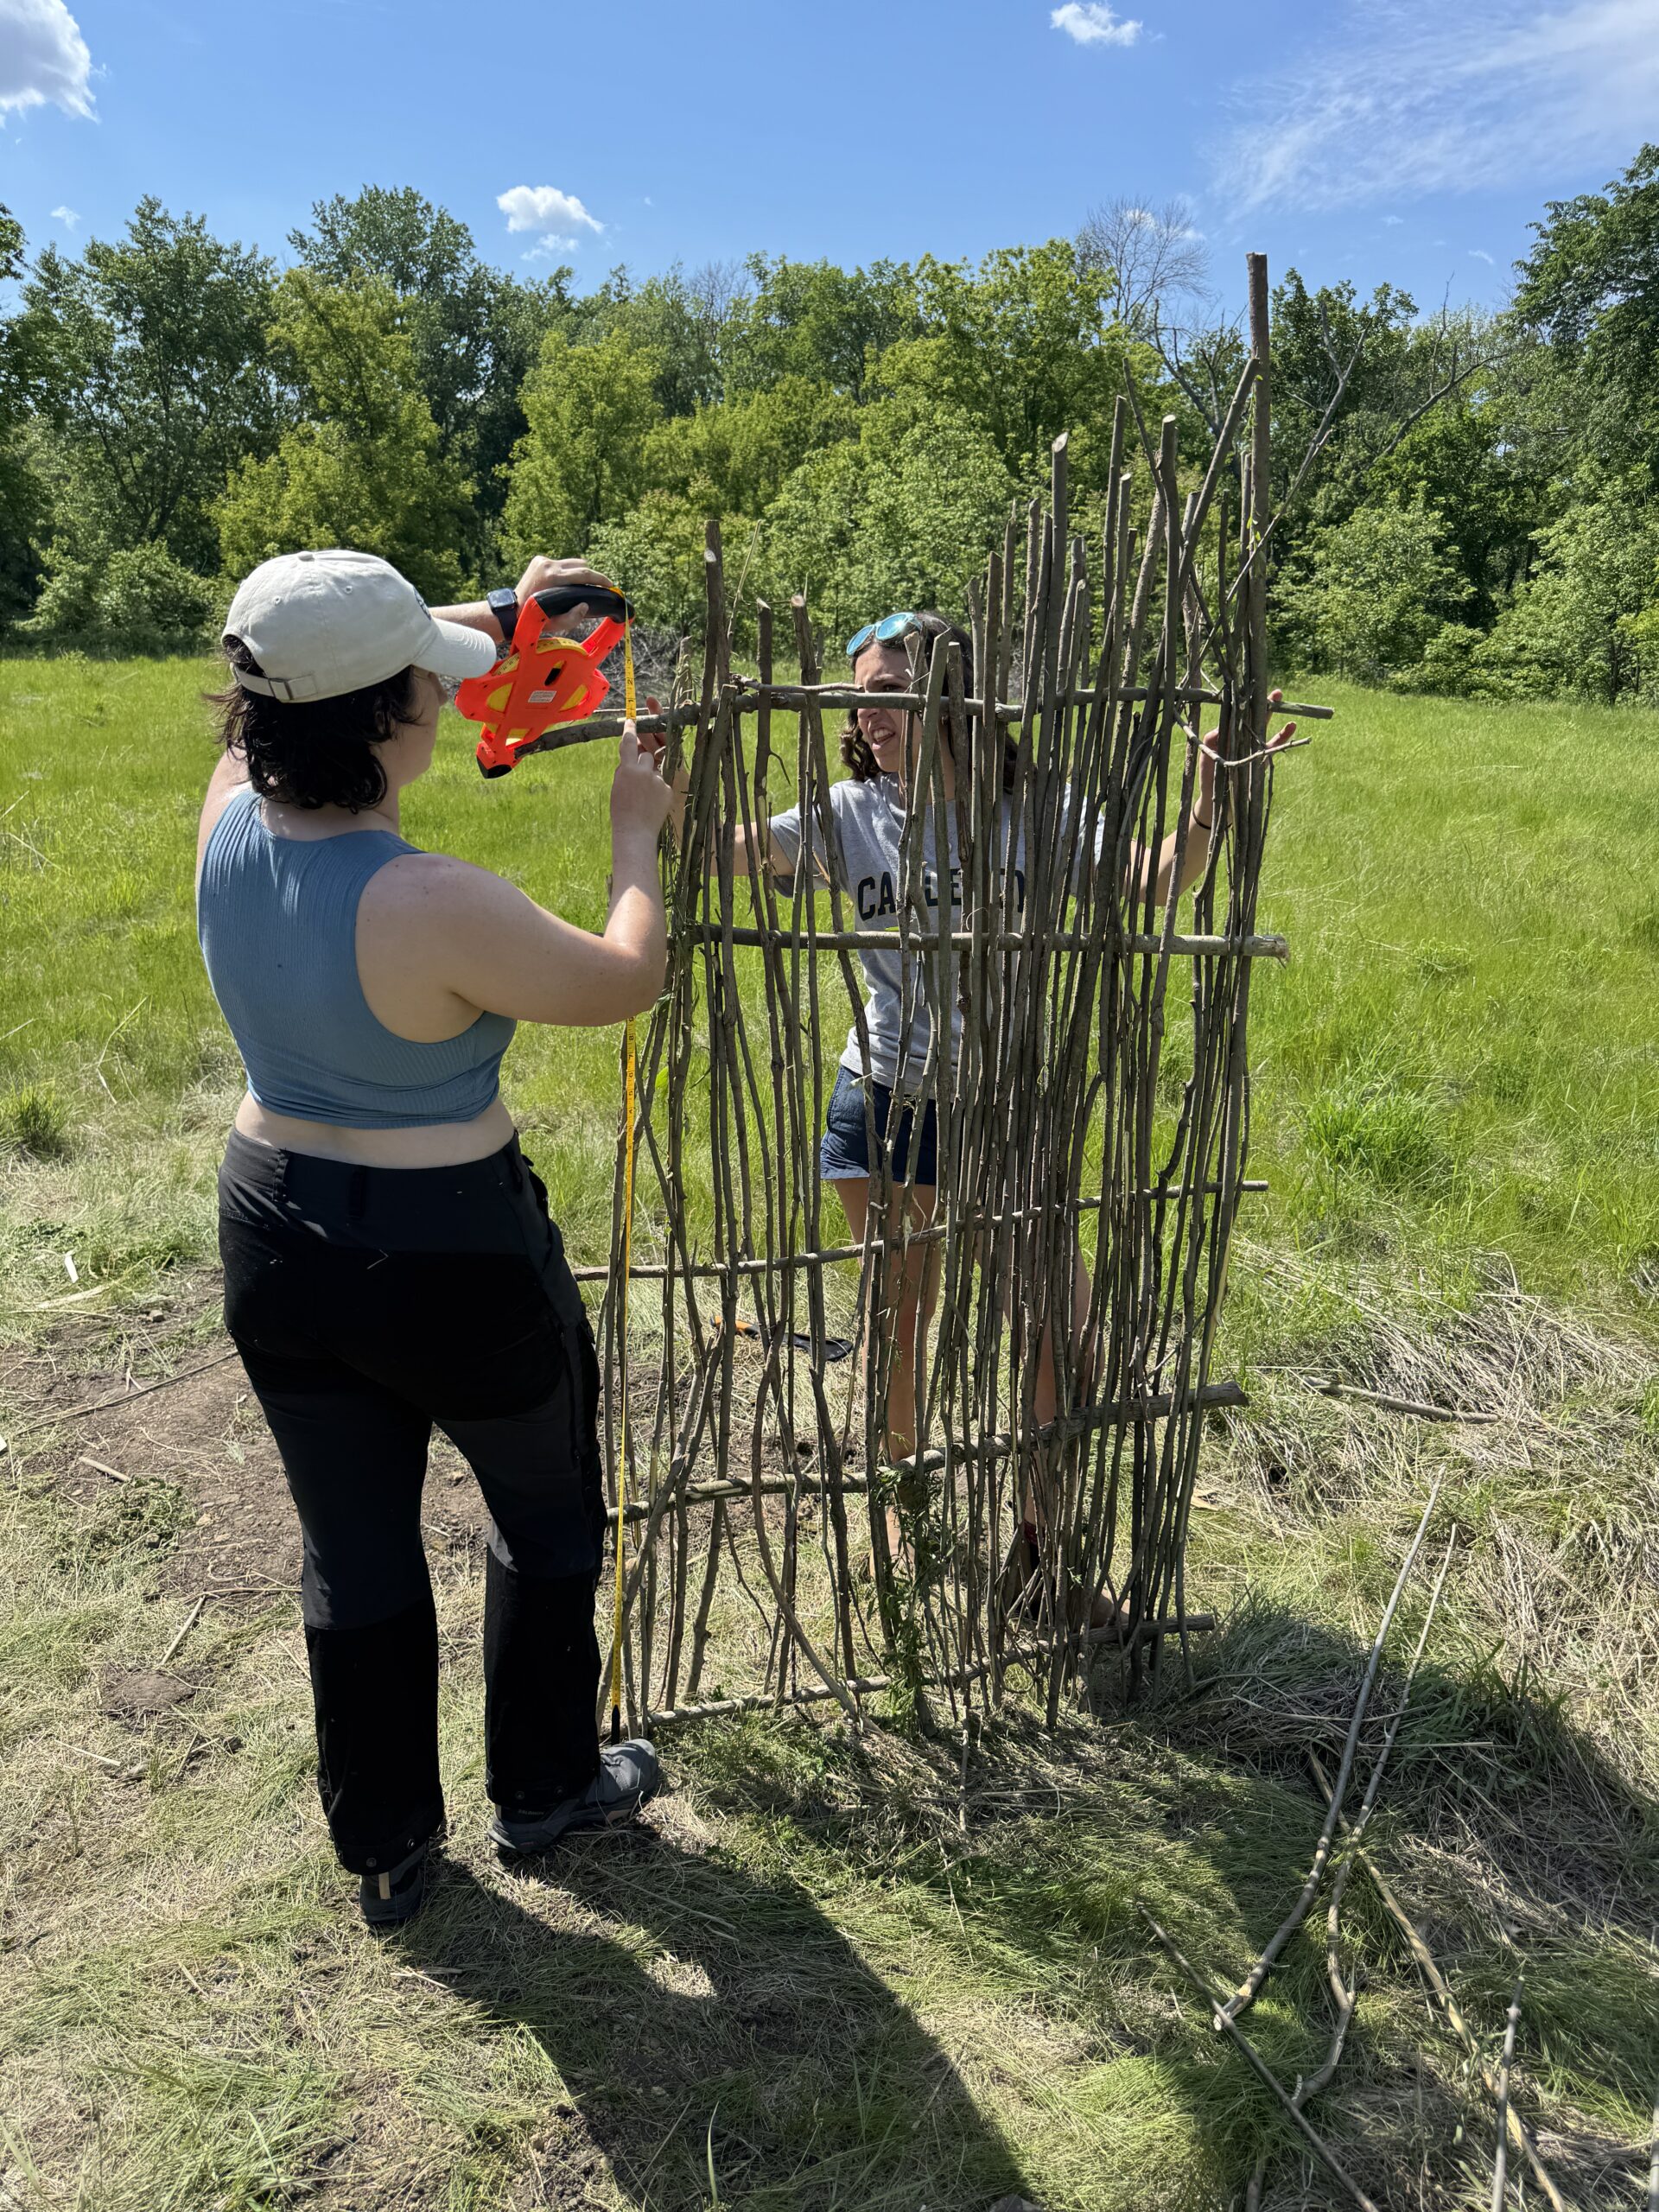
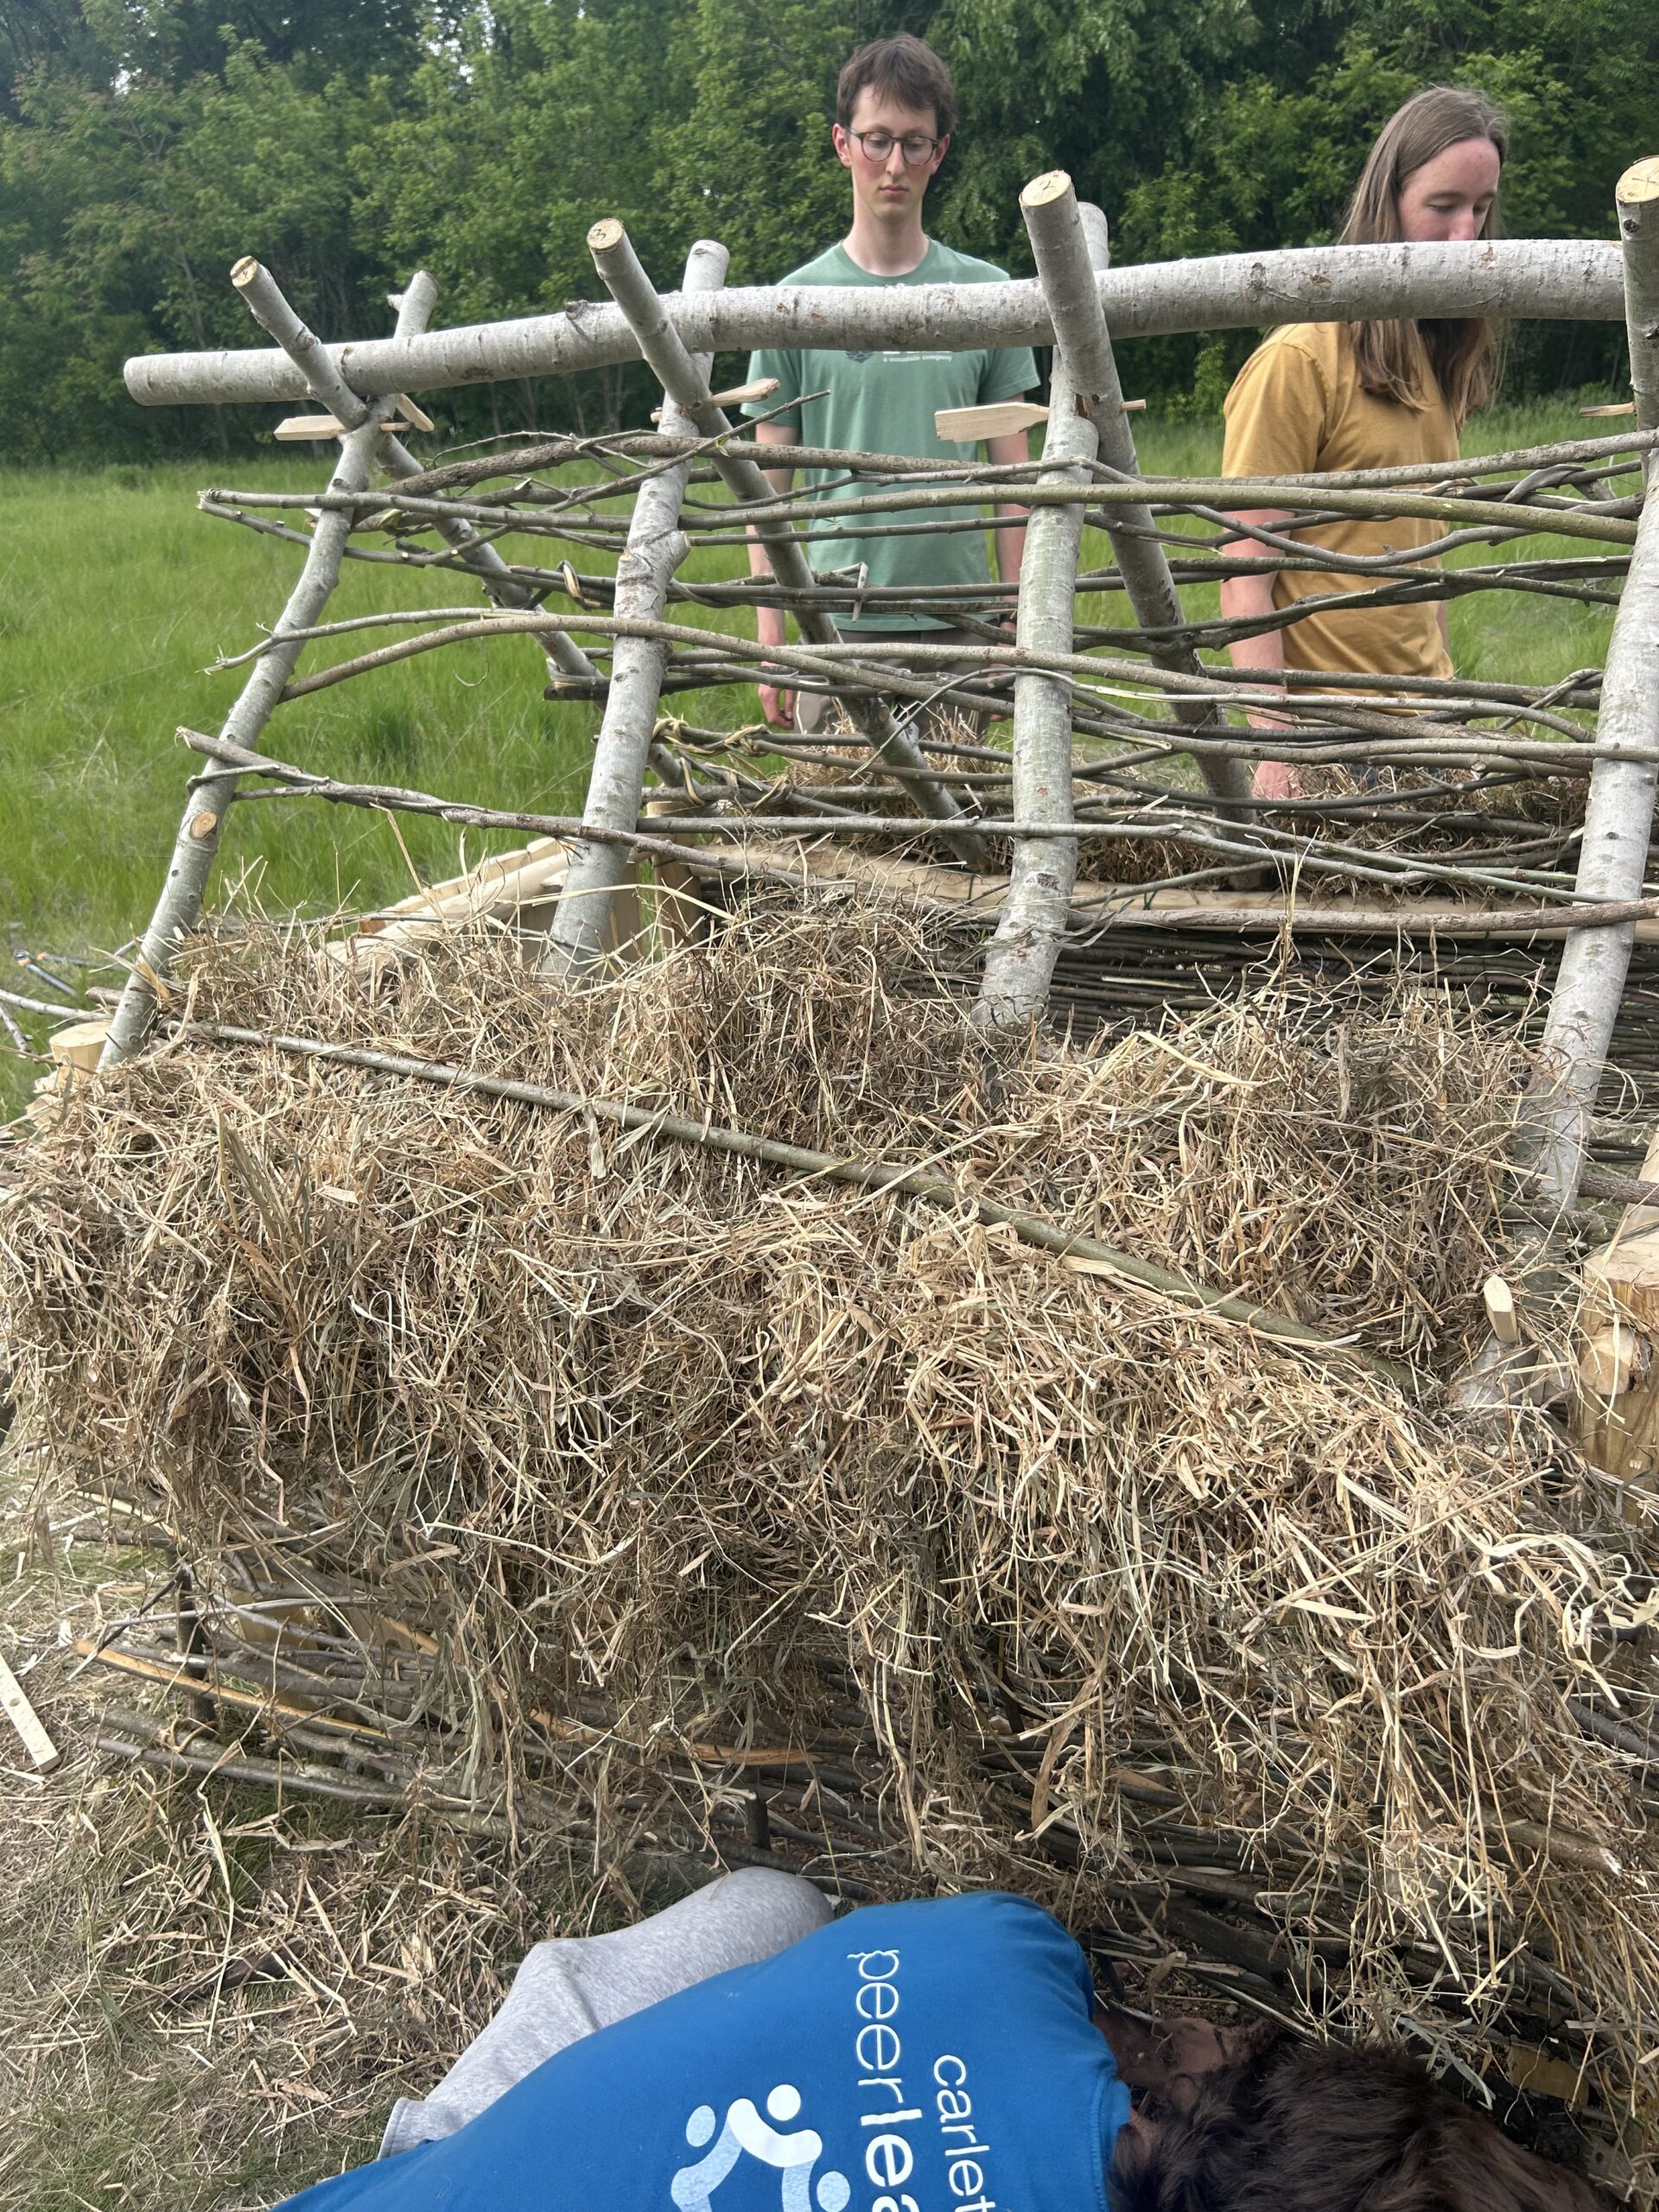
Wattling
Groups A, B, and C constructed wattle walls from their collected sticks by hand. Wattle walls, also called hurdles or panels, utilize thicker poles (also called zales) as vertical guides for the thinner, more flexible poles to be woven around and through. The exact procedure was as follows:
(From “Lab Manual: Building (Mortuary House 2)” by Austin Mason)
- Identify sticks to use as vertical zales for wattle work and cut to 3.5’
- Sharpen points and drive zales in line into the ground spaced ~12” apart
- Process wattle weaver materials to remove side branches
- Weave wattles, starting from thick end, alternating front to back each row
- Every few rows, twist protruding thin end into a withy by cranking and twisting fibers, and loop back around to hold end stakes in place and straight up and down.
- Continue to a height of 3’
While rather simple on paper, many sets of hands were needed to ensure the zales were not moved out of place during construction and the sticks could be adequately twisted. Once the panels were complete and relatively straight, they were dry-fitted to the hut by hammering the zales into the ground just outside the hut’s frame. Ends that stuck out beyond the frame were trimmed with loppers.
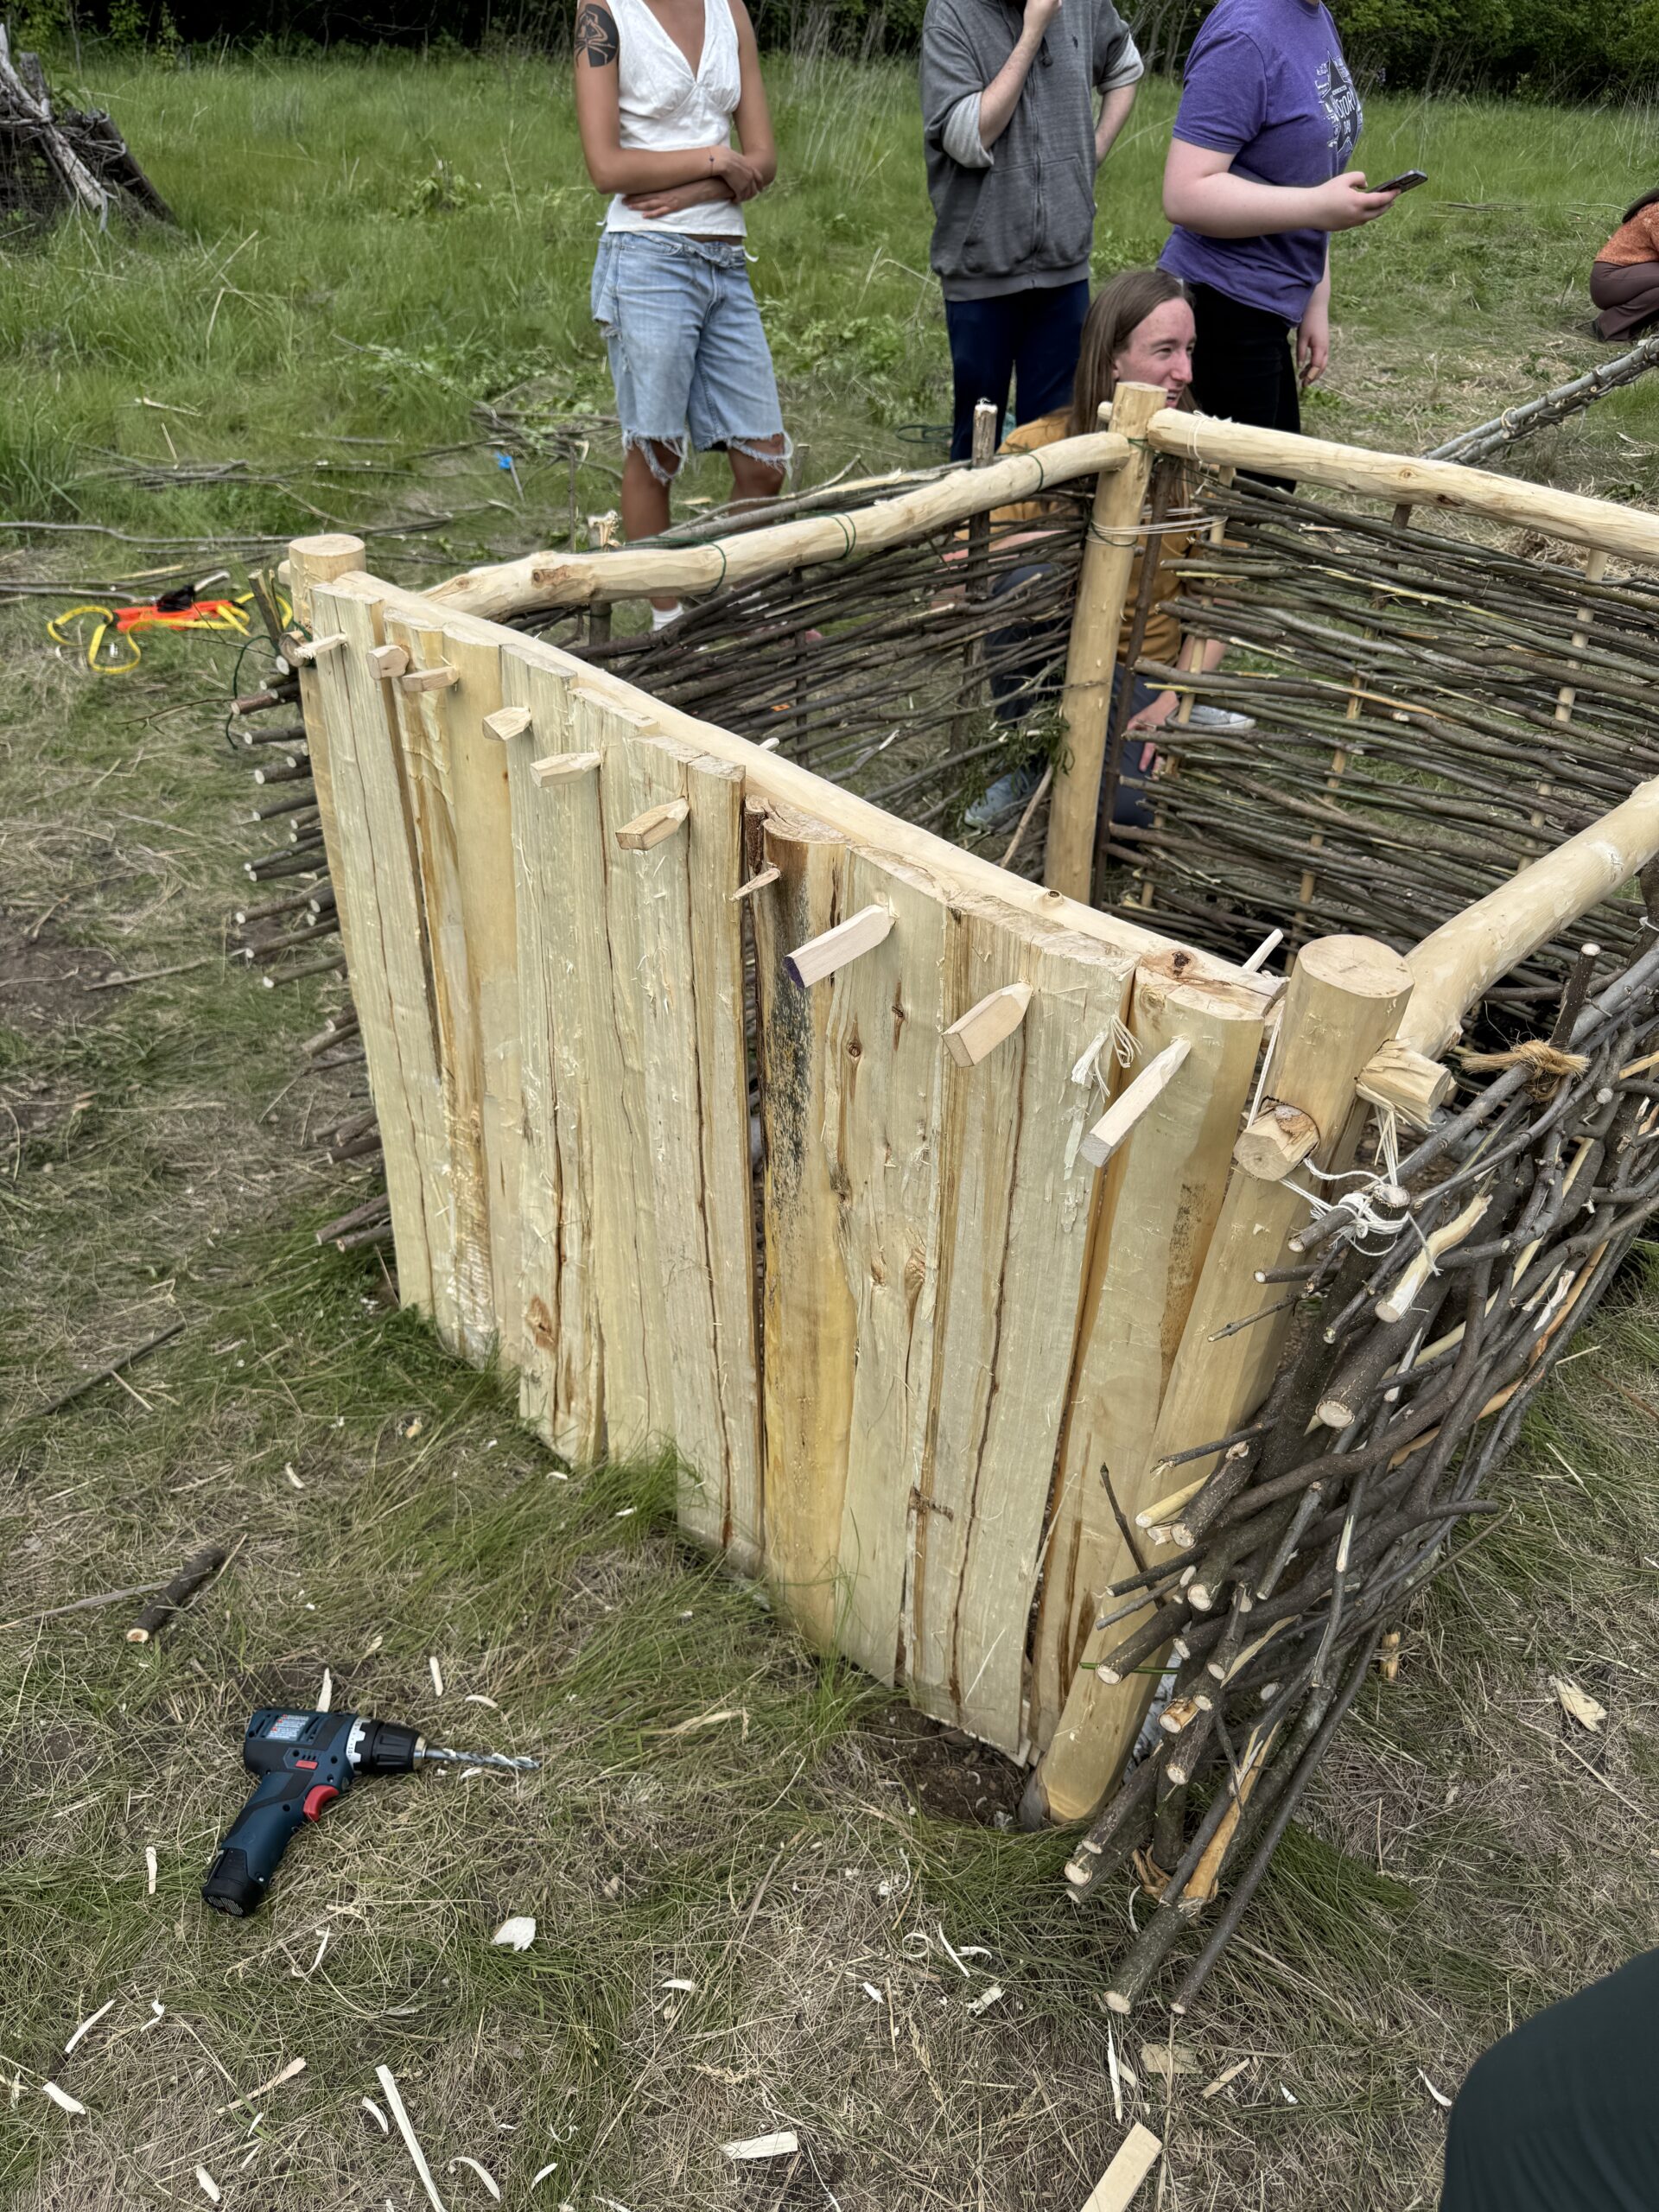
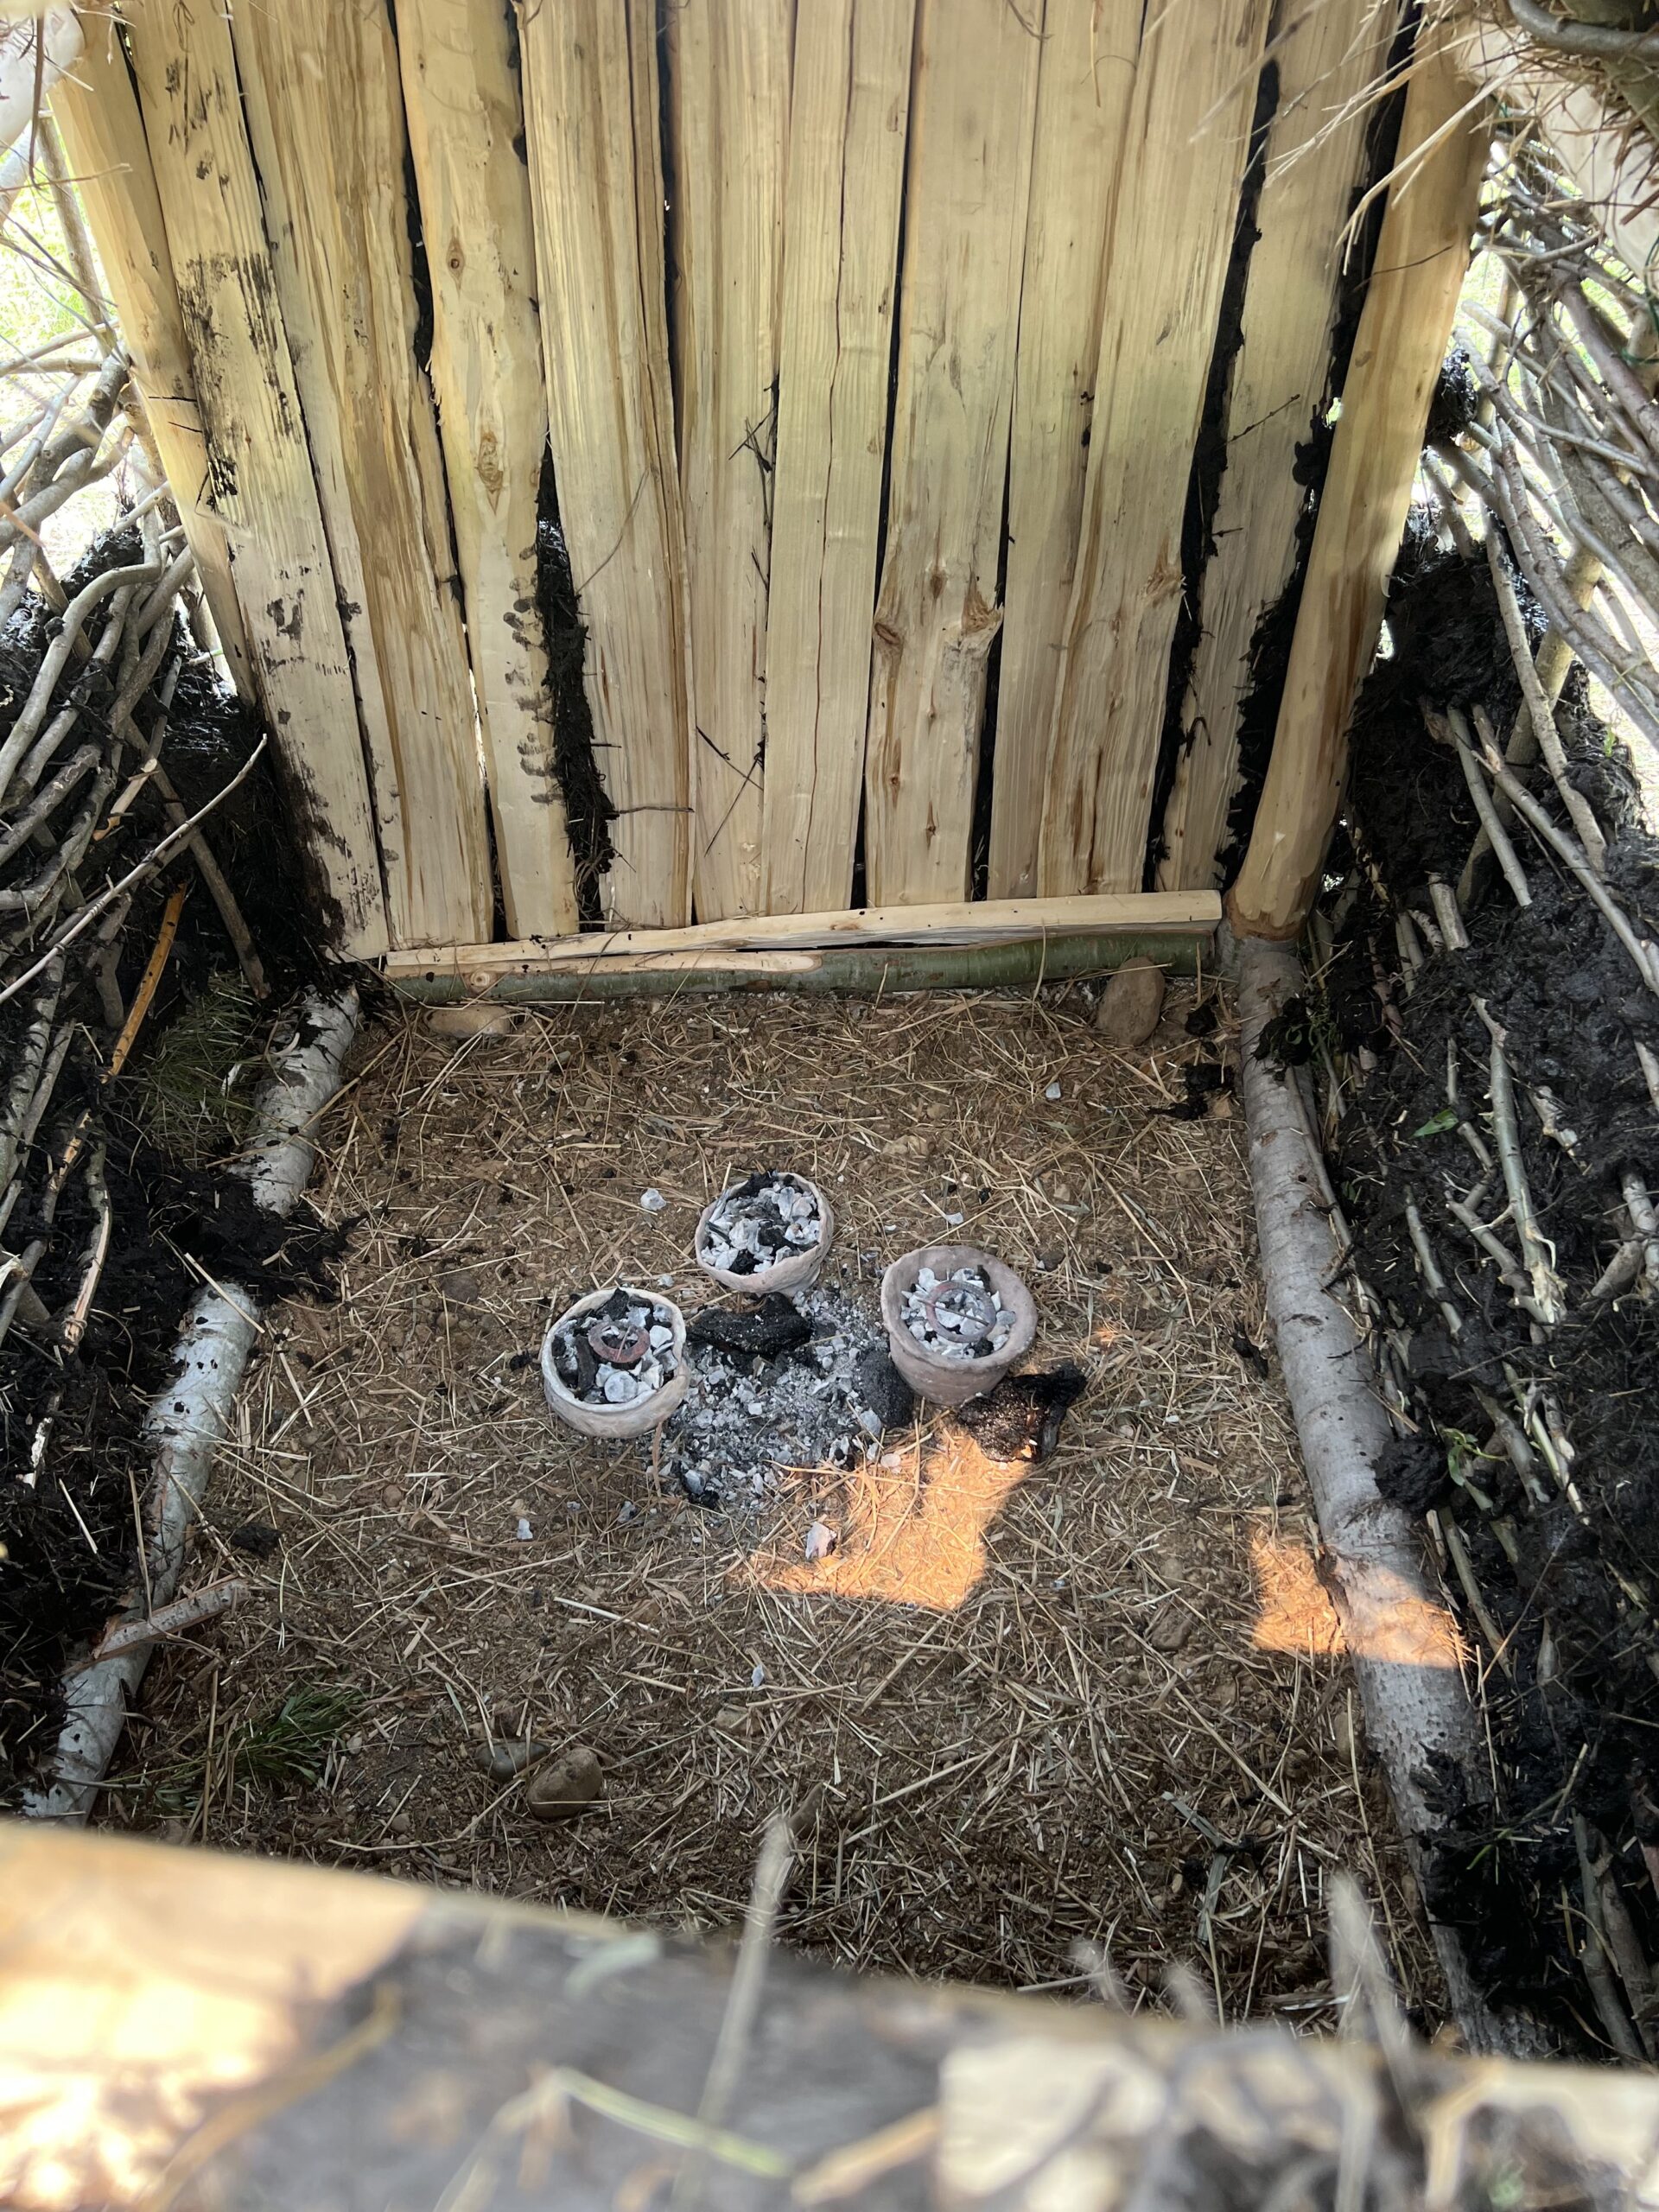
Plank Wall
One wall differed from the rest, and was not constructed utilizing wattling, but instead was made of riven alder planks made during week 8’s lab. The planks were dry-fitted together, with the aim that gaps be minimized. The planks were then placed directly against the frame of the hut’s west-facing short wall, and secured to the frame through drilling holes through the planks and affixing them with wooden pegs.
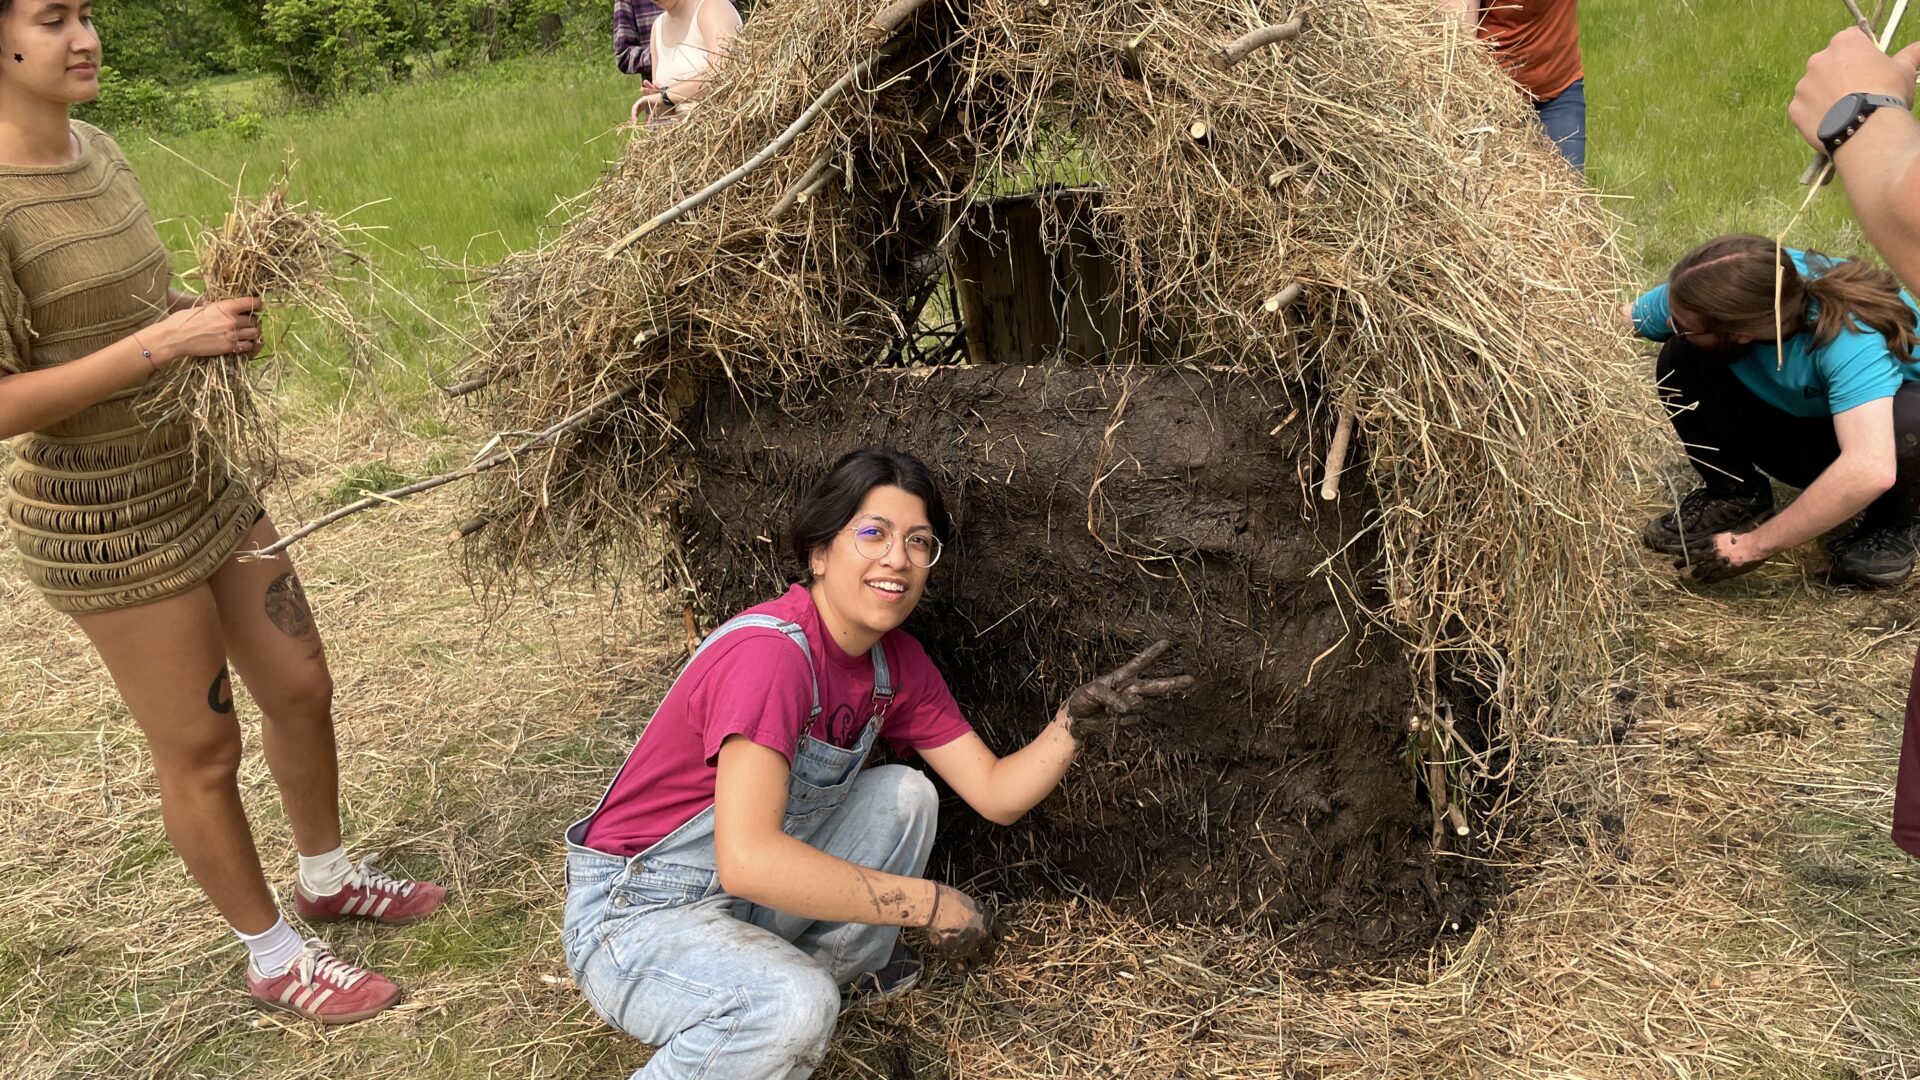
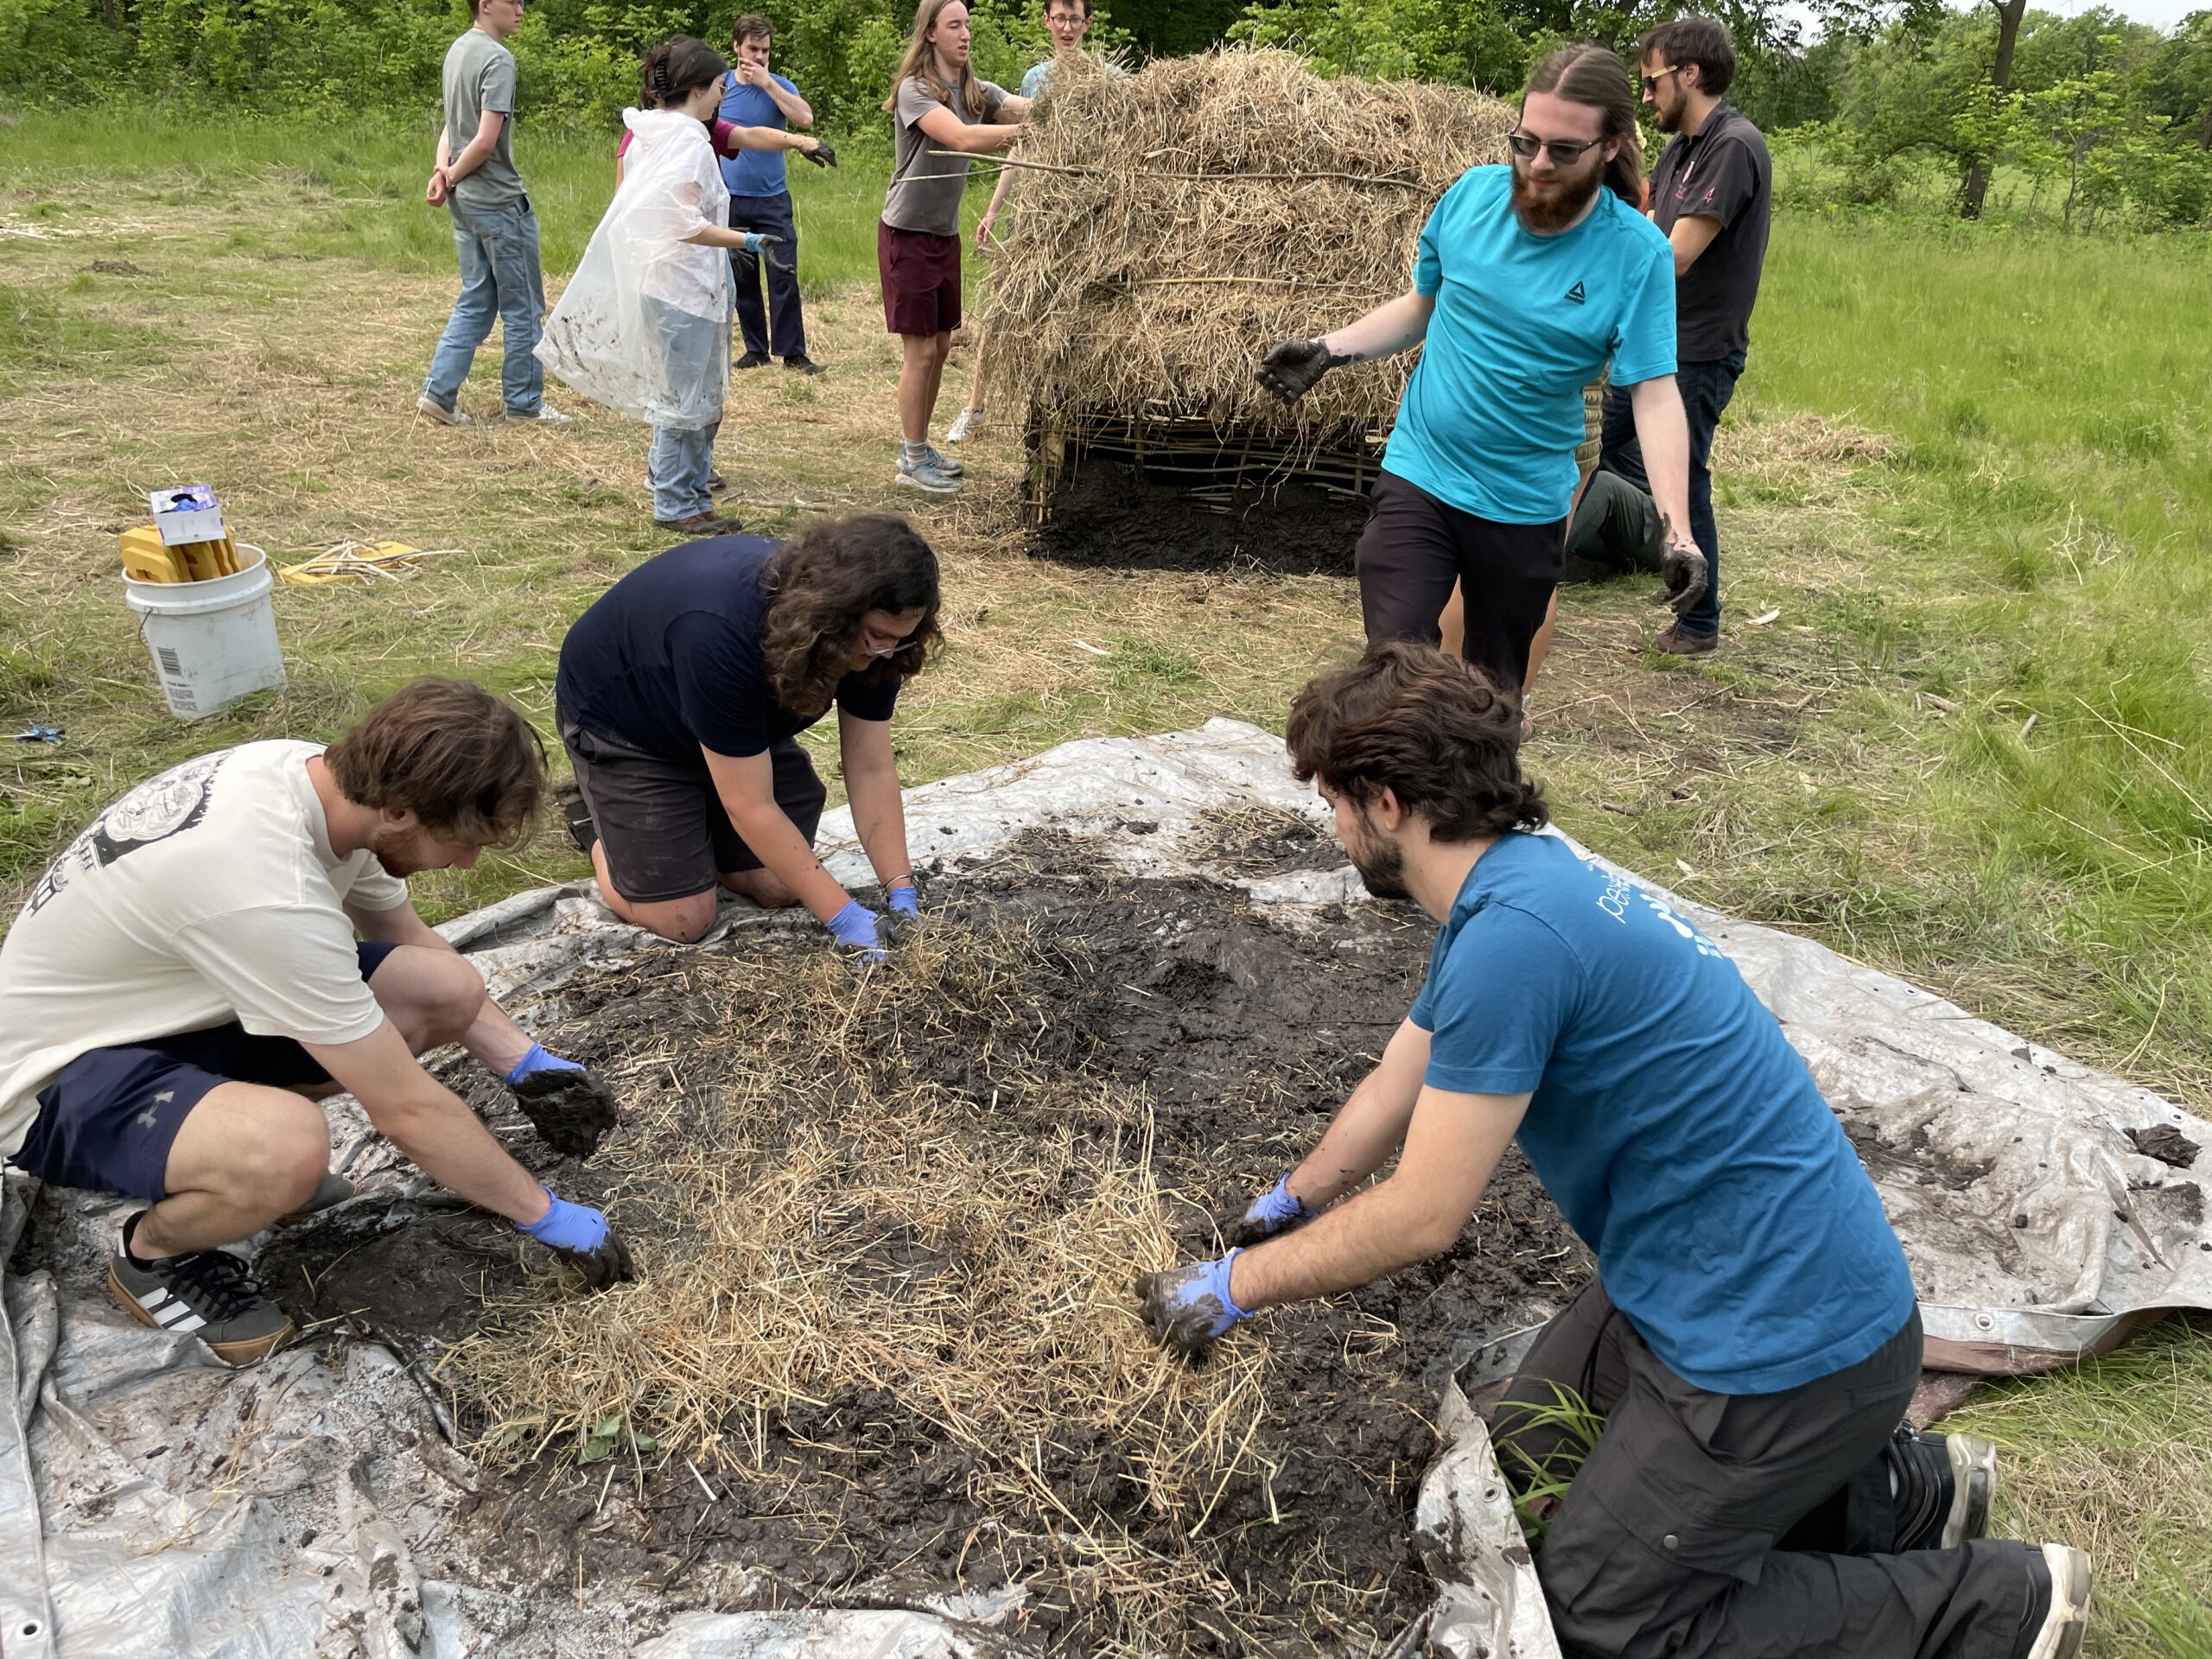
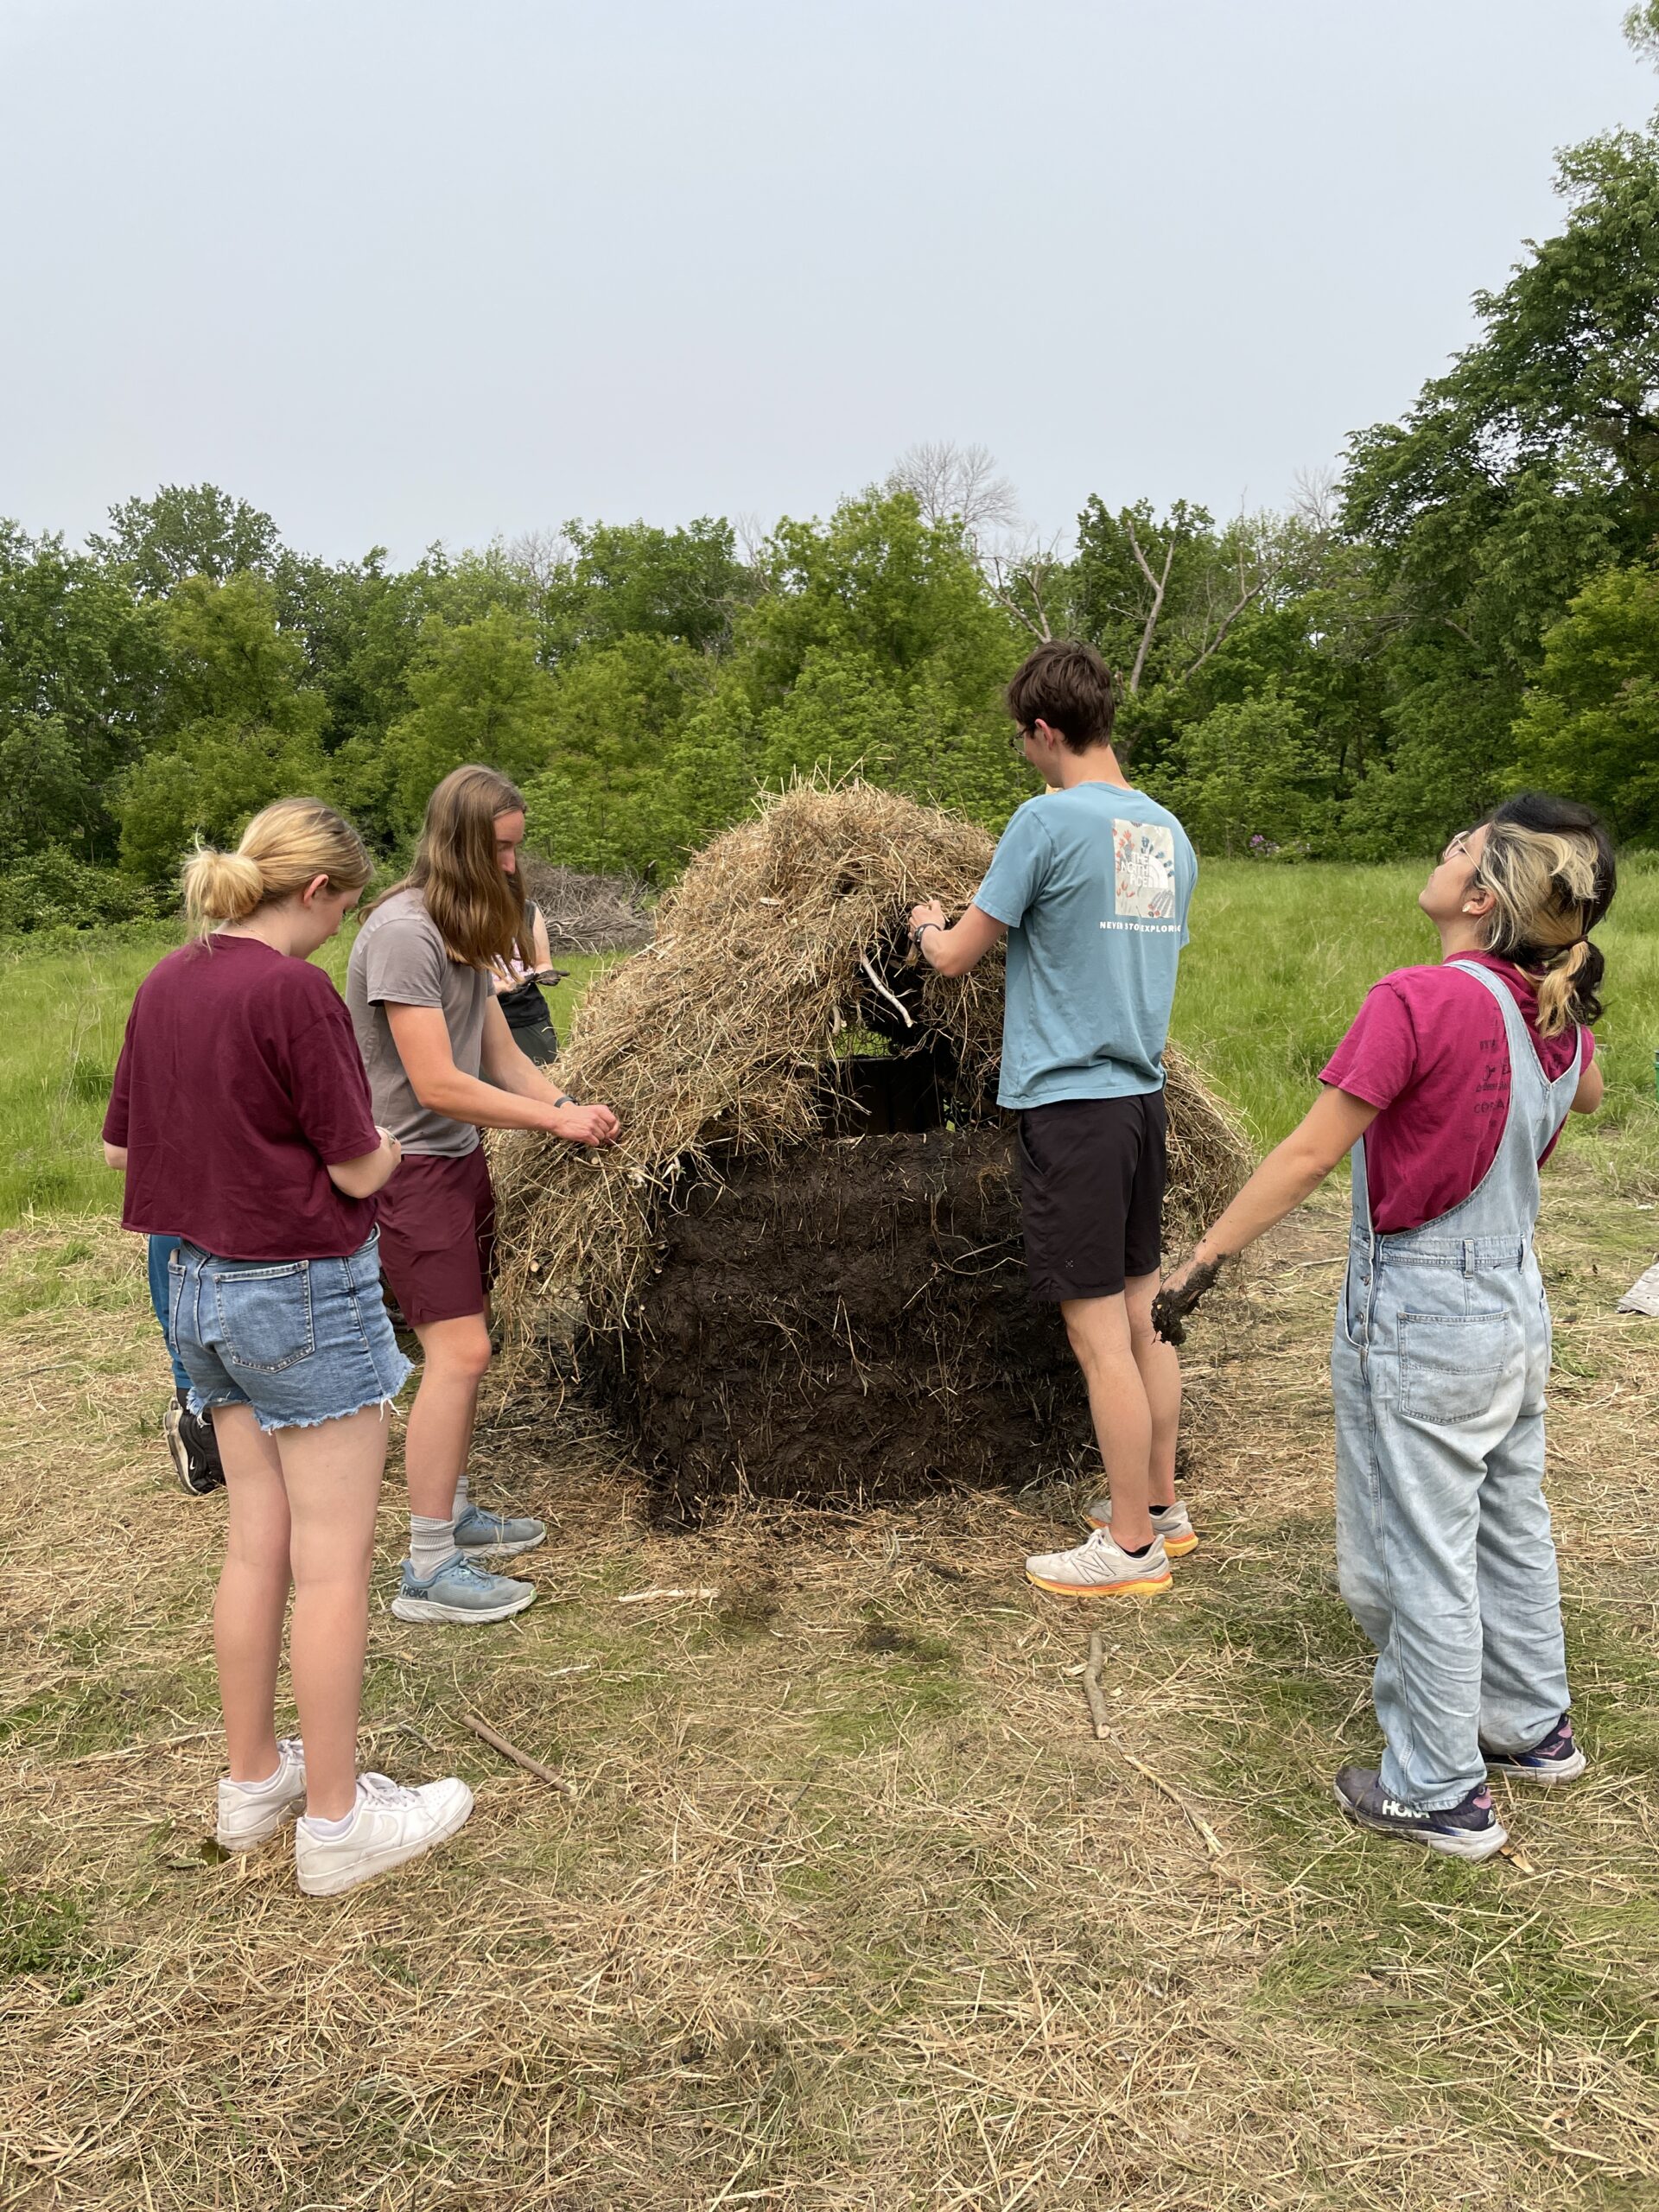
Daubing
To increase the structural integrity of the walls and fill the holes left in them, a form of plaster was applied to the outside. This plaster was made of mud from the banks of the Cannon river mixed in with plenty of chopped and dried hay. The mud was collected by hand and with shovels, buckets, and wheelbarrows. The mud was then dumped on a tarp and mixed by hand with straw and applied to the exterior of the hut walls. The daub was applied from bottom-up, with effort put towards ensuring the hay fibers would become entangled in the willow sticks woven around the zales. This ensured that upon drying, the daub would not peel away from the wall over time.

Thatching
After we situated the walls, several groups began thatching the roof. We took handfuls of straw from a pile beside the house and drew the stalks straight in a way that resembled carding wool. The finer straw—drier, and lighter in color—was set aside for the top coat of thatching.
The thatch-work began from the bottom of the roof and worked upward; to each purlin we attached a course of thatching, consisting of many of these straightened bundles of straw. Each course was held in place by a withy that was twisted around the rafter and purlin on one side of the roof and came over the top of the thatching to fasten it against the purlin. Additional thatch, or thatch that was loose and uncooperative, was fixed into place with wooden staples, pieces of willow that had been quartered and twisted over to form a U shape.
The first course of thatch, held in place by the purlin underneath (not visible) and the withy on top. This process continued up the roof, and additional thatch was fixed across the ridge of the roof with staples.
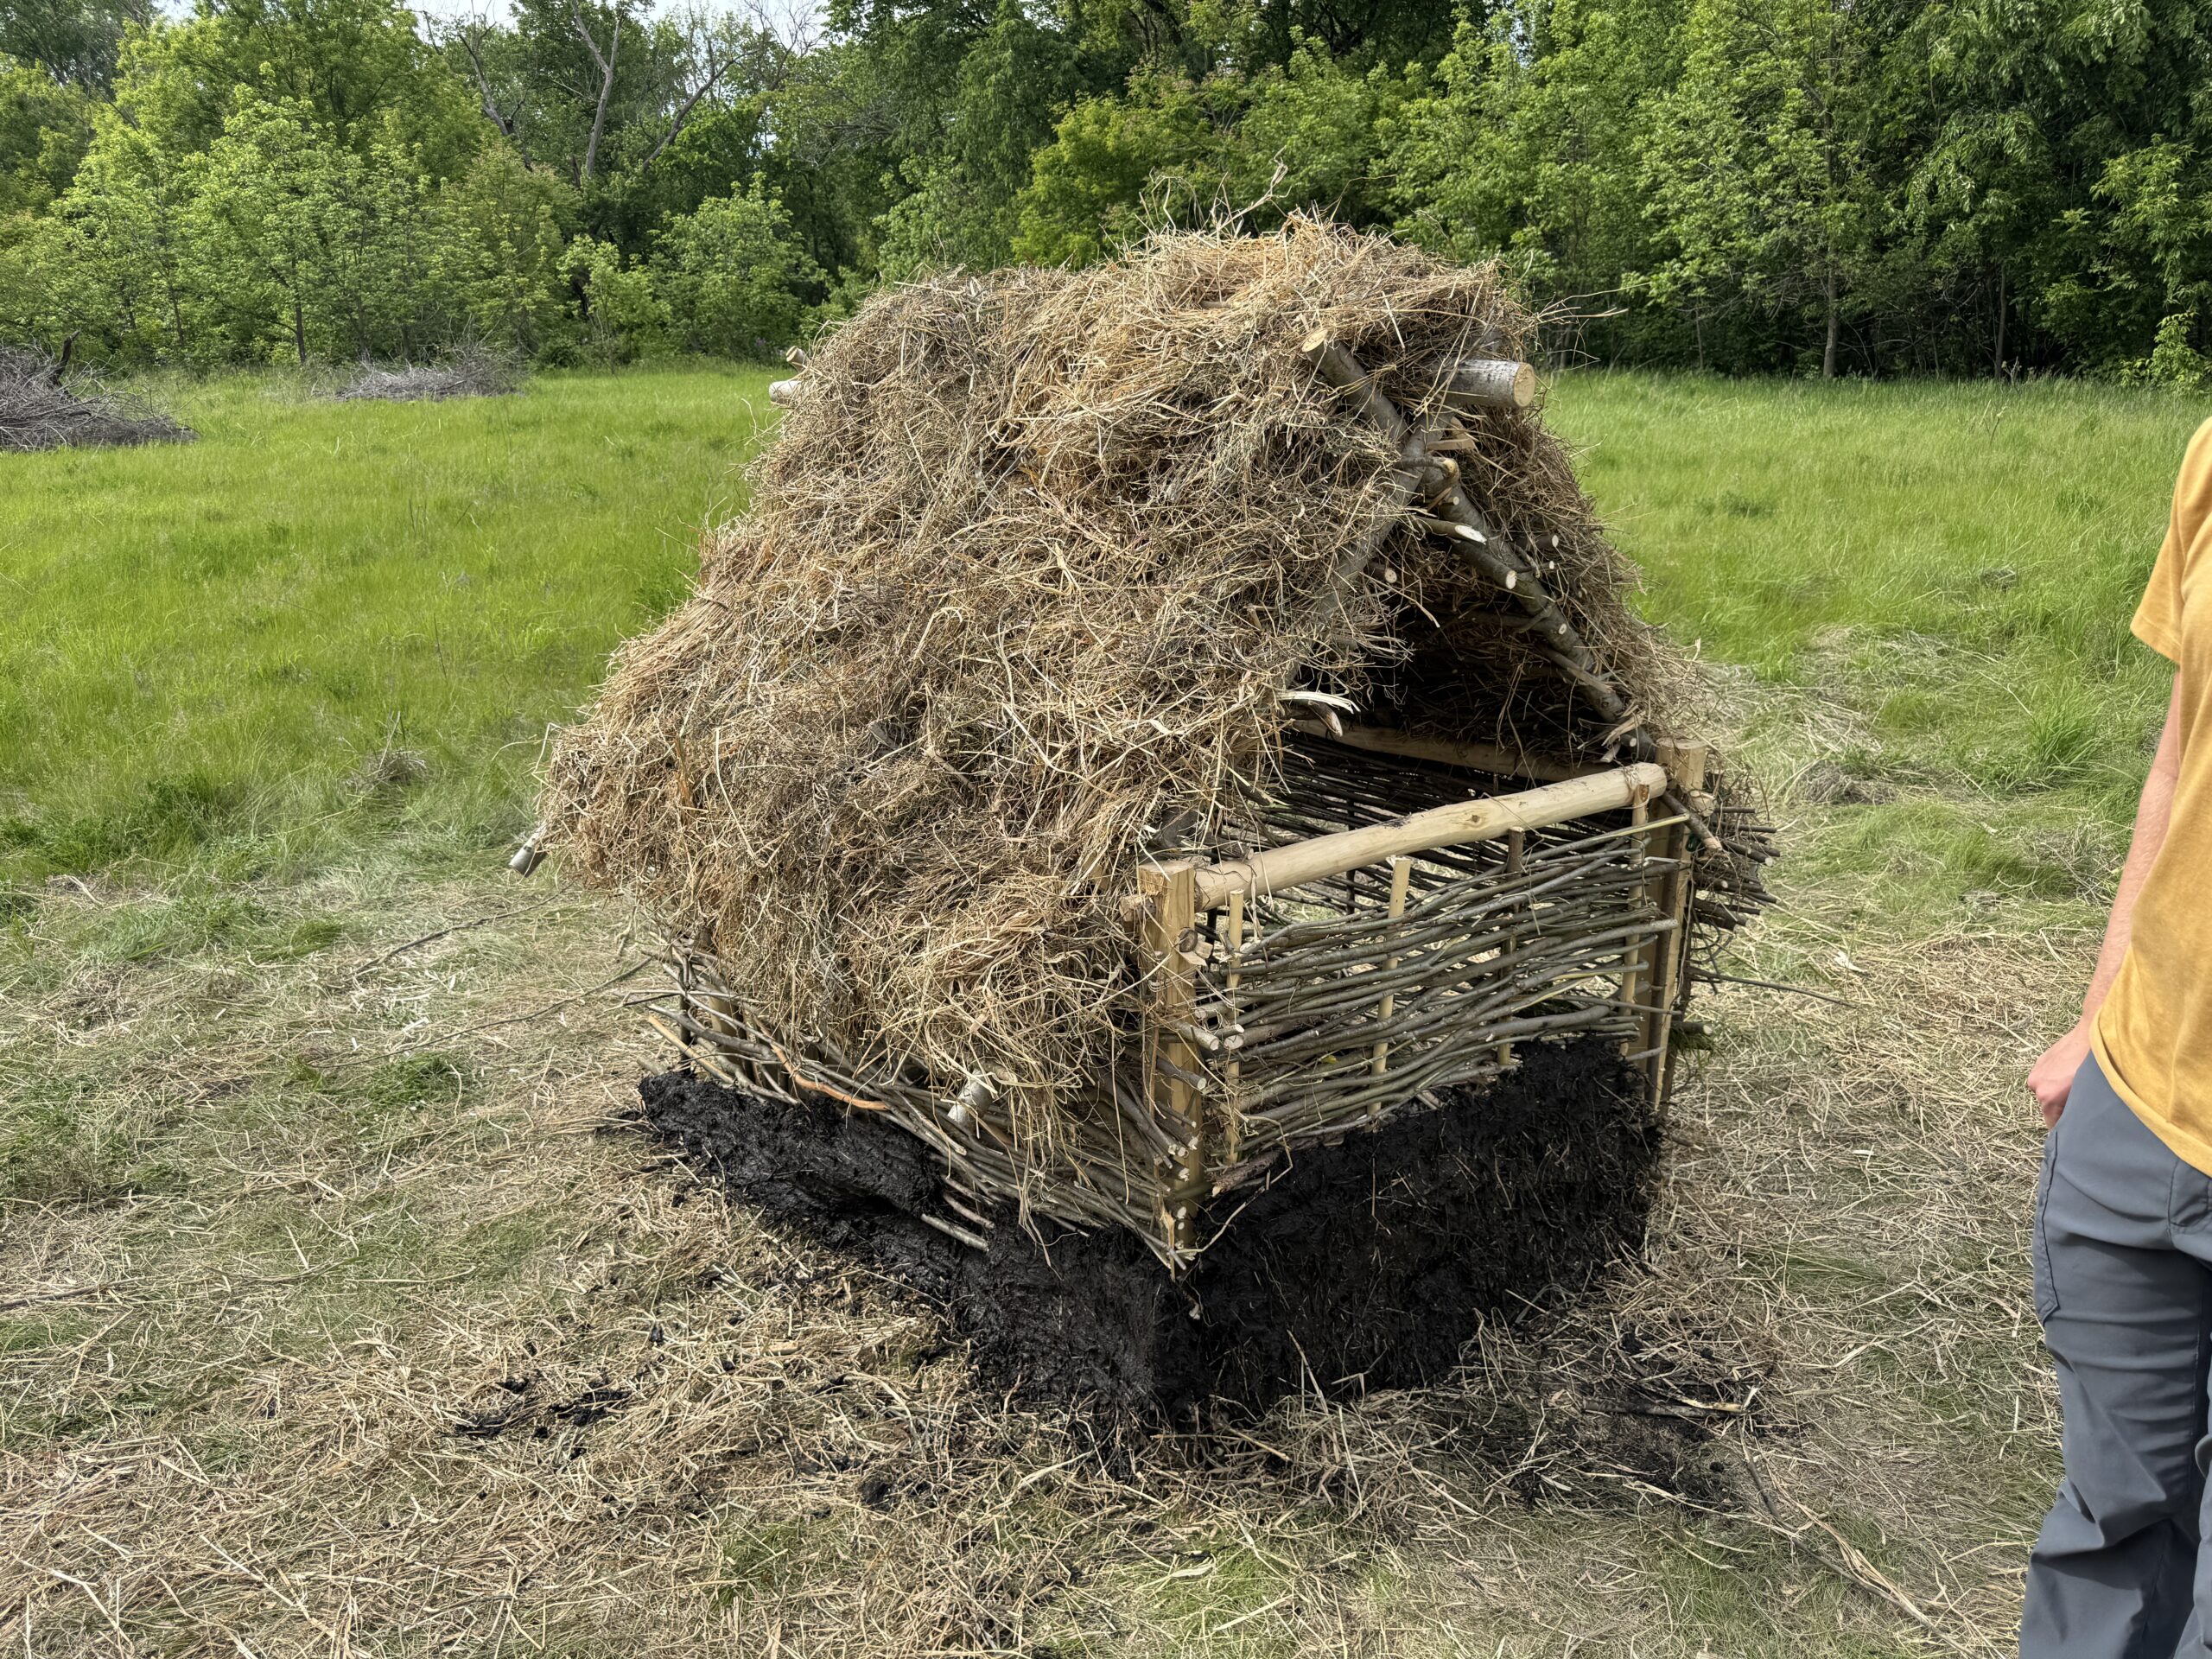
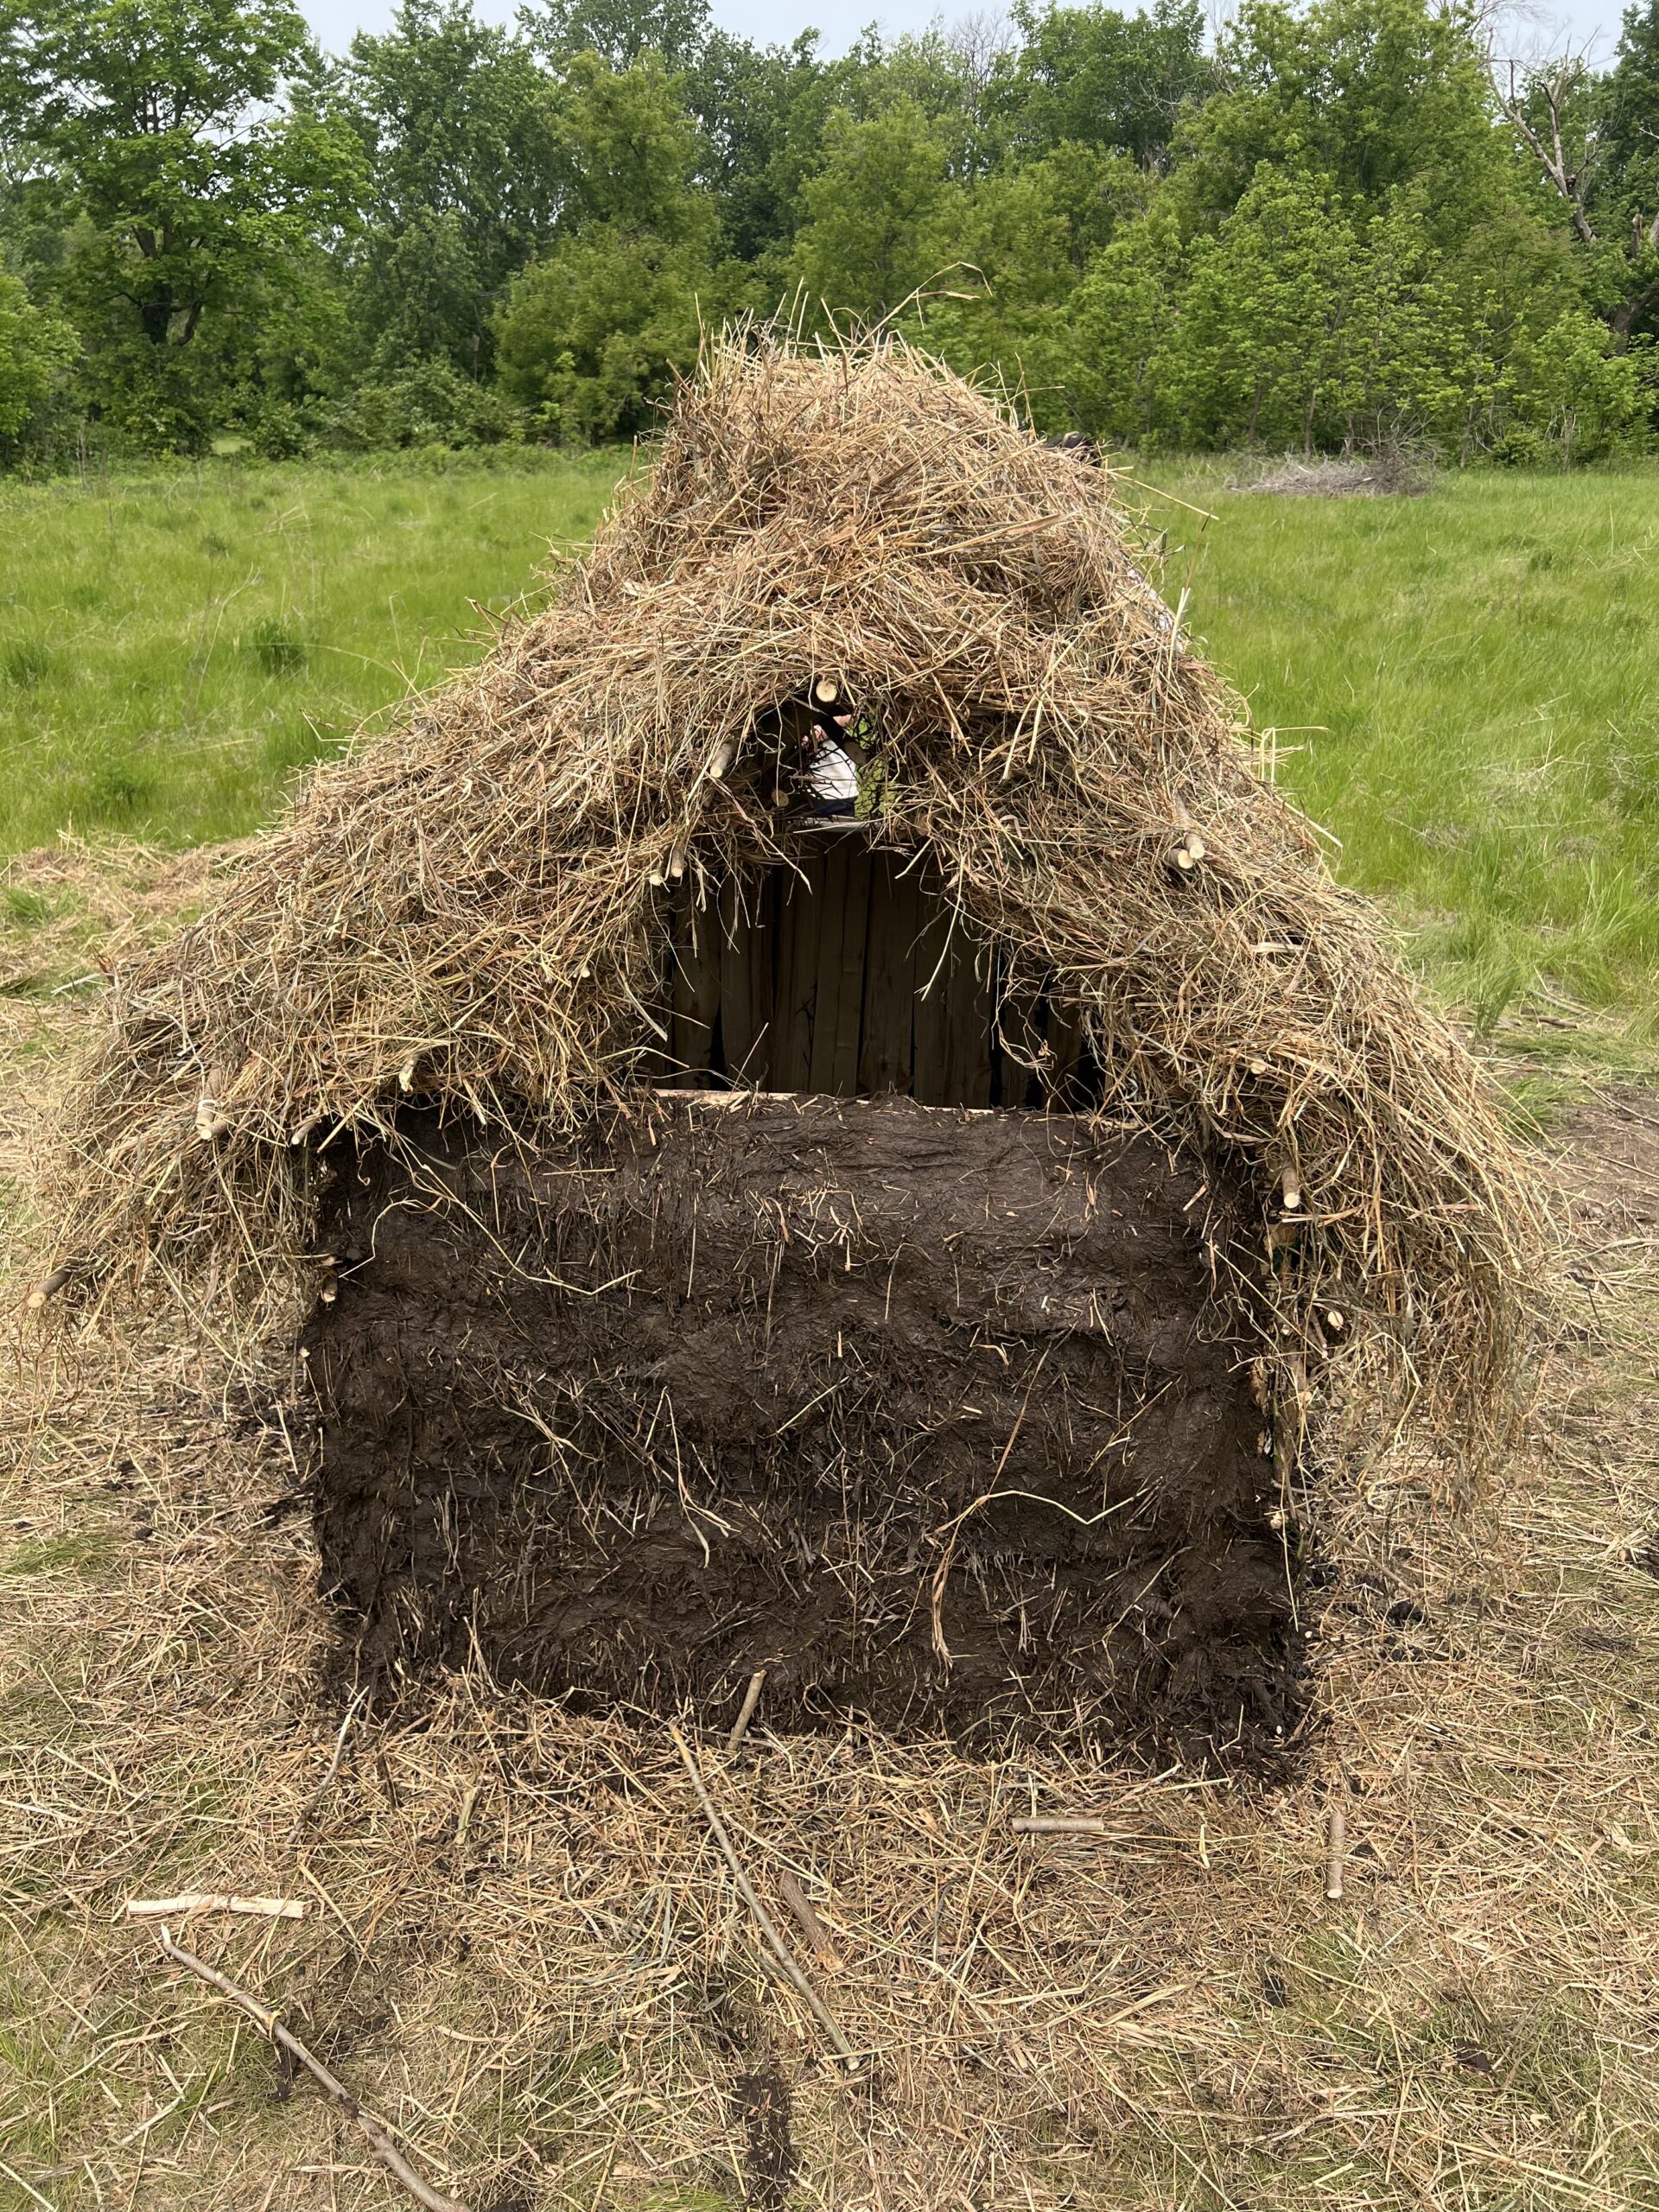
Results
While considerable progress was made during the Thursday lab, we were unable to apply daub to all four walls or finish thatching the roof. We returned for Friday’s class, however, and completed the construction of the hut. Upon completion, Austin gathered the class together for a ‘tomb-christening’ ceremony where the cremated remains were placed in the hut (most in pots made weeks prior, but there was also some loose ashes). Several people said a few words, but most of the class sat in quiet reflection. After Two Sixteen’s remains were placed in the hut, our quest to construct a mortuary hut was complete. The experiment is not technically over, however, as Austin plans to monitor the structure over the span of years to see if it is disturbed by outsiders (i.e. graffiti, grave robbing) and how fast the structure decays due to the elements, and what kind of traces it leaves behind.
This lab was very laborious and experiential, and as such not much quantitative data was collected. It took on average around an hour to collect and process the materials from the arb, and just under an hour to construct the wattle walls. The roof construction was a more lengthy process, with its construction carrying over into Friday. Most walls were around ⅓ daubed on Thursday, with the rest being applied on Friday.

0 thoughts on “Week 9 Lab Summary: Construction”