Bread product: Placenta
Product description: 4 layers of tracta (medium-sized tortilla-like discs) with feta and honey mixture layered in between, all wrapped in emmer/water dough. For the purposes of this class, we used ____ of cato’s recipe (fraction).
Step 1: Gather ingredients
- 5.6 oz of Farroh:
- Farro had been soaked by Ellen for 24 hours prior to our lab. Ellen portioned us out 5.6 oz. of farro.
- 1.9 oz of water:
- Large pinch of salt
- 4.6 oz. of emmer flour
- This process proved to be more difficult than anticipated. The scales were quite finicky, and we had to figure out how to combat the wind and uneven surface.
- Olive oil soaked rag
- Probably used about 2 tablespoons of olive oil.
- Feta (2 lb)
- honey
- Cast iron pot
- Bay leaves
- Metate
- Pyrex
- Mixing bowls and spoons
- Scales
- Hot coals and firepit
Step 2: Grinding the farro
- We had to grind out our farro ‘corns’ into paste using a metate mortar and pestle, a large stone washing-board-esque surface with a matching rod (see pictures below).
- We put the farro kernels directly onto the board part of the metate and then used the rod to smash the farro, dragging it back and forth on the board part until we got a mushy, hummus-like texture (but imagine hummus left with big bits of chickpeas in it).
- We did very small batches of farro–indeed, we did our already small batch of farro in 4 small batches, combining our product at the end.
- It took us 19 minutes to get the farro to an acceptable texture. We would have gone longer if we did not have to share the metate with other groups.
- The farro mash was pretty sticky, and a good portion of it was stuck to the metate, so we had to take a wooden spoon and scrape it off.
- We probably lost some of our farro to the nooks and crannies of the metate, so I wonder if that had an effect on the end placenta product.
Step 3: Making dough for tracta
- We combined the 4.6 oz of emmer flour, a large pinch of salt, and the farro paste in a bowl.
- We gradually added 1.9 oz of water while kneading the mixture. Even after we added all 1.9 oz of water, the mixture was extremely dry, like damp sand. We think this might have been due to our mis-measuring the emmer flour with the finicky scale the first time around.
- To get the tacky, but not super sticky, dough that was desired, we ended up adding an extra 1.85 oz of water.
- Maya continued to knead, and overall kneaded for 9 minutes, nearly uninterrupted.
- After the dough was fully kneaded, we were able to stretch it a fair amount, but did not achieve the perfect windowpane test result by any means.
Step 4: Dividing up and shaping the tracta
- Then we set about dividing up the tracta into four equal parts (or as equal as we could manage). The weights of each individual tracta are below:
| Tracta Disk # | Weight (oz) |
| 1 | 4 oz |
| 2 | 3.4 oz |
| 3 | 2.45 oz |
| 4 | 3.7 oz |
- We took each small mass of dough and rolled each one into a bowl. Then, we took each ball and pinched it outwards, stretching it a little bit here and there, to create a flat disc. Each disk was roughly 2 cm in thickness, and 6 inches in diameter.
- Then, we rubbed each disk with the olive oil soaked rag so that there was a nice sheen of olive oil on each one, but it was by no means greasy.
- We then placed each tracta disk in our white rectangular container so they could dry.
Step 5: Combining feta with honey for the filling
- Next it was time to make the placenta filling (I thought about this as the frosting in between layers of a cake, or the meat and cheese layer in between lasagna noodles).
- We combined two blocks of feta, or about 1 pound, with 5 grams of honey in a Menards bucket.
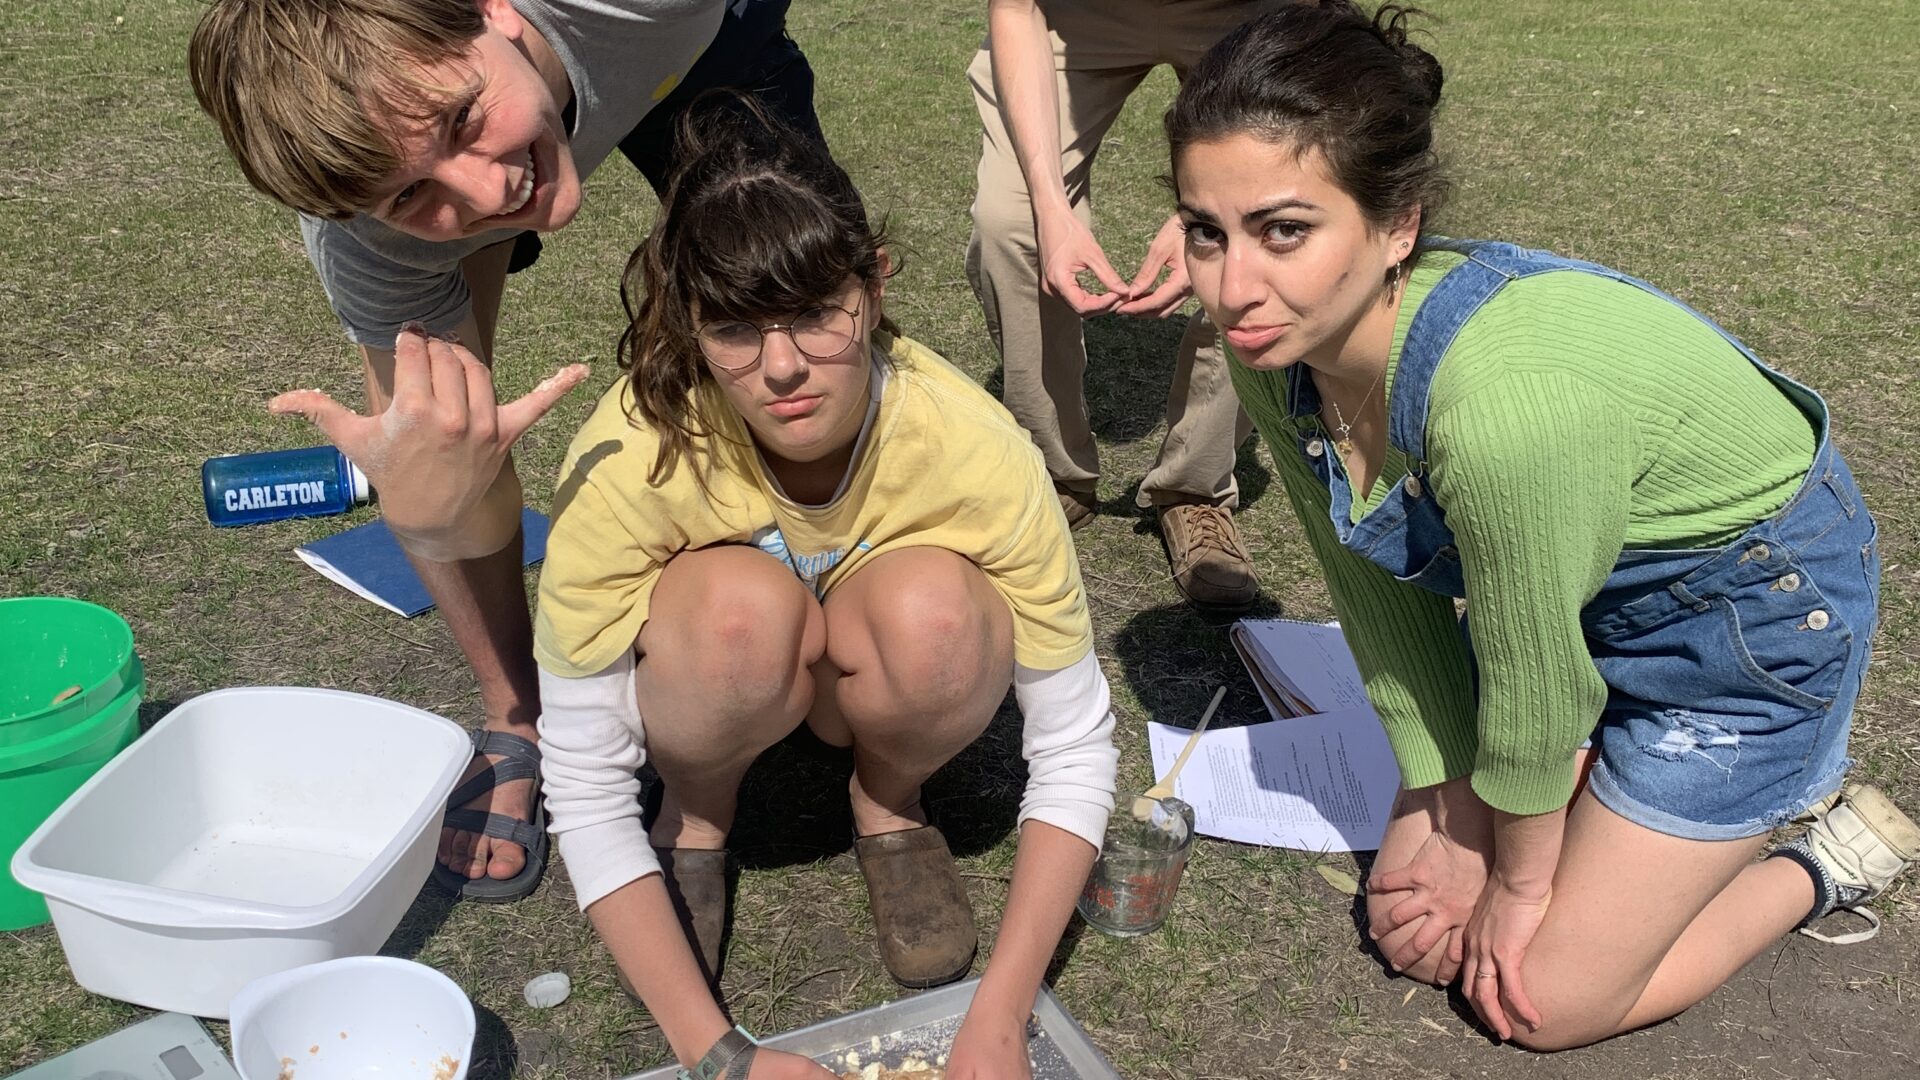
- Yet again, Maya got her hands dirty (or cheesy): she did the bulk of the mixing. She combined the feta with honey by massaging them together. The mixture started out as pretty crumbly, and progressively got more smooth as she worked on it. Overall, she worked on the cheese for about 11 minutes.
- We tasted it after it got to the smooth texture we desired. It was very sweet: the honey to feta ratio was surprisingly higher than I anticipated, but yummy nonetheless.
Step 6: Making the base
- Next we made the base, or the outer shell of the placenta.
- We mixed 2.4 oz of bread flour with 1.9 oz of water, kneading until combined.
- We ended up doubling our base–so repeated the step listed above–because we realized that just one batch of base would not be sufficient to stretch around and cover the whole thing.
- After we had doubled our base (keeping the batches separate) we rolled it into a ball.
- We then placed one of the balls on our cookie sheet to begin stretching it out.
- Then, we each took a turn at pushing at the dough ball with the tips of our fingers so as to flatten it out into a thin sheet of dough. It ended up being a roughly circular, pizza-type dough. It was roughly 10 inches in diameter and 1 cm thick.
- After we had assembled our tracta and mixture (which will be described in step 7), we tossed our other ball of bread dough using a pizzeria method until we got it to roughly the same size and shape as the first one.
- We then stretched the second sheet of dough over the stack of tracta, pinching together the two sheets so it formed one cohesive unit, and it ended up looking like a dome (some might even say Chico’s dome).
Step 7: Assembling the Placenta
- After we had made our first pizza-crust-like sheet of dough and placed it on the cookie sheet, we placed one of our four tracta discs on the base.
- On top of that we placed ⅓ of the feta + honey mixture (filling).
- We repeated this process until we were out of tracta, and all four tracta were stacked atop one another with filling in between.
- We ended up with a bit of leftover filling, which we snacked on straight out of the bucket.
- We then encased our tracta tower in bread dough, as described in step 8 of step 6 above.
- After we had our little bundle of joy assembled, with few to no cracks/small windows opening up in the outer bread shell, we added olive oil-soaked bay leaves to the bottom of our placenta. This was to help prevent the bottom of the placenta from sticking to the cast iron pot.
Step 8: Cooking the Placenta
- Our group was assigned to work in the ground-level fire pit. Our pot had been preheating with hot coals for about 1.5 hours prior to get it ready for cooking.
- We placed the placenta in the pot and covered it, and at 2:26pm we placed it atop the coals.
- We put coals on top of pot to stabilize it and make it hotter for the placenta to cook.
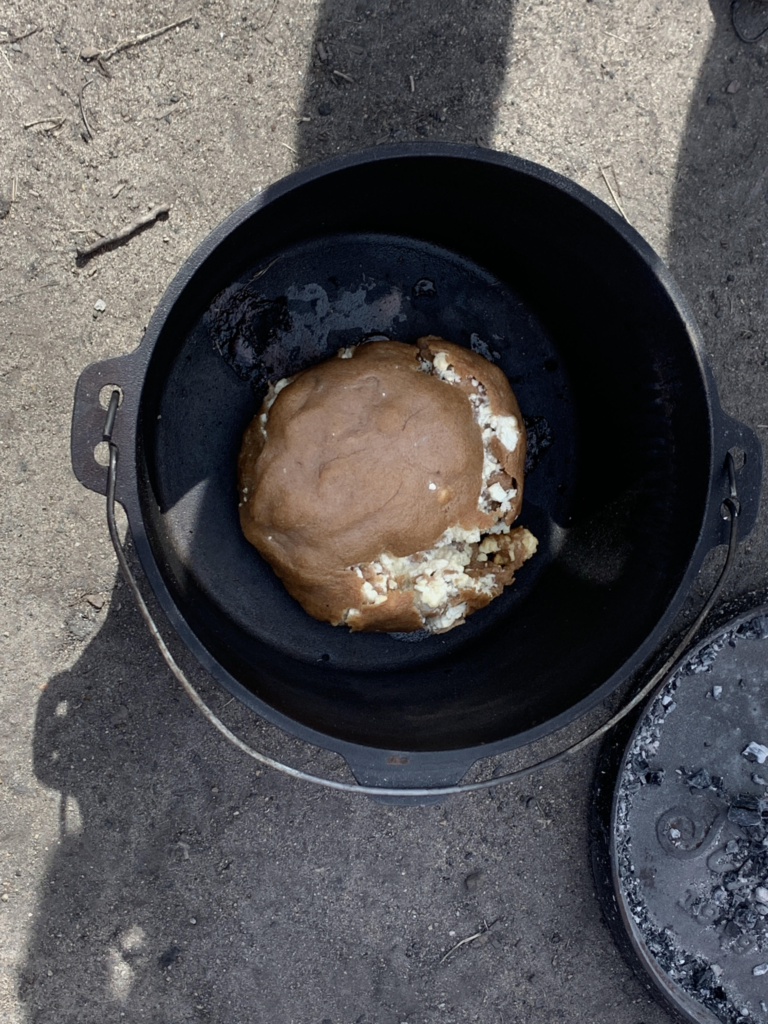
- After 12 minutes (at 2:38pm) we removed the lid and saw that the placenta had a nice, orange-brown color, with a beautiful sheen on top (perhaps from the moisture of the olive oil, or some steam created inside the pot). We placed the lid back on and decided to let it cook a bit more.
- At 3:00 pm we removed the pot from the coals. We opened the lid and found a beautiful, darker orange-brown placenta, with the same nice sheen.
- We removed the placenta from the pot and placed it on our baking tray.
- We let the placenta rest for 8 minutes before digging in.
Step 9: Digging in!
- Next came the all-important step of cutting the placenta open and digging in. Its attributes are summed up below.
| taste | Bread: tasted smoky and meaty to me, I think this may have been due to the pots having been used for cooking meat and cheese; filling: the best part–sweet and salty. The sweetness from the honey was quite refreshing (when we tried the other group’s product that was the same but without honey, we all agreed that the honey tied everything together). |
| texture | Bread: very tough outer shell; soft and pretty gooey on the inside. The layers of tracta had disappeared, so it was hard to distinguish tracta from bread. Cheese mixture was crumbly but creamy. |
| temperature | Not too hot for us to eat. |
| smell | Smelled like a mix of smoke, fresh bread, and the umami smell of cheese. |
| Overall agreeability | We all agreed that it was ok, but we couldn’t eat a lot of it since the outer crust was pretty bad. We all agreed that it was an absurd amount of cheese to eat in one sitting. |
- The outside crust was hard as a rock in texture, and the bottom was much more burnt than the rest of the bread. Bay leaves were nowhere to be found. When we tapped the bottom, it made a hollow sound. On the inside, the tracta and cheese layers had disappeared. We wondered if, since we might have used too much emmer flour to make the tracta, our farro to emmer ratio might have been off, which might have affected the way the layers did not stay.
Step 10: Make placenta #2
- Repeat all steps, except use NO farro mixture and only emmer, flour and salt.
- We used the same amount of ingredients, except 5.6 oz of emmer and 2.75 oz of water.
- The tracta weights were significantly smaller. This may have been due to the lack of farro, and/or we probably measured correctly the amount of flour this time since we figured out the scale.
| Tracta # | Weight (oz) |
| 1 | 2.3 oz |
| 2 | 2.05 oz |
| 3 | 2.00 oz |
| 4 | 1.8 oz |
- This placenta took longer to cook, about 30 minutes total. The top split open, and feta mixture began to crumble out. The texture was even more rubbery than the first, and the inside seemed to be soggier.

Final thoughts and questions:
so would the modern ‘equivalent’ to farro paste be yeast? I believe the farro had some leavening properties perhaps, but I’m not quite sure. Also, if we were to have made Cato’s recipe exactly proportionate, would that have affected anything?


0 thoughts on “Group A Placenta Data”