
Wednesday, May 26:
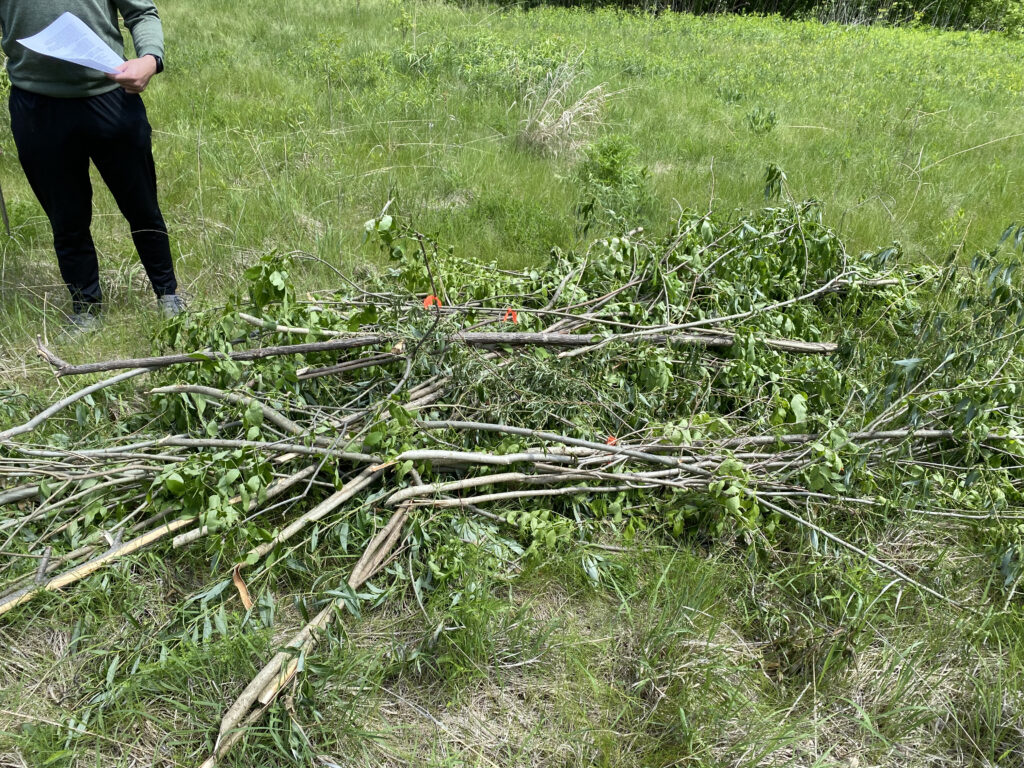
It was a beautiful day when my group ventured out to cut down willow for our house. We were assigned to an off-trail section of the Carleton arboretum that had a large deposit of willow. The goal was to collect 40 total branches, about three to six feet in length, to use for poles and wattling.
My group had two hatchets to cut down the trees and orange tape to mark the trees. My group formed a line: Raine went in front and used tape to identify trees to cut, David and Adam followed and cut down the marked trees, and I then carried the cut trees. We cut down some trees taller than six feet with the rationale that we could divide them into smaller pieces.

Adam stands with the billhook, ready to cut some trees 
The blade used for cutting trees
The dense undergrowth and vegetations slowed us down immensely as we had to step over roots, navigate between trees, and meander around a pond. This also made it incredibly challenging for me to carry the long trees we had cut down because they kept getting snagged on the vegetation. The plants kept scratching us, tripping us, and even caused David to have an allergic reaction when he touched stinging nettle.
I think the hardest part of this process was transporting the cut trees and branches from their original location to the construction site. Cutting them down was simple enough, but having to carry 10 six feet long trees through thick vegetation to a trail that was 50 yards away was a very slow and arduous process. It would’ve been a lot easier if we had a cart or a wheelbarrow, or even some rope to tie the trees into bundles.
Friday, May 28:
On Friday, we identified several thicker sticks to use as our fence uprights which David then measured and cut into four feet increments using a saw. At the same time, Adam and I went through and trimmed all the sticks we had collected on Wednesday with a pair of clippers. This ensured the sticks would be smooth and straight when we weaved them into our wattling.

David cuts our 4 feet long fence stakes 
Adam trims the branches off of a tree 
The clippers used to trim the trees
To make the trimming process go faster, I had someone hold the stick for me while I moved along it and cut off the excess leaves and branches with a clipper. Adam held his branch upright and hacked downwards with a serated shovel, using gravity and force to cut off the branches. This process took approximately forty to fifty minutes for my group.

Once we were done trimming all the sticks, we moved on to weaving the sticks into a fence. We measured a four feet long parcel of grass and then placed our five stakes across it in such a way that they were evenly spaced. We hammered them slightly into the ground so that they would be sturdy, but not too far into the ground that they would be difficult to relocate to their final destination; we estimated that we hammered the ends of the stakes three inches into the ground. Since we wanted to leave six inches of space before our wattling, we began weaving our sticks three inches off the ground (which combined with the three inches that were in the ground to make six inches).

We discovered that it was easiest to begin weaving with the thickest piece of each stick and ending with the thinnest piece of each stick, which we could then loop around and tuck into the wattling to provide structural support. After each layer, we pushed down the branches to make sure the wattling was dense and compact. We alternated which side of the fence we started our weaving on so that each side would have an equal thickness. The fence got stiffer and easier to weave over time, and the stakes began to move as a unit. This process took approximately forty minutes.

An example of a loop 
A close-up view of our weaving work
By the end of the day, our wattled fence was 87 centimeters tall (2.85 feet), not including the six inches of space we left at both the top and bottom. We were surprised to find that we had collected enough sticks on Wednesday to weave our fence and did not need to forage for more sticks.

Monday, May 31:
On Monday, my group began by collecting more material for the other fencing groups. We went back into the woods and chopped down more trees to be used for wattling. When we returned, we discovered that our fence was too long: it was 140 centimeters from stake to stake, but needed to be 120 centimeters to fit inside the wall of the house. We used an axe to cut down each side of the fence so it would be an appropriate length. Finally, we uprooted our fence from the ground and attached it to the wall of the house, cutting off any extra long appendages. At this point, the house was complete except for the roofing and daubing.

Shortening our fence to be 120 centimeters 
Our wattling in the house
Wednesday, June 2:
Today, our group daubed our wattled wall. We went down to the river with a bucket and a shovel and collected some mud and water. We then placed this wet mixture on a tarp and began kneading straw into it with our hands to create a daub. Making this mixture was probably the most important, challenging, and experimental part of this process.

Adam collecting mud from the river bank 
Our first batch of mud, which ended up being mostly sand
Initially, my group collected too much sand from the bottom of the river which was too weak and didn’t cling to the house that well. We then made a point of collecting mud but the mud was extremely wet so it would drip down the side of the house and collapse. Finally, we discovered a deposit of dirt to which we added a little bit of water that ended up being perfect.
In addition to refining the material and dryness of the daub, we also needed to refine the amount of straw that we added. Initially, we had no idea how much straw was necessary. Over time, we became more familiar with the texture of the daub and came to know the correct ratio of straw to mud through our experience daubing the house. Generally speaking, my group added the most straw of any of the other groups because it helped hold our daub together and made it more sturdy and compact. That being said, it’s important not to add too much straw because then it becomes difficult to smear.
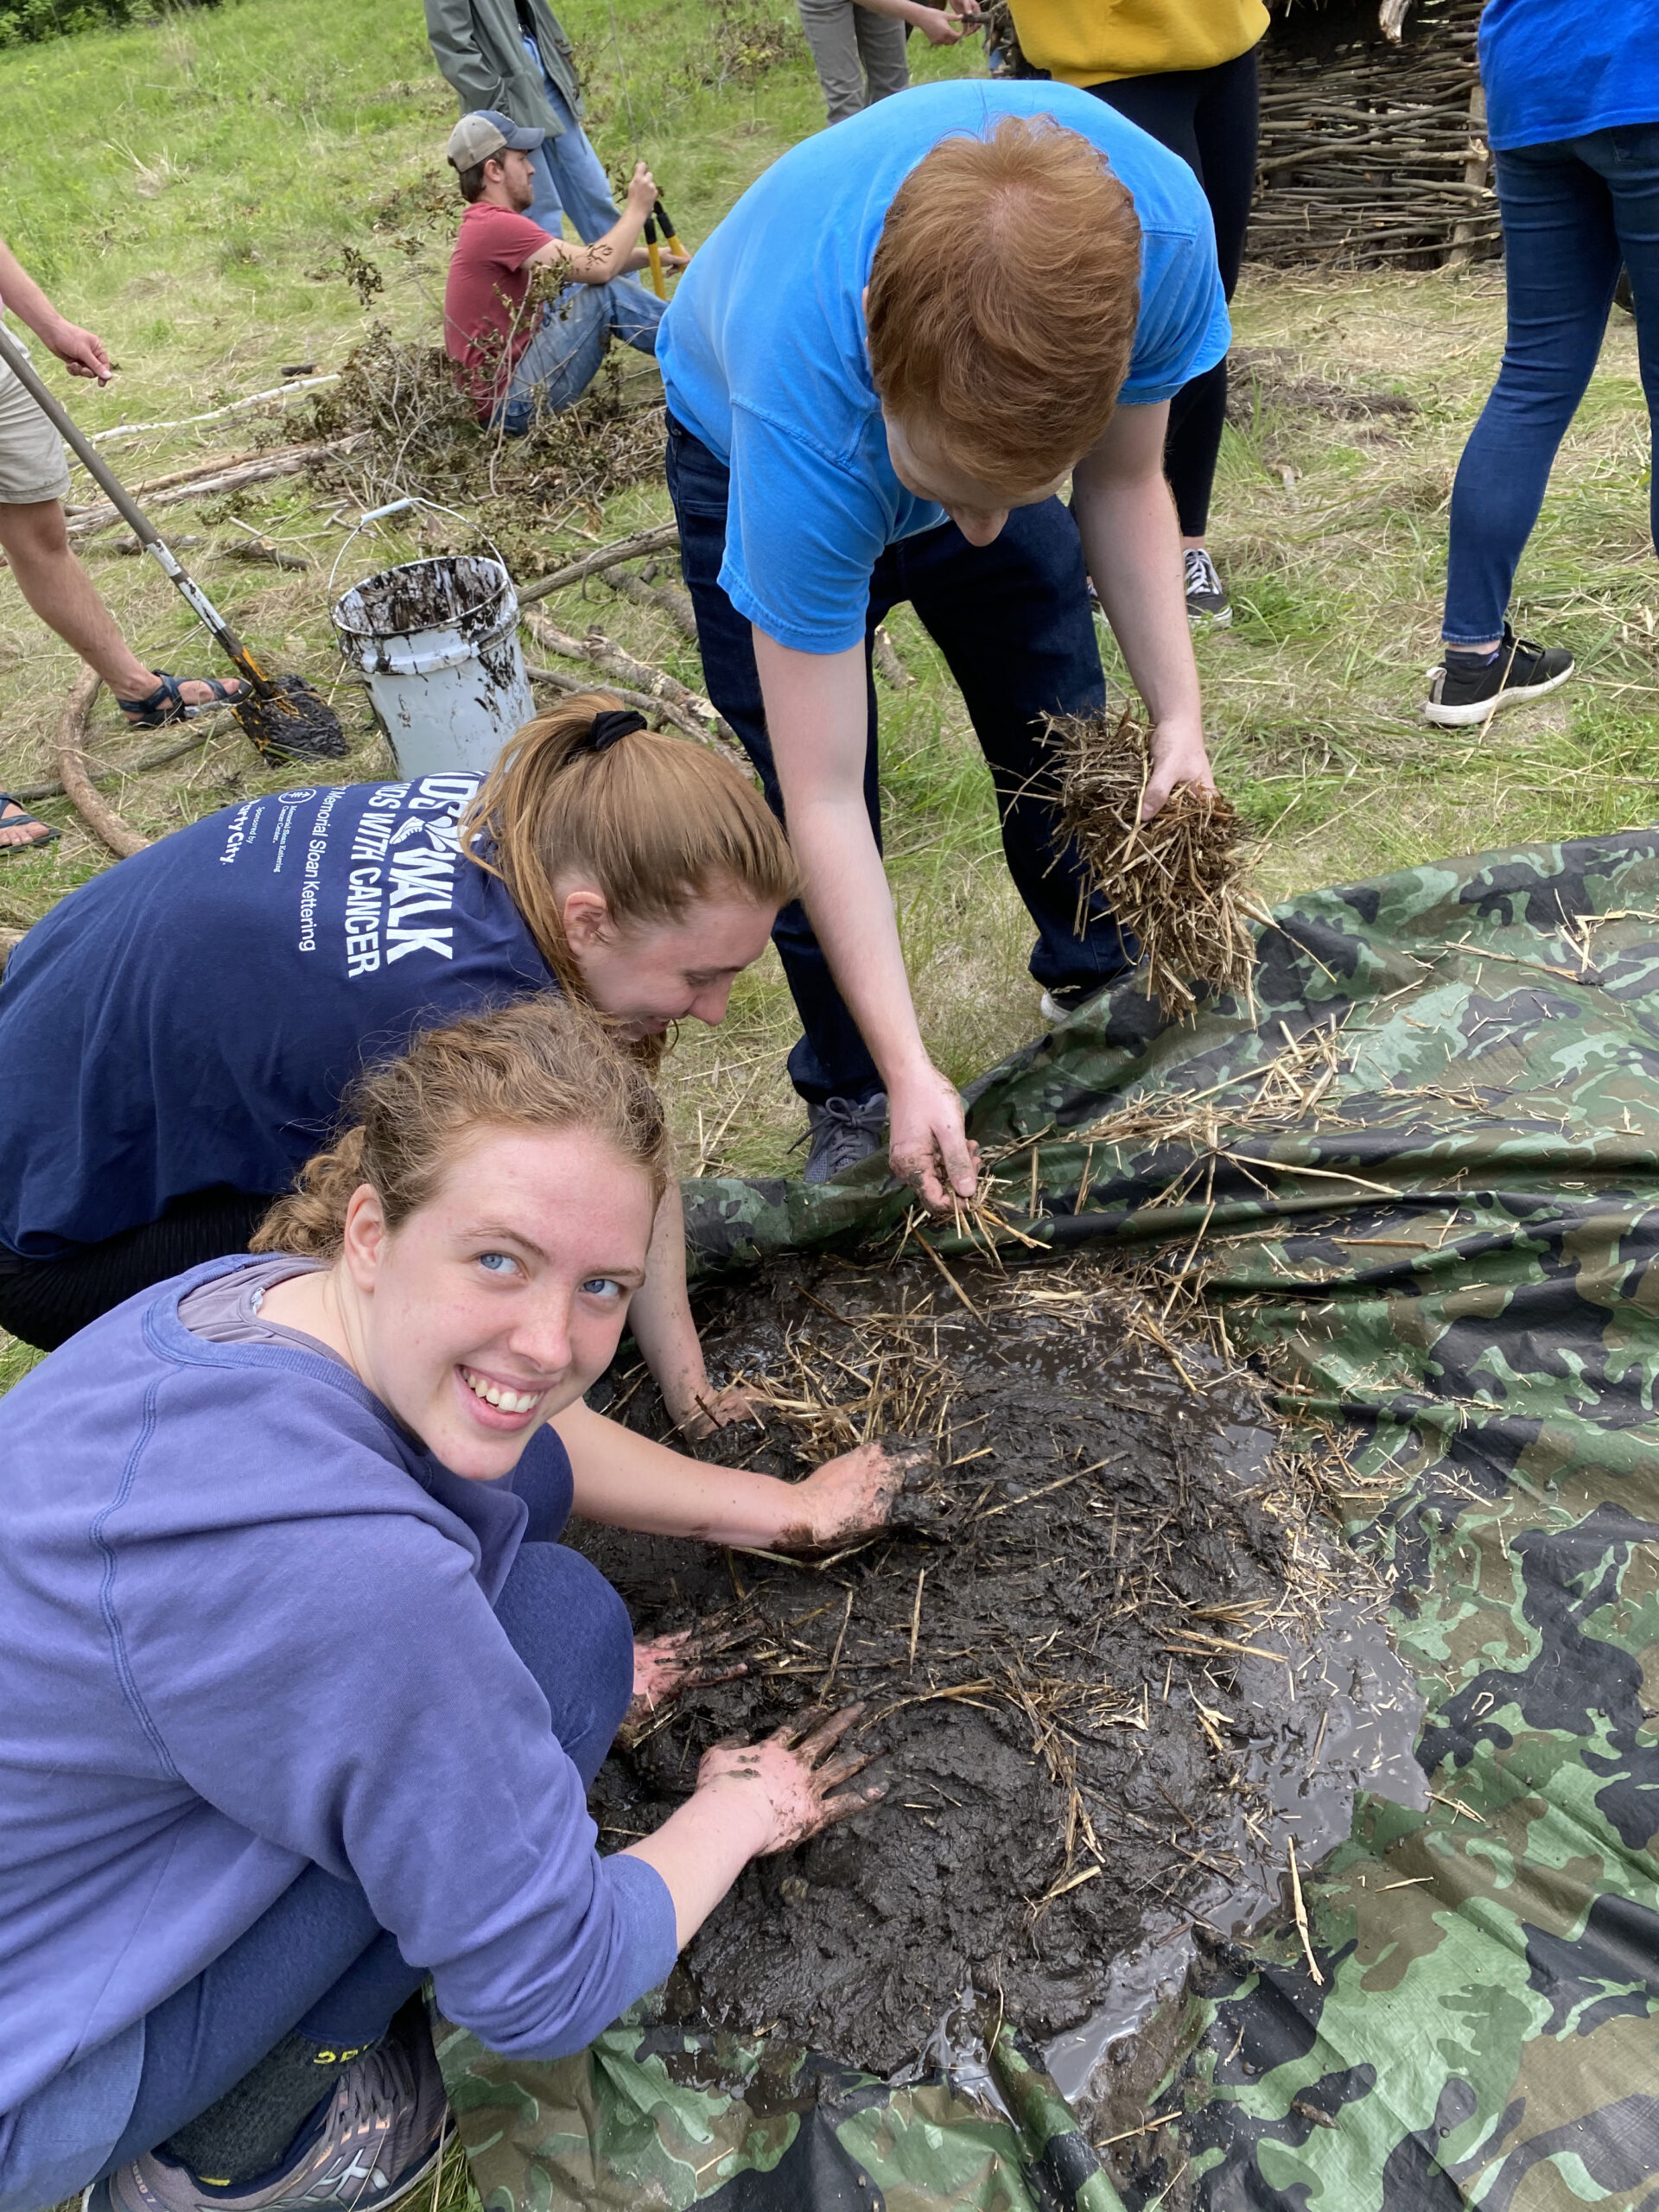
After creating our daub, we began to apply it to our side of the house. This involved quite a bit of technique; we had to add enough daub to close holes and keep out the elements while also not adding too much that it would fall off the wall and collapse. The way that we smeared the daub became critical to whether it would stick. The most helpful method was to smear the daub upwards, against the grain of gravity, and to smear it well enough that it blended in to the neighboring daub.


Throughout this process, Adam went to the river to collect the materials, Raine kneaded the materials and made the daub, and David and I applied the daub to the house. After around 45 minutes, we finished daubing our wall.

0 thoughts on “Group F Week 9 Lab Data: Building”