
Introduction
The focus of our lab was to build the pieces of a wooden loom using the tools available during the Anglo-Saxon period. The experiment was as archaeologically accurate as possible. We used traditional woodworking tools, employed traditional techniques, and worked as a group to recreate the sense of community associated with the practice. Sam Gathje, woodworking expert, helped us through each step of the process, and even gave us an early introduction to shaping and debarking on Wednesday, where we learned how to shave down both green and dried wood using the Mora Knife. Being familiar with this aspect of woodworking made the lab more efficient and safer, as we knew the right form and the necessary precautions, such as wearing a cutting glove and how it felt to work with a knife.
The lab involved three main stations: shaping, sawing, and debarking, though soon we ended up doing different things as well. First, we selected wood to use, and carried the logs to our lab’s location in the Arboretum at the Old Tennis Courts. The spot was pretty secluded and hard to find, according to some members of our class. However, it served our purposes. The next step was sawing and cutting the logs into workable pieces. Then we debarked the logs, shaped them into the right forms, and finally, drilled and cut notches in the wood.
Some of our research questions and goals included:
- To create a working loom that will let us recreate the woven fabric typical of “Anglo-Saxon” clothing
- To gain an experiential understanding of the process of building a structure from wood
- To better understand the constraints those properties impose on the desired finished product and the skill and experience necessary to overcome them
This lab was more qualitative than quantitative, but we were able to record the steps in the process in detail.

Selection
Time Taken: 10 minutes
The first step of the process was selecting the wood for us to use. Luckily for us, this step had been already completed by Austin, Sam and members of the Arb Crew. We began by carrying the remaining wood to the Old Tennis Courts, where we divided it based on purpose: two large uprights with forks, one thick log without forks, three thinner logs without any branches, two thinner logs with several branches forking off, and a few more logs of medium thickness that we did not use. Looking back on this step of the process, it is easy to see what piece of the loom each piece of green wood would become. The thick forked logs became uprights, the other thick log became the top rod, one of the three thin branchless logs became the bottom rod and the others heddle bars, and the thin ones with branches became pins, both forked and straight.
Sawing/Cutting
Time Taken: 30 minutes
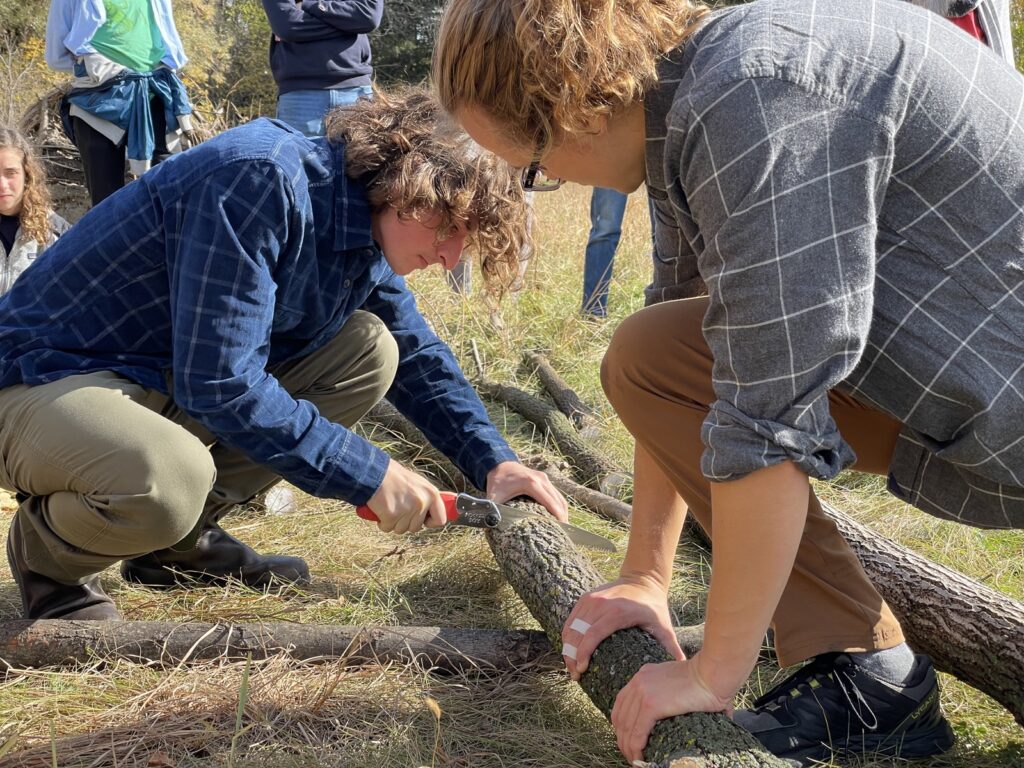
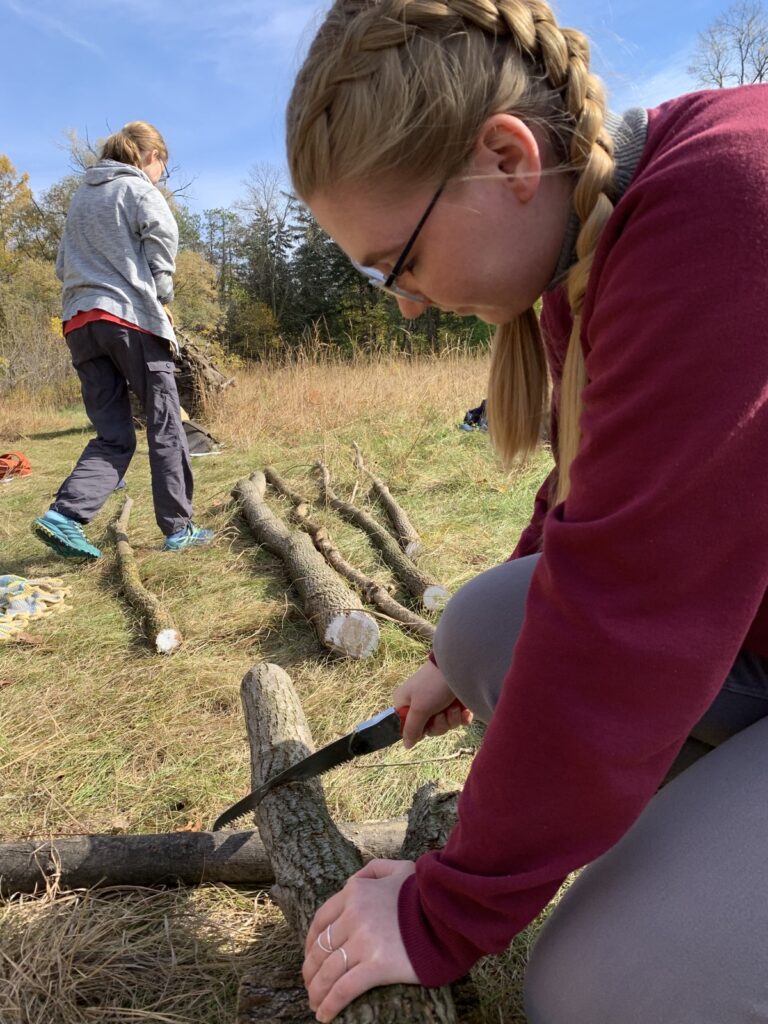
For the sawing process, we used two different saws. The first was a handsaw with a folding, rigid blade that was used for most of the sawing of the thickest logs. The second was a finishing saw with a flexible blade that we used for cutting the thinner pieces of wood. Compared to the handsaw, the finishing saw needed far less pressure to be put on it, and took far longer to get accustomed to using. Hannah compared it to a jeweller’s saw, since it was far more finicky and got caught in the wood easily. The rest of the sawing was done with the handsaw, which did not cause as many problems as the finishing saw, as it was clearly meant for cutting through larger timbers more efficiently. Sam told us that even though his hand saw was probably only 6 to 8 inches long, he would use it to cut through logs twice the size or more of the ones that we were working with. The other tool that we used in the sawing process was another log, which was used to prop the logs up off the ground, ensuring that the sawblade would not accidentally touch dirt and get dulled. While most of the tools that we used during this lab were very specialized, there was also a degree of improvisation and using what we had, as demonstrated by the use of another log during the cutting process.
Debarking
Time Taken: 1 hour 45 minutes
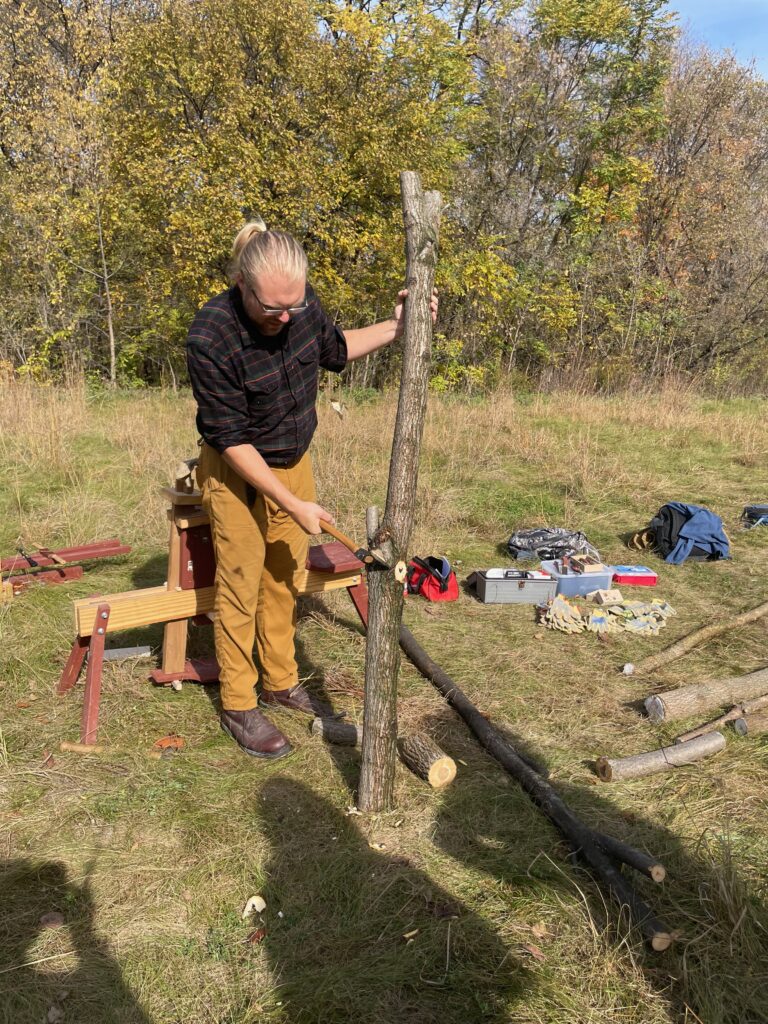
For debarking, we used the shave horse and a draw knife in order to shave the bark. Group A began the debarking, going for forty minutes, and taking intervals within the group. Group C took over after them, and worked for another hour and five minutes on the second upright post. Many of the groups took intervals and most everyone got a chance to attempt the debarking. It became clear that not everyone was exceptionally skilled at shaving the bark, and also much of the success was determined by what part of the branch you were working on. For branches with thick bark the process was more difficult, same for any branches that had knots in the wood. For knots it was important to attempt to cut them out or have Sam use the axe. Although there was only one person using the draw knife at a time, it was often the case that there were two people bracing the front and back end of the log, holding it in place within the shave horse. The log was mostly shaved by the end of the lab, with only some bark remaining in and around the forks in the wood. Some people found that it was easier to debark the log if the blade was facing outward. Additionally, if the draw knife or the Mora knife, was larger, it was easier to shave the bark.


Shaping
Time Taken: 2 hours 30 minutes
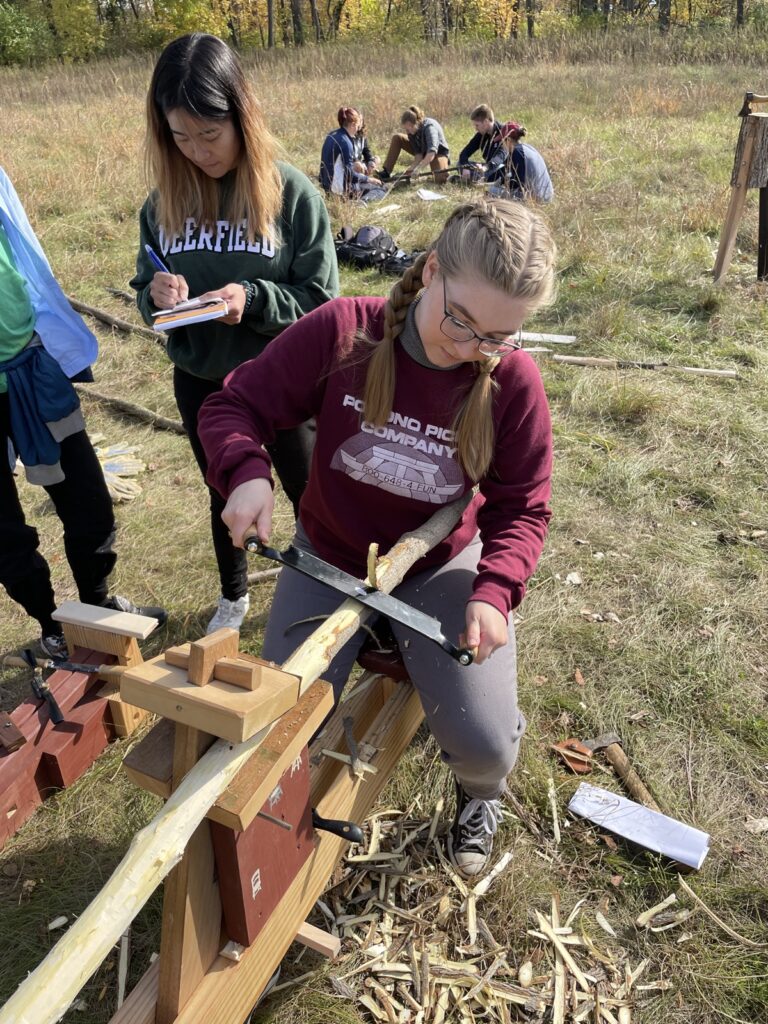
Shaping was a long and arduous process. We whittled wooden pegs into holes that were ¾ inches long to hold the loom together, a beater for the threads, and shuttles for threading the loom. For the pegs, we replicated the process that we had practiced in class on Wednesday. Our goal was primarily to shave the pegs down to size, on one end for the forked pegs and all the way through on the straight ones. We also debarked the forked pegs, in order to make them appear consistent with the rest of the loom. The most difficult part of the shaping process for the forked pegs was making sure that they were in matching pairs that stuck out of the holes the same amount, but we ultimately succeeded. Some people struggled with feeling like they weren’t taking enough material off with each stroke of the knife, but overall people were able to get comfortable with the process and produce enough usable pegs. A small group spent part of the lab attempting to shape and smooth the beating sword. It took a large amount of time due to the size of it, considerably larger than the pegs or shuttles. It involved splitting the wood and then Sam hacking off parts of it until it resembled a vague sword shape, followed by an hour of shaping the side and edges until it achieved a bend and some curvature. This was followed by a great deal of time smoothing the wood until there were no slivers coming off the wood. Additionally, the shuttles required a good deal of time shaping the edges so they were symmetrical and functional.


Drilling
Time Taken: 1 hour 15 minutes
After smoothing the pegs as best as we could, we marked the locations for 8 holes along them that were 15 cm apart. We used a measuring tape in order to keep the line between all of the holes straight, and a compass to mark out each location. We then went back with a hammer and an awl in order to make the marks larger so the drill would be easier to position. Then, we propped up the wood. First, we used the shave horse in order to do so, but we needed it to be used for shaving, so instead we flipped the chopping block upside down and used it to hold the wood off the ground at an angle. For drilling, we used a brace and bit drill, named after the bit used for drilling, and the rounded brace at the top where the user has to lean their body weight onto the drill while turning it. We noted that this type of drill was among the tools that would not have been available in the Anglo-Saxon period, with a spoon shaped bit and t-grip being used to drill holes instead. The drilling process was quickly exhausting. The first few turns were easy enough, but by the time that we got halfway through each hole it slowed to a crawl. People who had the strength necessary could just lean on the drill and spin it, but those of us who did not had to find other methods to push and pull the handle around. The one bonus to such an exhausting process was that everybody who wanted to take a turn (pun intended) on the drill got one, and we finished drilling all the holes that we needed.
Assembly
Time Taken: 10 minutes
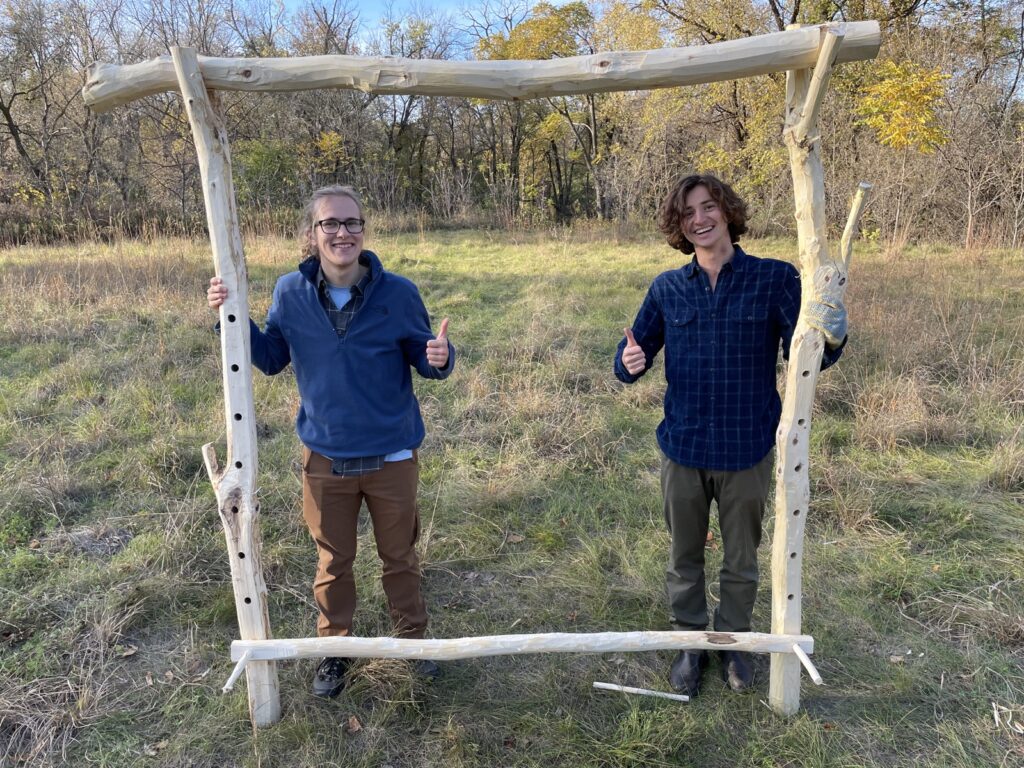
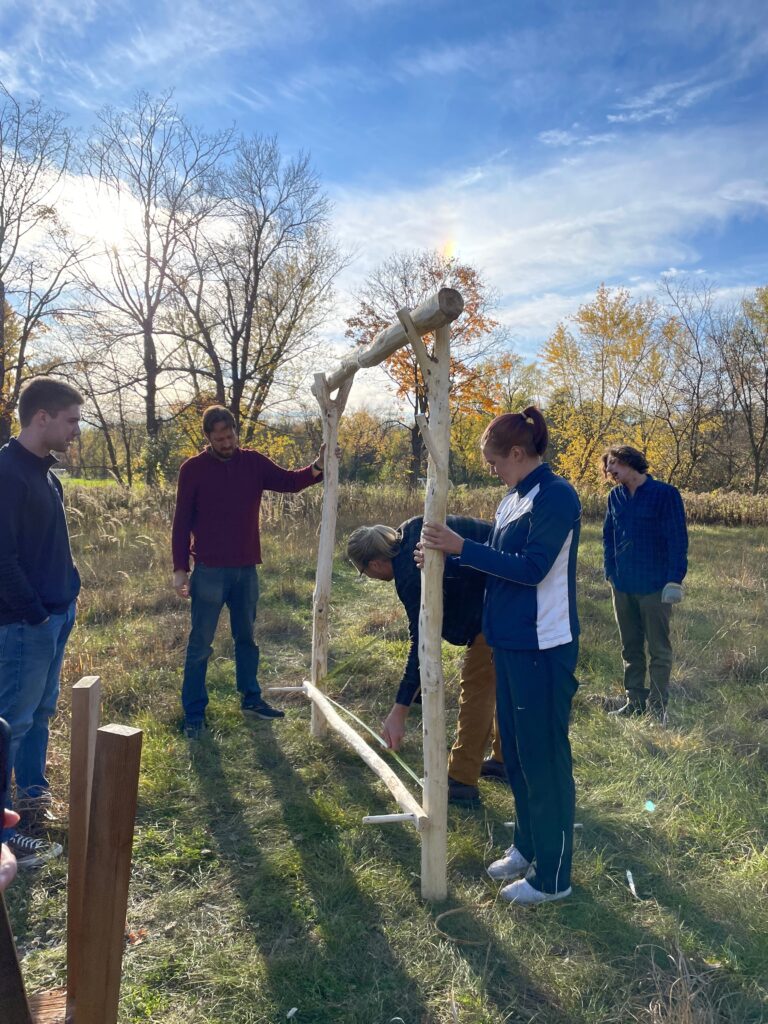
In between the drilling process, near the end of the lab, we began to assemble the final loom. At this time we had two upright logs, almost entirely debarked. One with all holes drilled and one with a single hole drilled to connect the bottom bar. Additionally, we had two sets of forked pins, several more sets of straight pins, and two straight rods. The key part to this process was having enough people to hold logs and help the assembly of the loom. It also made clear how important correctly drilling holes in the logs was, as all holes needed to be able to fit the pegs or they would become unstable.

Conclusion
The experiment was successful — we made a loom! One of our favorite parts was debarking, because it was easy and satisfying. The wood came off like dead skin on your feet, in a good way. It was nice to work with raw materials in a beautiful place. The green wood in particular was a smooth carving experience, with the exception of when the knife/draw knife/axe came across a knot.
This lab was not without its struggles. Many people complained afterwards that the tools gave them blisters and cramping from repeated use. We are unsure if that was because people were not using the proper form, or if we were just unaccustomed to using these kinds of tools for the hours necessary to complete a loom. In addition, some of the processes, mostly drilling, were extremely exhausting. We were able to drill one or two holes each, but much more than that and we would be unable to keep going. Another issue we found was keeping the thick logs in the shave horses. We had to have one or two other people hold onto the logs on top of using the shave horse. Working the middle of the logs was the most difficult, especially when there were knots and branches in the way, making it almost impossible to clamp down the log. It was also a struggle to do physical labor for four straight hours, and the people who brought snacks to this lab had the right idea, as I for one was more than glad to eat a few pretzels to get some energy back.
In summary, this lab was arduous, but fun. It was amazing to see that with all of us working, we were able to complete a loom, sword beater, and shuttles, especially since this lab was the most period accurate of all the ones we have done so far. While we all have a newfound appreciation for power tools, we also are proud to have developed the skills necessary to create finished products from green wood, and most importantly we have created what is necessary to move on to the next step of the process: weaving (that is, after the wood has a few weeks to dry).
Group Data Reports
-
Woodworking – Group A Lab Data

For this lab we spent two days learning about woodworking. First, in our Wednesday class we learned about some of the tools that we would be using and practiced shaping bricks of wood. Some of the tools included: Axe Draw Knives Knives Cutting Gloves Saws Shave horse In our normal lab period we began to……
-
Group C Woodworking Data

Introduction/Cutting We began by carrying logs to the Old Tennis Court, watching Sam select logs for our uprights and helping him begin the process of sawing. Process Tools Times Observations Selection Eyes 1:17-1:19 Logs for uprights were much thicker than expected, with large forks at the top. One was longer than the other. Measurement Another……
-
Group B Wood Loom Data

Three page summary of the wood loom lab! Continue reading “Group B Wood Loom Data”…
0 thoughts on “Woodworking Lab Summary Week 6”